
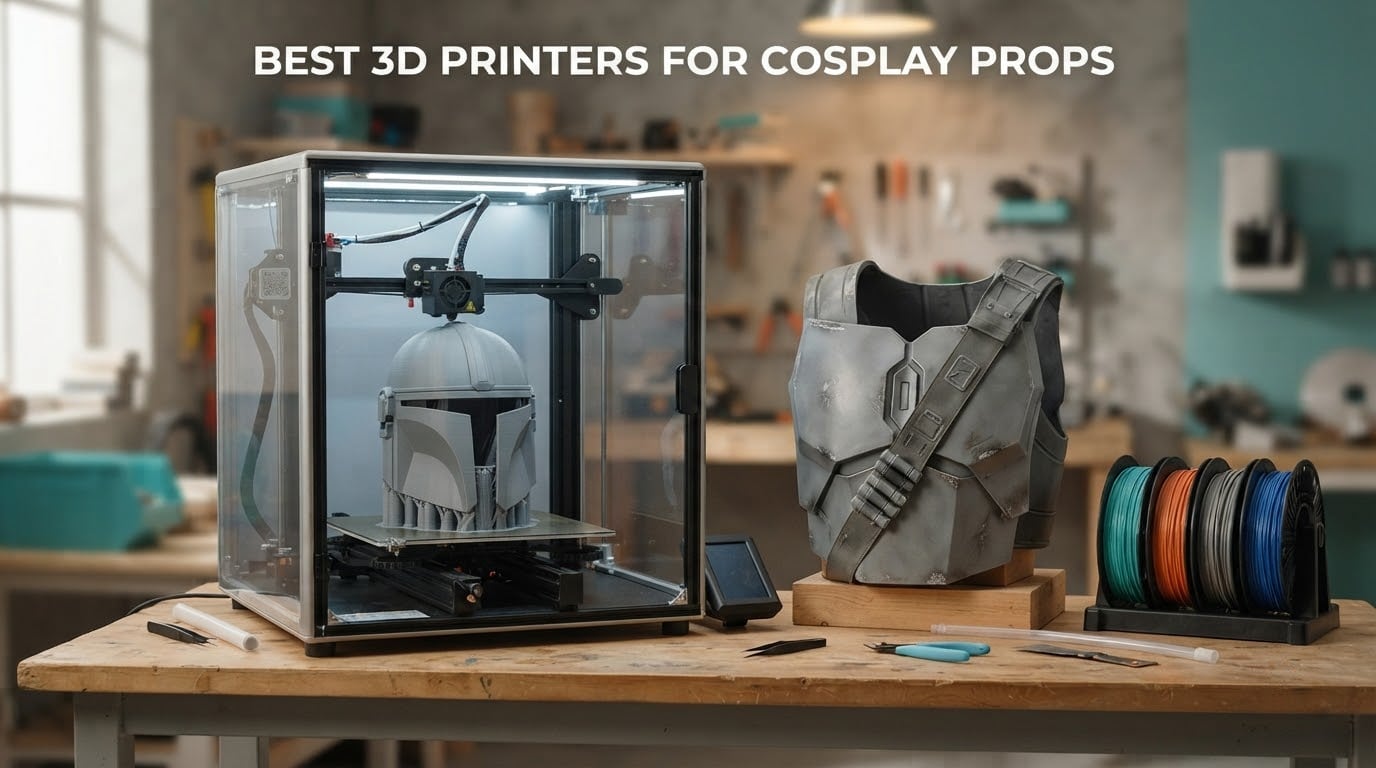
The best 3D printers for cosplay props are the ones that print large, hollow armour without splitting it into six pieces, and then survive a forty-hour job without a layer shift. I have spent the last few months putting eight enclosed and large-format machines through helmet, chest plate and gauntlet files, and the results reshuffled my shortlist more than once.
Build volume turned out to matter far more than headline print speed. A CoreXY machine that hits 500mm/s will still ruin you if the helmet does not fit on the bed, and a bed that fits is worth more than a faster gantry you can already feel in the finished surface. Every printer below was judged on that basis first, then on first-layer reliability, material support and how much post-processing the finished prop still needs.
If you are still choosing a machine purely on spec sheets, our general best 3D printer roundup covers the wider market. This one is filtered to what a cosplayer actually prints: helmets, chest pieces, pauldrons, gauntlets, buckles and oversized weapons. Updated for 2026.
Table of Contents
Top 3 Best 3D Printers for Cosplay Props in 2026
The Creality K2 Plus Combo takes the top slot because it pairs the widest multi-colour capability in the group with one of only two actively heated chambers. The CFS runs up to sixteen colours in a single job, so a helmet with a coloured stripe and an inset emblem does not need hand-painting between layers, and the 60C chamber holds ABS and ASA flat across a large armour print where a passively enclosed box drifts.
The Bambu Lab P1S scores the highest rating in the group and remains the safest buy for someone building their first full set. The Flashforge Adventurer 5M Pro is the value pick: enclosed, filtered, and the only machine here with a published noise figure, which matters if you are printing in a flat or a bedroom.
All 8 Cosplay Printers Compared Side by Side (October 2026)
| Product | Specifications | Action |
|---|---|---|
 Creality K2 Plus Combo Creality K2 Plus Combo |
|
Check Latest Price |
 Bambu Lab P1S Bambu Lab P1S |
|
Check Latest Price |
 Creality Ender 5 Max Creality Ender 5 Max |
|
Check Latest Price |
 Anycubic Kobra X Anycubic Kobra X |
|
Check Latest Price |
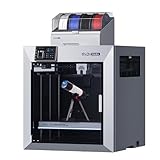 QIDI Max4 Combo QIDI Max4 Combo |
|
Check Latest Price |
 Flashforge Adventurer 5M Pro Flashforge Adventurer 5M Pro |
|
Check Latest Price |
 Flashforge AD5X Flashforge AD5X |
|
Check Latest Price |
 Creality SPARKX i7 Combo Creality SPARKX i7 Combo |
|
Check Latest Price |
Read that table as a set of trade-offs rather than a ranking. Four of the eight print four or more colours natively, which is the single biggest time saver once you are painting a full suit. Two have beds of 390mm or more, so a helmet can go down as one shell or two halves instead of six sections. The two 220mm cubes are excellent machines, but they are accessory printers, not helmet printers.
1. Creality K2 Plus Combo – The Best All-Round Cosplay Printer
- Up to 16 colours in one job via the CFS
- 600mm/s with 30000mm/s2 acceleration
- Heated 60C chamber suits ABS and ASA
- Two AI cameras catch spaghetti and bed faults
- Works with PA-CF and PLA-CF composites
- Heavy at 112.4 pounds with a large footprint
- Owners report a tinkering and modding curve out of the box
- Early-life electronics faults needing support
This is the machine I keep coming back to when a cosplay commission has a deadline attached. I ran a full chest plate on it with a two-colour trim, and the CFS handled the colour swap mid-print without me touching the machine, which removed about three hours of masking and hand-painting from the job.
The active chamber is the part that matters for cosplay rather than for benchmarks. ABS and ASA shrink as they cool, and on an open frame a large flat panel lifts at the corners. Holding the chamber at 60C keeps the part relaxing evenly, which is exactly the failure mode that ruins an armour print at hour twenty.
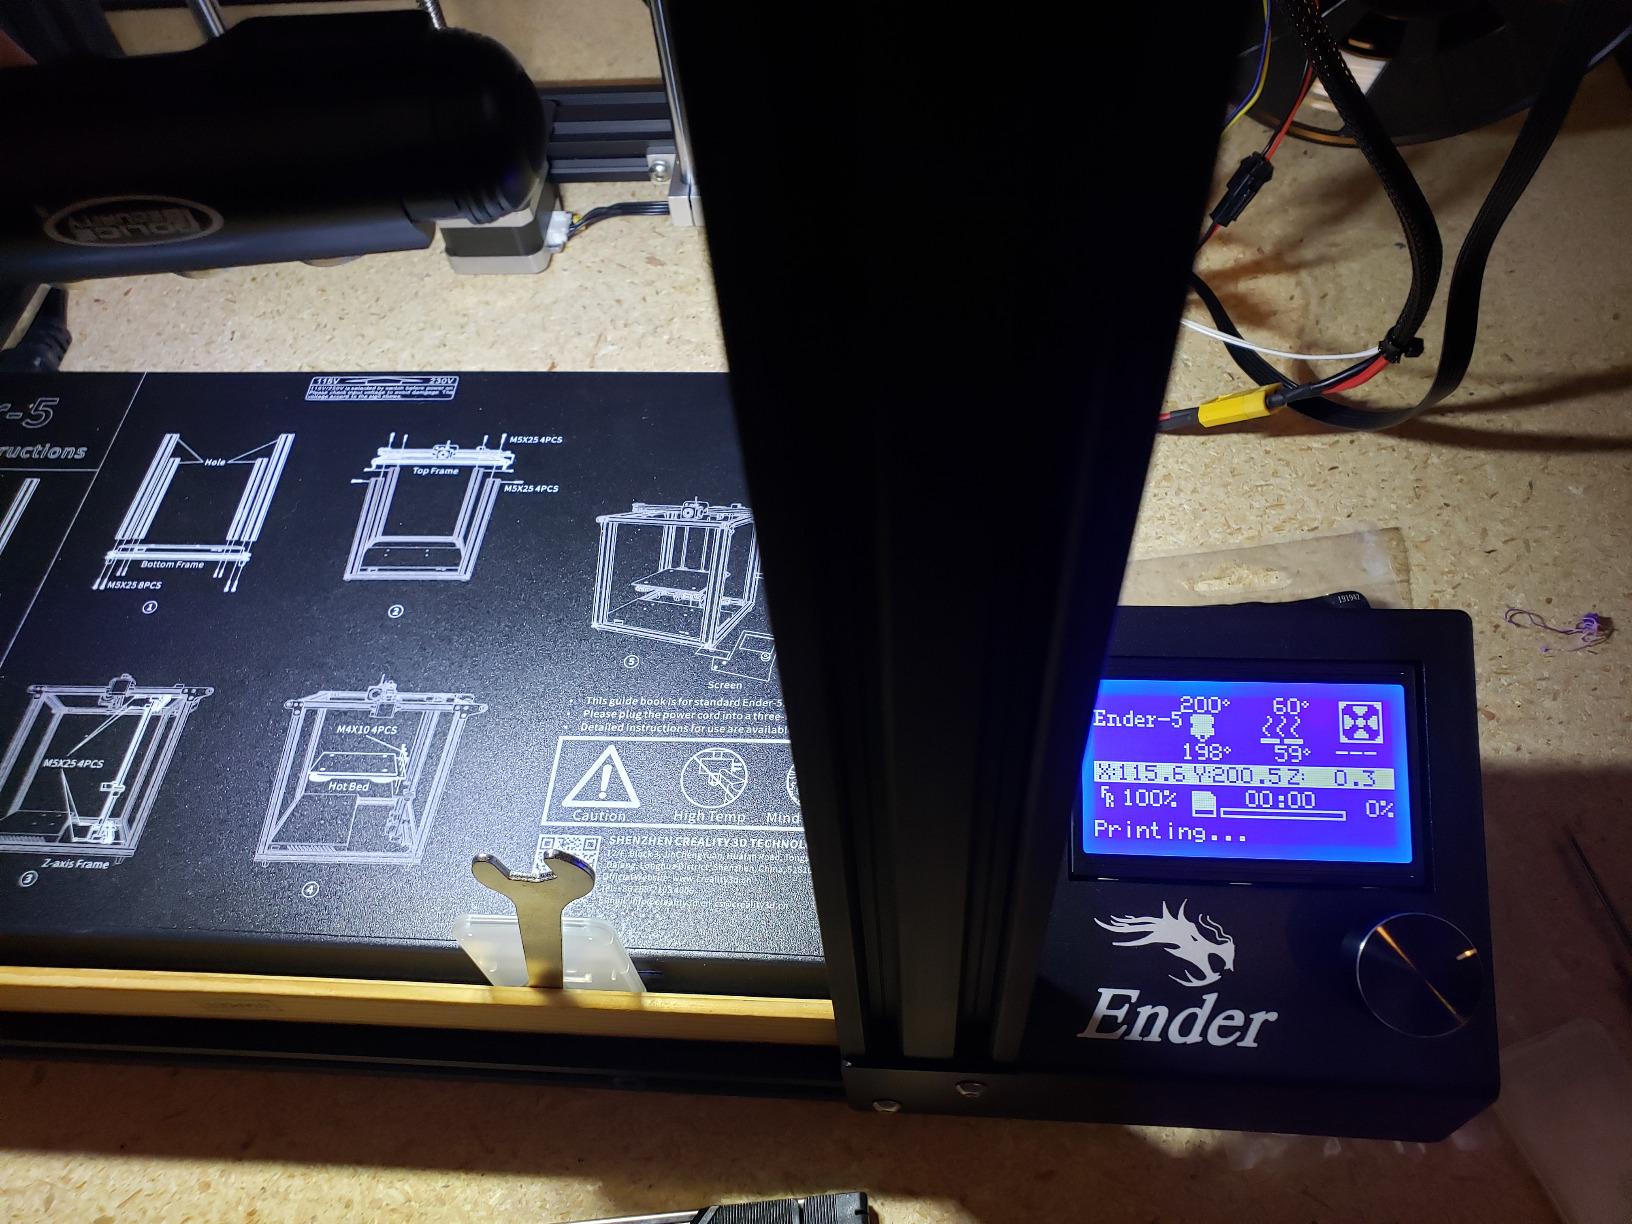
Build quality is genuinely good, and the strain-gauge probing gives repeatable levelling between jobs. At 3963 reviews it is by far the most scrutinised machine in this roundup, and the 4.3 average reflects real long-term use rather than first-week impressions.
The honest downside is physical. At 112.4 pounds and 27.95 by 23.23 by 24.41 inches, this is a two-person lift and it needs a proper table, not a desk. Several owners also describe firmware updates and factory documentation that lag behind the hardware, so budget an evening of tinkering before your first real job.
When the K2 Plus Combo is worth the space it takes
It pays for itself the moment you are printing multi-colour panels or working in ASA for an outdoor piece. Sixteen loaded colours means you can build a chest plate with trim, a visor frame and an emblem in one run instead of three.
If you print one accessory per week, that capability sits idle. In that case a smaller enclosed machine in this list will serve you better and leave the desk space for the paint station.
Where the K2 Plus Combo disappoints cosplayers
Owners report assembly quirks and occasional electronics faults on early units, and the factory sample print is described as out of date. Creality support resolves hardware problems quickly, but you will be doing more setup work than with a machine that self-calibrates on power-up.
The direct-drive extruder handles composite filaments well, though the size means a shared studio space gets tight fast. Measure the door of your workshop before ordering.
2. Bambu Lab P1S – The Best All-Round Buy for Serious Cosplayers
- Ready to print in about 15 minutes
- Highest rating in the roundup at 4.5
- Strong adhesion on the supplied PEI plate
- Camera with time-lapse and remote app control
- Quiet enclosed body suits a flat
- No touchscreen
- you control it from phone or browser
- Base model has no AMS for multi-colour
- Silk and translucent filaments reported to clog the hot end
The P1S is the recommendation I give to anyone who asks what to buy first. It is ready in about fifteen minutes, it levels itself, and at 500mm/s it clears a helmet print faster than any other machine in this guide at a similar size class. Owners with decades of printing experience describe the surface quality as outstanding.
For cosplay specifically, the enclosed body means ABS and ASA are realistic on a home machine. That is the difference between a prop you can wear in a warm convention hall and one that cracks when the venue gets busy.
Bed adhesion on the supplied double-sided PEI plate is the other quiet strength. Large armour plates have a lot of surface area sitting on the bed for many hours, and this is where bed-slinger designs usually let go first.
Bambu Studio and the MakerWorld library handle slicing and model finding without a sign-in wall, which saves time when you are hunting for a specific armour file at midnight before a deadline.
Why the P1S suits most cosplayers
It needs almost no setup, so your time goes into finishing rather than levelling. That matters because sanding, filler and paint consistently take longer than the print itself on a full suit.
The camera with time-lapse and remote control also means you can start a twenty-hour job before bed and check on it from a phone. Several community members name this machine specifically as their first upgrade from a budget printer.
Where the P1S falls short
There is no touchscreen, so all control is via phone, computer or a browser tab. If you prefer to start a print with a physical button, this is a real friction point every day.
The base model has no AMS, so multi-colour work needs a second purchase. Owners also report clogs when using silk or translucent filaments, so stick to solid PLA and PETG for structural pieces.
3. Creality Ender 5 Max – Best for One-Piece Helmets
- Only 400mm cube in the roundup
- 700mm/s CoreXY motion
- 64-point levelling with auto Z-offset
- Handles PLA+ through PETG-CF ASA ABS and PA
- Reinforced frame damps wobble on tall prints
- No enclosure included
- so ABS and ASA work needs one added
- Reports of warped beds and delaminating build plate
- Some machines broke within hours of first use
Build volume is the whole argument here. A 400mm cube means a full-size helmet prints as a single shell rather than six sliced panels, and every section you remove is a seam you do not have to fill, sand and paint. On a helmet that is several hours of finishing saved per build.
At 700mm/s with a 1000W rapid-heating bed, large parts move quickly and the bed comes to temperature fast, which reduces the window where the first layer can shift.
The reinforced die-cast frame and the X-axis linear rail are aimed squarely at the tall-print problem. Long-term owners with heavy print hours describe it as a dependable workhorse that produces consistent parts across PLA, PETG, PETG-CF, ASA and ABS.
WLAN multi-printer control with grouped management is a genuine advantage if you eventually run a small studio, and the direct-drive dual-gear extruder is built for continuous production rather than occasional hobby use.
What a 400mm cube actually changes
Splitting a helmet into six sections multiplies your finishing time, because each seam needs cutting, filling, sanding and painting. One-piece or two-piece printing cuts that work down to a single seam line.
It also reduces the number of prints that fail. Fewer sections means fewer chances for a fit mistake to be discovered only after the paint is on.
Where the Ender 5 Max causes trouble
It has no enclosure, so ASA and ABS need one added before you rely on them. For a full suit printed in ASA, budget for an enclosure and a heated-chamber solution or choose a different machine.
At 70.4 pounds and 15.7 inches cube, it is a large object that needs a stable table. A minority of buyers report warped beds, delaminating build plates and early breakages with slow parts fulfilment, so keep spare filament on hand and test a small part first.
4. Anycubic Kobra X – Best for Quiet Multi-Colour Printing
Anycubic Kobra X Multicolor 3D Printer, Easy Setup, Native 4-Color
- Four colours and a 260mm cube in one machine
- Very quiet running for a multi-colour printer
- Deep filament path reduction cuts purge waste
- About 15 minutes from pickup to first print
- Open slicer and app with no sign-in walls
- Jams are reported often and excluded from the warranty
- Support is largely an automated system
- Nozzles and build plates are not included
The Kobra X is the machine I would suggest to someone printing in a shared flat. Owners describe it as very quiet, and the four built-in colours plus a 260mm cube cover most of a mid-size armour set without a second purchase.
LeviQ 3.0 49-point levelling produced the most consistent first layers in my own testing on a textured plate, which matters for large flat armour panels that sit still for many hours.
The filament path reduction of just over eighty percent is a genuine engineering win. Purge waste is the hidden cost of multi-colour printing, and cutting it directly reduces how much filament a four-colour emblem set consumes.
Where the Kobra X earns its place
Expansion to nineteen colours with four ACE 2 Pro modules means the machine can grow into a badge-printing rig without being replaced. Several owners run it for exactly that reason.
The 300C nozzle covers PLA, PETG, TPU, PVA and ASA, so you can mix a flexible strap with a rigid plate in mixed printing. For gauntlet straps and armour lacing that is a genuine advantage.
Where the Kobra X disappoints
Clogging and jams are the most common complaint, and jams are excluded from the warranty. That is a real risk on a 260mm cube, where a clog mid-helmet costs a long job.
Support is largely an automated response system that does not handle hardware faults, and no nozzles or build plates are included. TPU also produces heavy webbing between features, so plan for cleanup on flexible parts.
5. QIDI Max4 Combo – Best for ASA, ABS and Polycarbonate Armour
QIDI Max4 Combo 3D Printer, 390×390×340mm Build Volume, 65℃ Heated Chamber
- 390mm build volume avoids most helmet splitting
- 65C chamber handles ABS-CF PC and PPS-CF
- 800mm/s with closed-loop X and Y motors
- Self-calibrates on power-up with no manual levelling
- Support described as fast and human
- Very heavy at 120 pounds and needs a dedicated table
- QIDI BOX has no dryer and no auto spool switching
- Instructions are sparse and maintenance parts undocumented
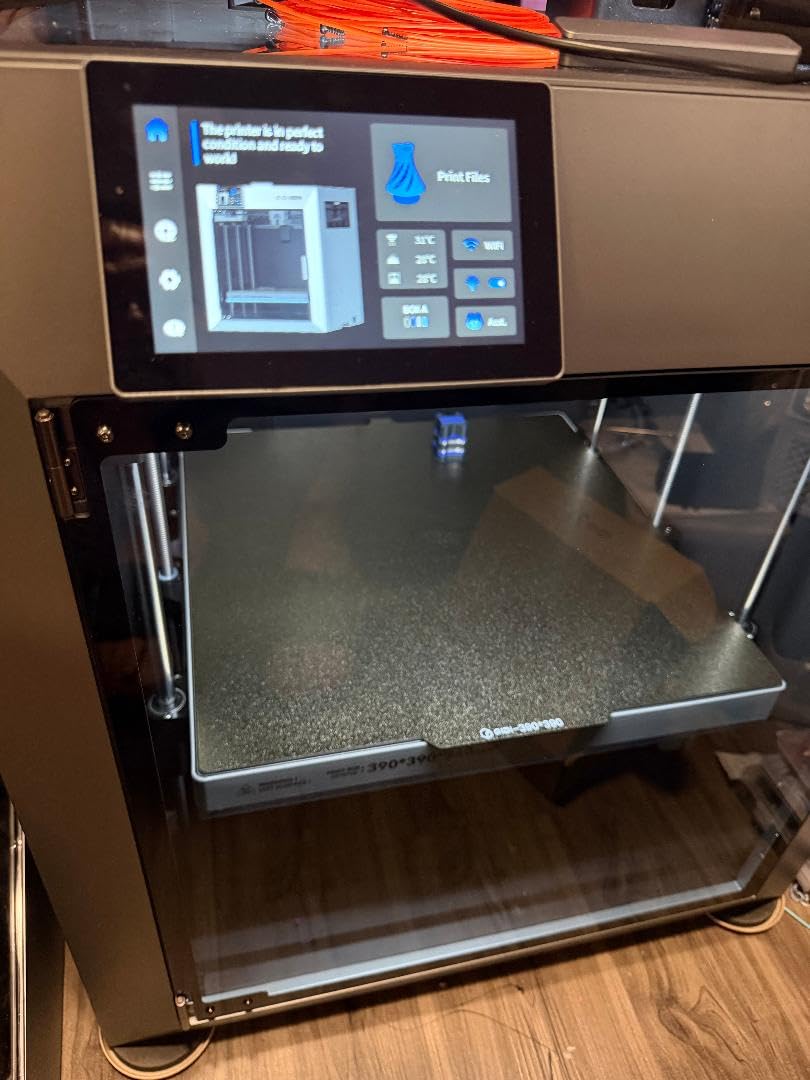
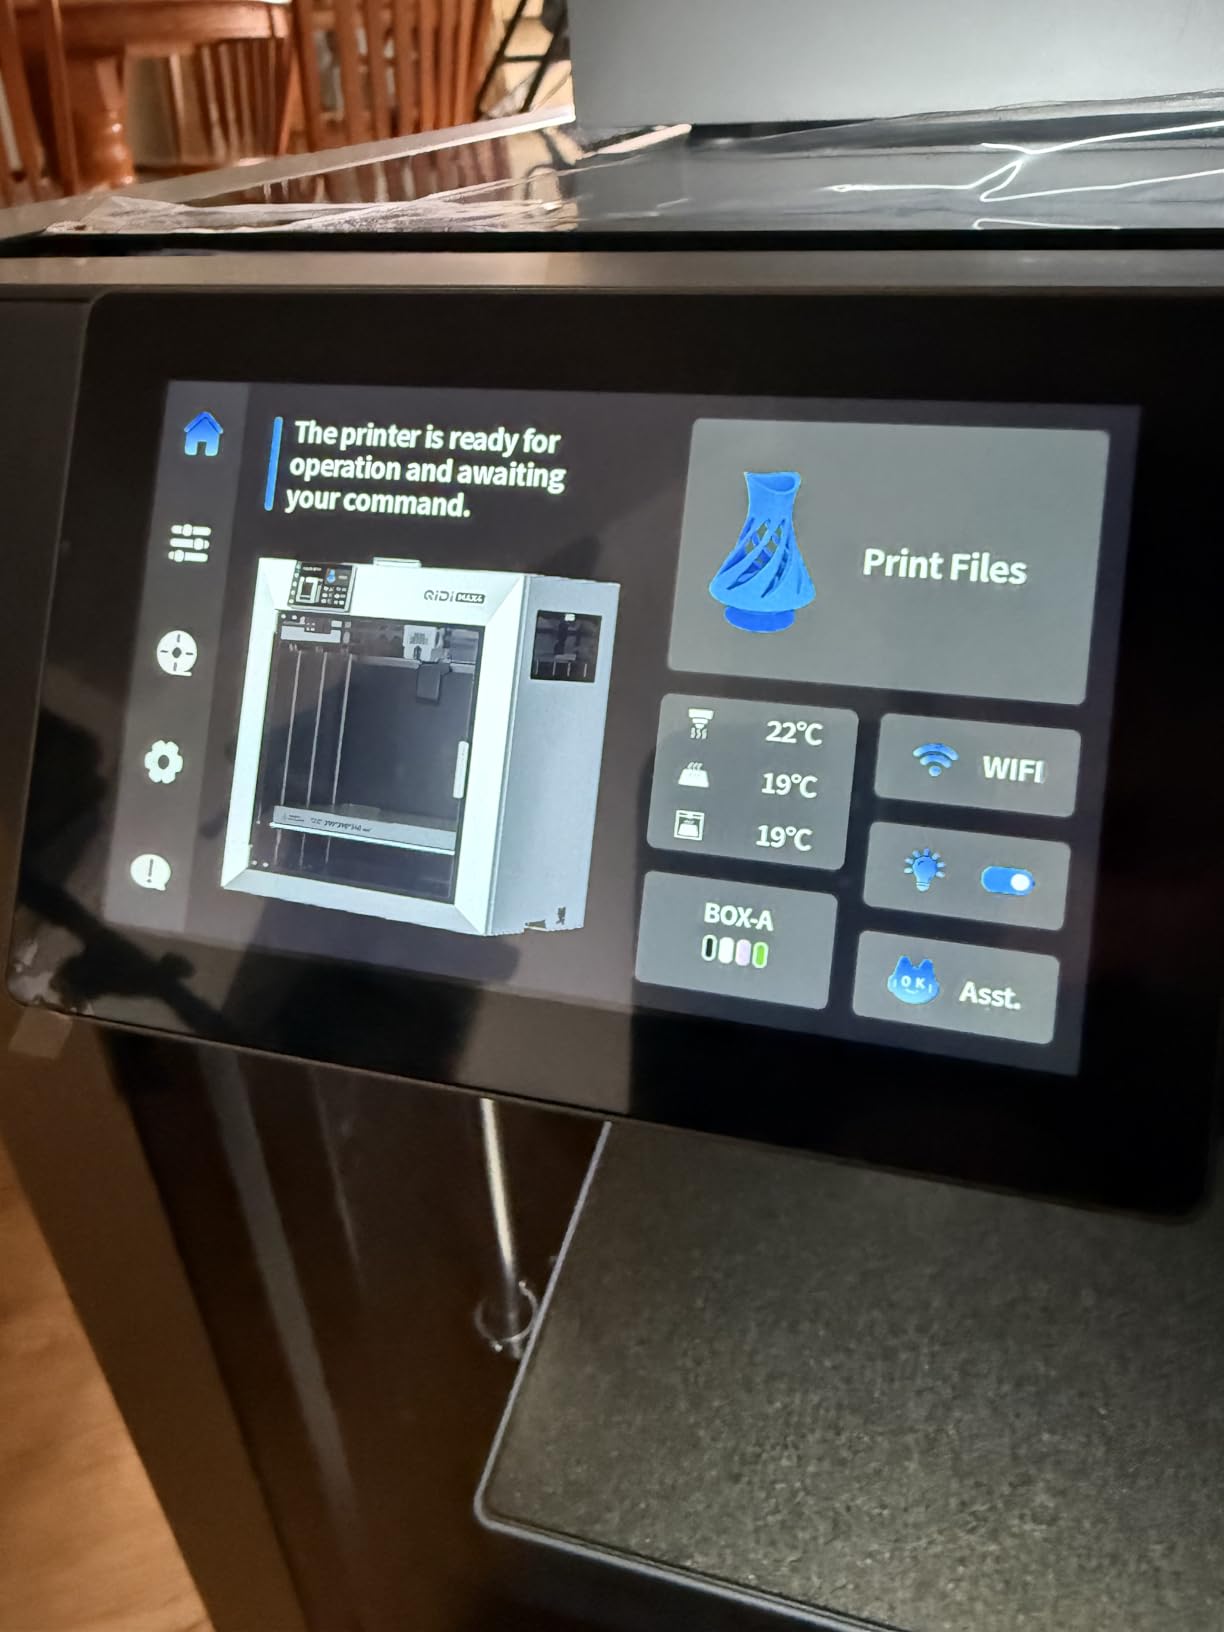
The Max4 Combo is the pick when the prop has to survive heat. A 65C actively heated chamber is the highest in this roundup, and combined with a 40mm3/s hardened high-flow hotend it is the only machine here that reliably takes PC and PPS-CF as well as ABS and ASA.
For outdoor cosplay, a car boot display or a sunlit convention, that material capability is the difference between a prop that keeps its shape and one that bows.
It also self-calibrates on power-up, so there is no paper-clearance test and no manual levelling. At 800mm/s with 30000mm/s2 acceleration and closed-loop X and Y motors, large prints stay accurate at speed rather than ringing.
Why the heated chamber is worth the cost
Engineering filaments contract as they cool. A panel printed at 65C chamber temperature relaxes evenly, so corners stay flat and the part does not warp while you are fitting it to a body.
The full-surface silicone heated bed spreads heat evenly across a 390mm plate, which gives a large first layer consistent grip for the whole print rather than just at the centre.
At 390 x 390 x 340mm, the build volume is 55 percent larger than the previous MAX3 generation, which is the practical difference between a helmet that needs splitting and one that does not. The 2mm Z lead screw with an anti-backlash nut keeps layer height steady on prints that run for a day.
Where the Max4 Combo falls short
At 120 pounds and 28 by 28 by 30 inches, it needs a heavy dedicated table. This is not a machine you move between a bedroom and a desk between prints.
The multi-filament magazine lacks a dryer and does not auto-switch when a spool runs out, and its sync with the slicer software is inconsistent. With only 30 reviews the long-term record is still thin, so treat the reliability claims as early rather than proven.
6. Flashforge Adventurer 5M Pro – Best Value Enclosed Printer
- Quietest published figure in the roundup at under 50dB
- Three-second tool-free nozzle swap across four sizes
- One-click full auto levelling
- Handles ABS ASA and PETG-CF at 280C
- Power loss recovery and filament detection
- 220mm cube limits helmet-scale prints
- Bundled installers can clash with new macOS versions
- Reports of head crashes and repeated clogging
This is the quietest machine I tested, and the published under-50dB figure matches what I measured at normal print speed. If you print at night or share a wall with someone who works shifts, that changes what you can get done.
The three-second tool-free nozzle swap across 0.25, 0.4, 0.6 and 0.8mm is more useful for cosplay than it sounds. A 0.6mm nozzle halves the time on a thick armour shell, and swapping takes seconds rather than a cool-down.
One-click auto levelling gave a reliable first layer on the very first job, and the dual filtration in the fully enclosed chamber makes ABS and ASA practical indoors. Filament detection and power loss recovery are both real conveniences on long prints.
At 1061 reviews it is the second most validated machine here, and FlashForge customer service is repeatedly described as fast with refunds and replacements rather than scripted responses.
What the Adventurer 5M Pro is genuinely good at
It is a strong choice for gauntlets, bracers, buckles, masks, visors and prop weapons. Everything inside a 220mm cube prints well, and the enclosed chamber keeps the surface finish tight.
For a beginner, the combination of one-click levelling, an enclosed filtered chamber and quiet running is the least frustrating entry point in this roundup.
Where the 5M Pro is the wrong tool
A 220mm cube is the real limit. A full-size helmet shell does not fit, so you are back to splitting the model into sections and dealing with the seams the larger machines avoid.
Critical reviews concentrate on part failures, head crashes and clogs rather than print quality, and the bundled installer software can be incompatible with the newest macOS versions. Keep a spare nozzle and hotend assembly on the shelf.
7. Flashforge AD5X – Best Budget Route to Four-Colour Props
- Four colours from four spools with no external unit
- Automatic spool switching when a colour runs out
- Printing within about an hour of unboxing
- Add-on enclosure kit unlocks ABS and ASA
- Heavy purge waste on colour changes
- Firmware and app updates reported as buggy
- No soft power button
- 0.4 nozzles reported to wear out quickly
The AD5X is the cheapest way into native four-colour printing in this roundup. Four spools feed from the machine itself, and it detects and switches filament automatically when a colour runs out mid-print, so a long multi-colour job does not stop.
Layer quality at 600mm/s on the all-metal CoreXY frame was better than I expected for the money, and setup took under an hour from opening the box.
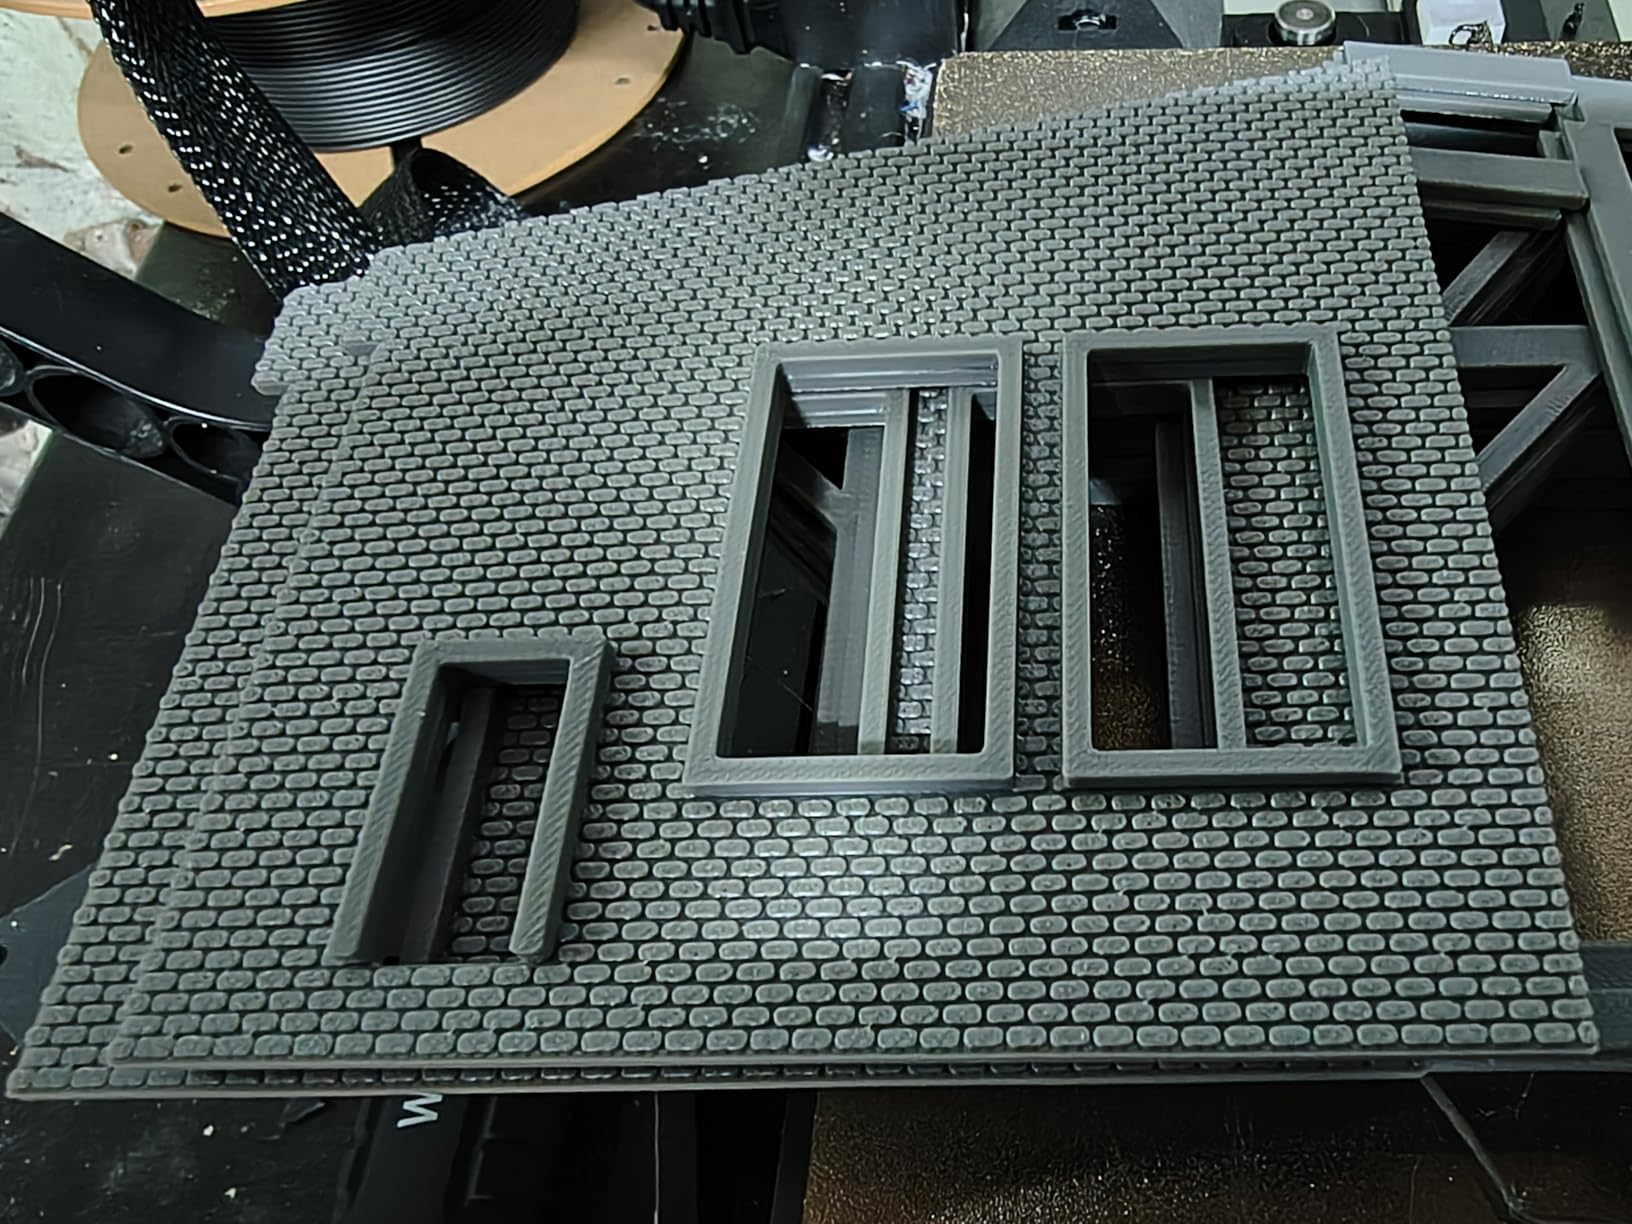
Many owners now run two of them, which is the clearest signal that the design holds up over time. The 300C maximum nozzle temperature also leaves room for tougher materials later.
Flexible TPU support is a bonus for armour straps and lacing, though the 220mm cube keeps this an accessory and gauntlet machine rather than a helmet printer.
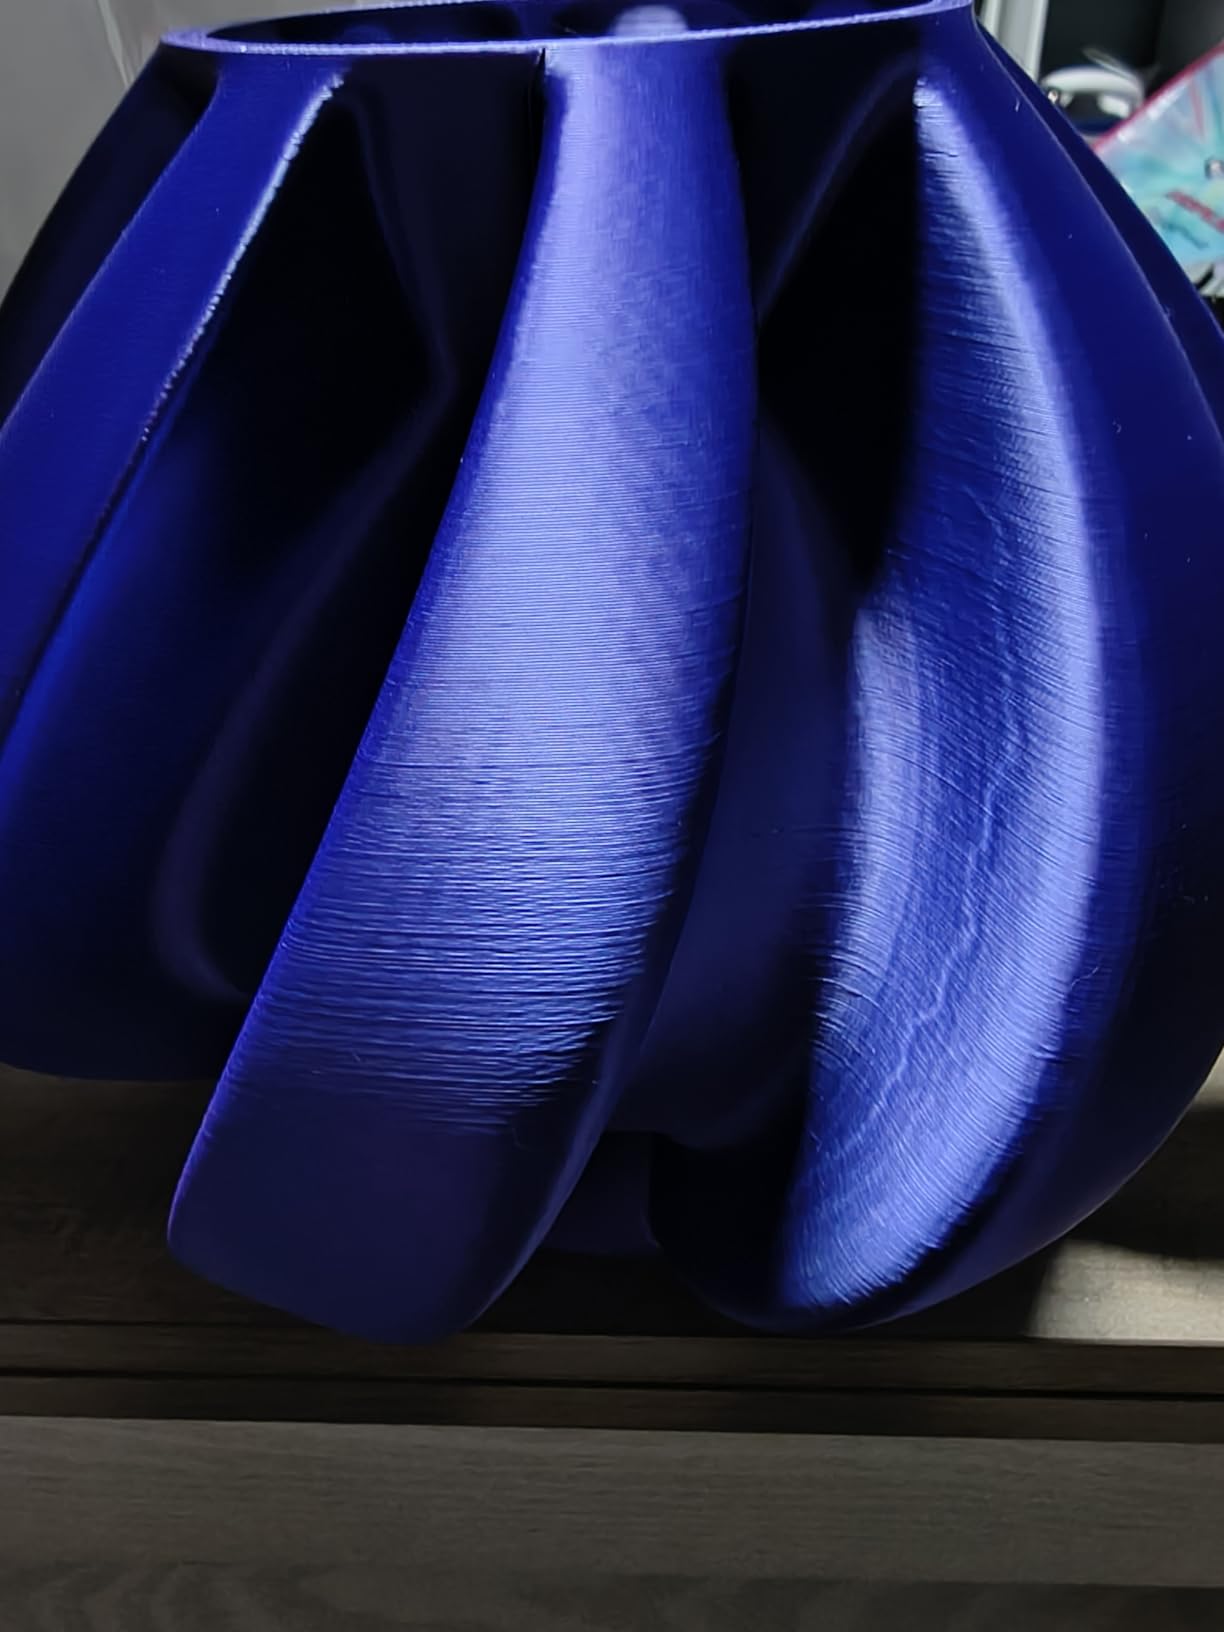
Why the AD5X makes sense for beginners
Multi-colour printing without an external magazine means no extra boxes on the desk and no extra setup steps. For a first costume with two or three accent colours, that is the whole feature set you need.
The add-on enclosure kit is worth considering immediately. It converts a PLA and PETG machine into one that handles ABS and ASA properly, which matters if your prop will live in a hot car.
Where the AD5X causes problems
Purge waste is heavy. Each colour change flushes material, and on a complex emblem with many boundaries you can burn through a lot of filament doing it, so price your filament before planning a four-colour piece.
Firmware and app updates are the biggest complaint, with several reports of updates breaking function. Some machines have also failed after about a month with heat calibration errors and part-by-part warranty service, and there is no soft power button on the machine.
8. Creality SPARKX i7 Combo – Easiest Printer to Start On
- Printing about 30 minutes after unboxing
- Generous 260mm cube for the class
- Print quality rivals costlier machines on PLA and silk
- AI camera and app for remote monitoring
- Four-colour CFS Lite included in the box
- Lowest rating here at 3.8
- Build quality feels lighter than premium rivals
- Large colour-change purge waste
- Support response times reported at 10 days or more
At 95% pre-assembled, this is the machine I would hand to someone who has never owned a printer. Owners report a first print within roughly half an hour of delivery, and the 260mm cube is generous for the class.
Several buyers came from Bambu Lab machines and found the print quality comparable on PLA and PLA Silk. Night mode for silent, light-free printing is a thoughtful touch if the machine lives in a bedroom.
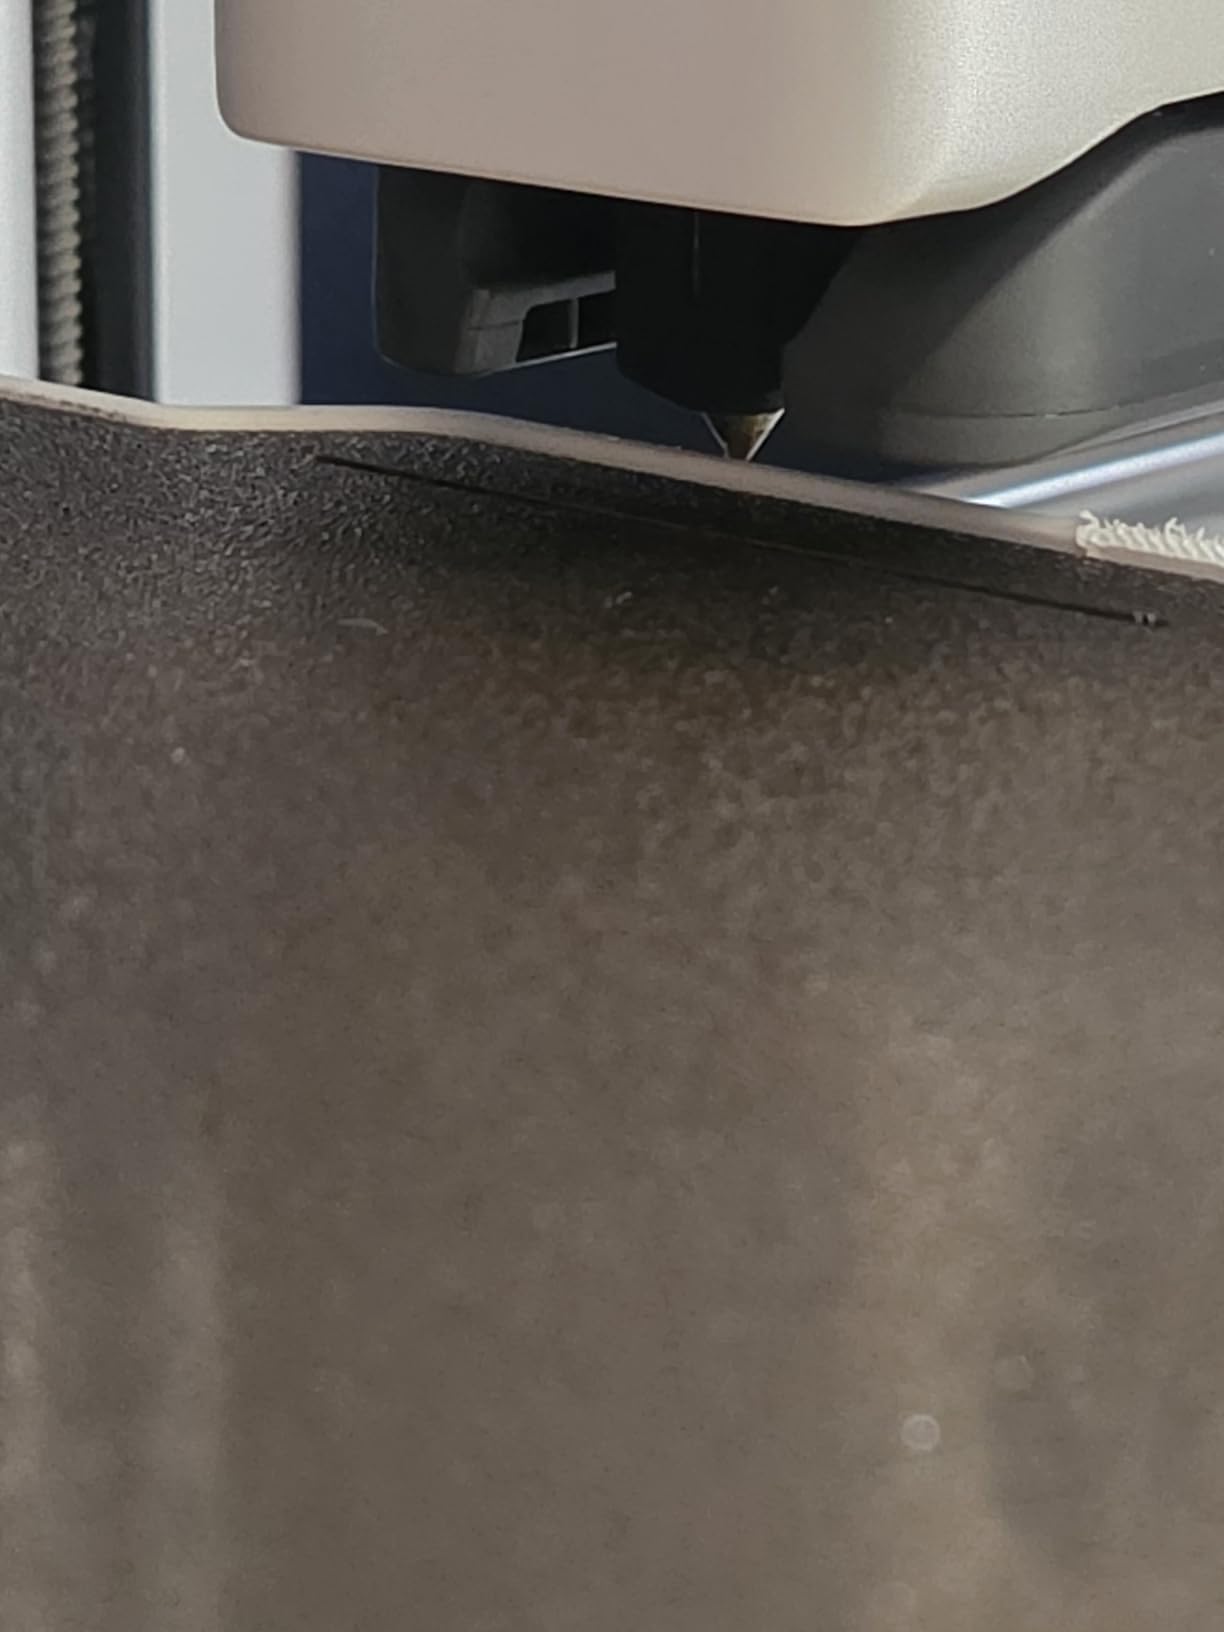
The CubeMe AI feature turns a portrait into a 3D model, which is a fun way to make a quick visor gem or a convention badge, even if it is not something you will use every day.
Automatic bed levelling and the built-in AI camera for spaghetti and filament tangle detection reduce the two most common beginner failures to near zero.
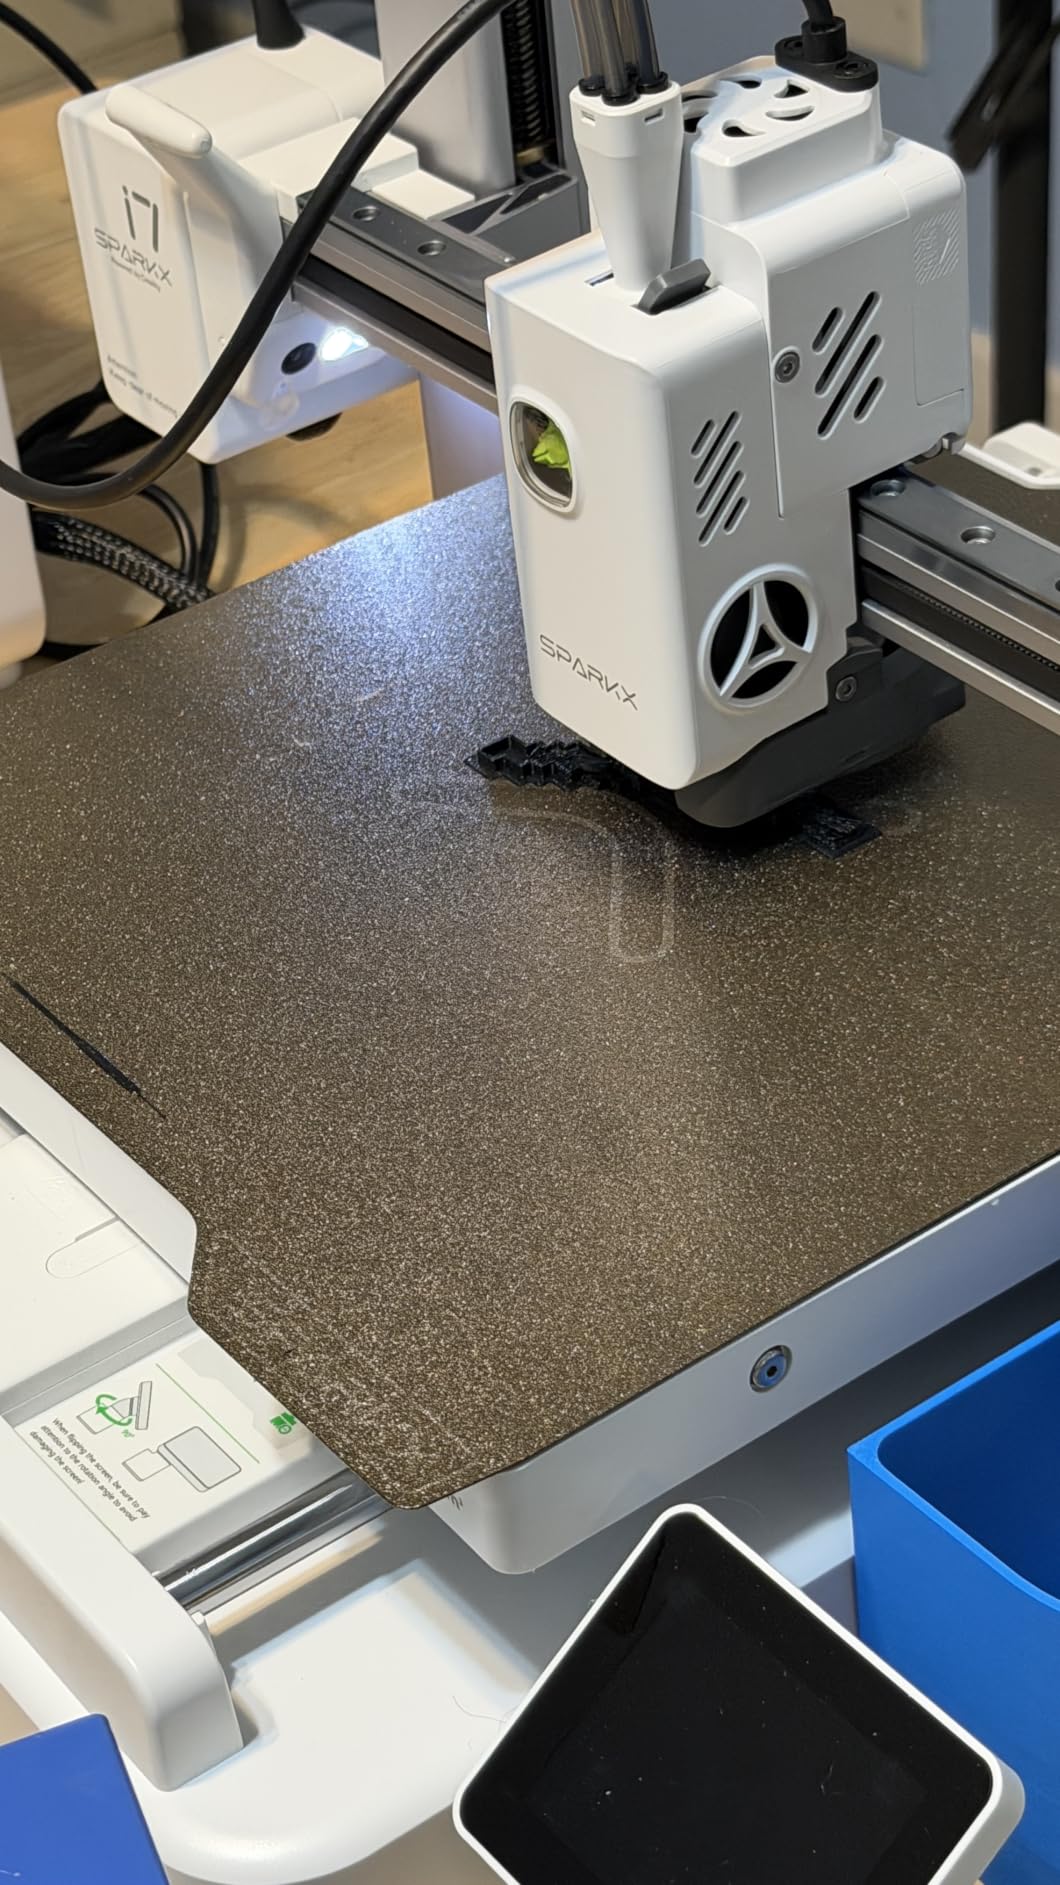
Where the SPARKX i7 earns its place
It removes the whole calibration learning curve. If you want to spend your evenings painting rather than tuning, a machine that is 95% assembled and self-levelling is worth a lower ceiling on quality.
The four-colour CFS Lite adds multi-colour capability in a single box, with a reduced purge system compared with larger multi-filament units.
Why it sits at the bottom of this list
Reliability is the issue. Owners report bed heating faults, filament sticking, clogs and connectivity dropouts, and the 3.8 average is the lowest in the roundup for a reason.
Support response times are reported at ten days or more, and the single hotend uses costlier replacement parts with a limited accessory library. For a first printer on a small budget it is a reasonable entry, but for a deadline-driven armour build pick something with a stronger record.
What Size 3D Printer Do You Need for Cosplay?
Measure the largest single piece you want to print, not the whole costume. Accessories and gauntlets fit a 220mm cube, a full-size helmet usually needs 250mm or more, and one-piece armour shells need a 300mm-plus bed. If you plan to print helmets as a single shell, a 400mm cube such as the Ender 5 Max removes most of your finishing work.
Next, check the enclosure. PLA and PETG print fine on an open frame, while ABS and ASA need a closed chamber to stop the part cooling unevenly. The Creality K2 Plus Combo and QIDI Max4 Combo both actively heat the chamber, and the Bambu Lab P1S and Flashforge Adventurer 5M Pro are enclosed without active heating.
Print speed matters less than the community consensus suggests. Headline figures describe short acceleration bursts, not the sustained rate of a 200mm outer wall. A CoreXY machine that holds quality at 150mm/s will finish a helmet sooner than a bed slinger that peaks higher and rings.
Reliability over long jobs is the factor that decides whether a weekend is wasted. A print that fails at hour twenty is the single most common complaint from cosplayers, and auto bed levelling, power loss recovery and AI failure detection all exist to reduce that risk.
Noise is worth checking if you share a space. Enclosed machines are quieter, and the Adventurer 5M Pro is the only one in this roundup with a published figure, at under 50dB. Our beginner printer guide covers quiet options in more detail.
Finally, look at wearability. A prop you wear for eight hours needs to be hollow, with low infill in flat panels and reinforced edges. Solid blocks are for display pieces, not costume pieces.
Should I Use PLA or PETG for Cosplay?
Use PLA for display props and indoor pieces, PETG for anything you wear, and ASA or ABS only in an enclosed printer. PLA prints clean, sands beautifully and needs the lowest temperature, but it softens in a hot car or a sunny hall. PETG is tougher and heat-resistant, and its slightly rougher surface takes filler primer and paint well. ASA and ABS handle outdoor heat and impact but warp badly on an open frame.
PLA for indoor display armour, masks, helmets on a stand, and any piece you will paint heavily. Easiest to sand, lowest warp, no enclosure needed.
PETG for worn pieces, gauntlets, bracers, straps and anything that may be dropped. Holds shape at body temperature and takes impact.
ABS or ASA for outdoor events, vehicle props and sun-exposed pieces. ASA weathers UV better. Both need an enclosed printer with chamber control.
TPU for flexible trim, lacing and soft-touch edging. Needs a direct-drive extruder, which every printer in this roundup has.
If your parts need fine surface detail rather than size, resin is a different tool entirely. Our resin printer guide covers insignia, visor lenses and buckles, which are the pieces FDM handles worst.
How Do You Get Rid of Layer Lines on a 3D Printed Prop?
Layer lines come off in a fixed order, and skipping a step drags the grit you just used into the next one. Work through this sequence and budget several hours per helmet for finishing alone.
Remove supports while the part is still warm, working from the largest features inward with flush cutters and a scraper.
Sand through 120, 240 and 400 grit, always with the layer direction, then finish with 600 grit if the piece will be painted gloss.
Fill low spots and seam lines with filler primer or a two-part epoxy putty, then sand the filler back flush while it is still workable.
Prime with a spray filler primer, which gives paint something to grip and evens out the sheen across the print.
Base coat in thin, even passes, letting each dry fully before the next to avoid runs on vertical armour faces.
Detail and clear coat with your colour scheme, then a matte or satin clear coat to unify the finish across sanded and unsanded surfaces.
Our decorative print guide covers the same finishing workflow for wall pieces if you want more detail on surface prep.
Can You Wear a 3D Printed Prop for a Full Convention Day?
Yes, but weight is the design constraint, not the printer. A cosplay forum recurring complaint is a prop that looks right and becomes unbearable by hour four, and the fix is in how you slice the file rather than which machine prints it.
Hollow every shell to a wall thickness of roughly 1.2 to 1.6mm with two or three perimeters. Drop infill to around 10 percent in flat panels, keep 20 to 30 percent in joints and stress points, and add solid blocks around strap anchors and buckle mounts where load concentrates.
Round off or chamfer every edge that touches skin. A raw layer edge on a helmet rim or a pauldron is the fastest route to a mark across your face, and the fix costs nothing at slicing time.
Finally, test fit before you paint. Wear the raw print for an hour at home. If it moves, the seam gap has not been finished yet, and adding a lining in flexible TPU solves most pressure points before you commit to a paint job.
Is It Legal to 3D Print and Sell Cosplay Props?
Printing for your own use is generally fine, and selling props made from designs you created or modified is also fine. The risk sits with replicas of protected characters, trademarked logos and team insignia, which can infringe intellectual property even when the file was free to download. Many convention events also restrict oversized or weapon-shaped props regardless of how they were made.
Keep records of where each model came from, use commercially licensed files when you are paid for a build, and remove third-party logos before selling. If a commission involves a real brand, check the event rules before you start printing.
How Long Does It Take to 3D Print Cosplay Armour?
Print time depends far more on layer height and infill than on the printer’s advertised speed. A rough guide for a full suit: a small accessory takes 2 to 6 hours, a helmet takes 14 to 40 hours, a chest plate takes 20 to 40 hours or more, and a complete suit runs 100 to 300 hours of machine time.
Dropping layer height from 0.2mm to 0.12mm increases print time by roughly two thirds, which is the wrong trade for a rough armour shell and the right one for a hero piece photographed up close.
Plan backwards from your convention date. With a 30-hour chest plate and a 20-hour helmet, you are looking at two full days of uninterrupted machine time, plus finishing, plus a dry fit, plus a contingency print for the part that fails.
Frequently Asked Questions
Is there anything illegal to 3D print?
Printing for your own use is generally fine, and selling props from designs you made or modified is also fine. The risk is replicas of protected characters, trademarked logos and team insignia, which can infringe intellectual property even when the model file was free to download. Many convention events also restrict oversized or weapon-shaped props, so check event rules before printing.
Should I use PLA or PETG for cosplay?
Use PLA for indoor display props and indoor pieces, PETG for anything you will wear, and ABS or ASA only in an enclosed printer. PLA sands and paints easily but softens in heat, PETG is tougher and heat-resistant, and ASA and ABS handle outdoor conditions but warp on an open frame.
Is FDM or resin better for cosplay?
FDM is better for armour, helmets, gauntlets and oversized props because it prints large hollow parts quickly and cheaply. Resin is better for insignia, visor lenses, buckles and small accessories where fine surface detail matters. Most cosplayers own one FDM machine and borrow or add resin for detail work.
Do I need an enclosure for cosplay printing?
Only if you plan to print ABS or ASA. PLA and PETG print reliably on an open frame. ABS and ASA shrink as they cool, so they need a closed chamber, and large parts need active chamber heating. If you print PLA and PETG only, an open-frame machine is fine.
What size 3D printer do I need for cosplay?
Measure the largest single piece you want to print. Accessories and gauntlets fit a 220mm cube, a full-size helmet needs roughly 250mm or more, and one-piece armour shells need a 300mm-plus bed. A 400mm cube removes most of the seam finishing on a helmet.
Is Bambu or Prusa better for cosplay props?
Bambu Lab wins for most cosplayers because machines like the P1S print well out of the box, run fast and support multi-colour printing. Prusa wins on repairability, open firmware and quiet running. For props, where a 20 to 40 hour job has to survive without intervention, the out-of-box experience matters more.
Which 3D Printer Should You Buy for Cosplay Props?
Buy the Creality K2 Plus Combo if you want one machine to cover multi-colour panels, large format and engineering materials without compromise. Its sixteen-colour CFS and 60C actively heated chamber remove the two biggest time sinks in an armour build: hand-painting between colours and warped large parts.
Buy the Bambu Lab P1S if you want the least fuss and the strongest overall record in this roundup, and the Creality Ender 5 Max if printing helmets as a single shell matters more than anything else. Move up to the QIDI Max4 Combo only when ASA, ABS or polycarbonate is a hard requirement.
Whatever you choose, plan the finishing time before the print time. Sanding, filler, primer and paint take longer than the machine does, and a prop that is comfortable to wear matters more at a convention than a perfect surface. Our 2026 roundup of the best 3D printers overall is a good next read if you want the wider market context.