
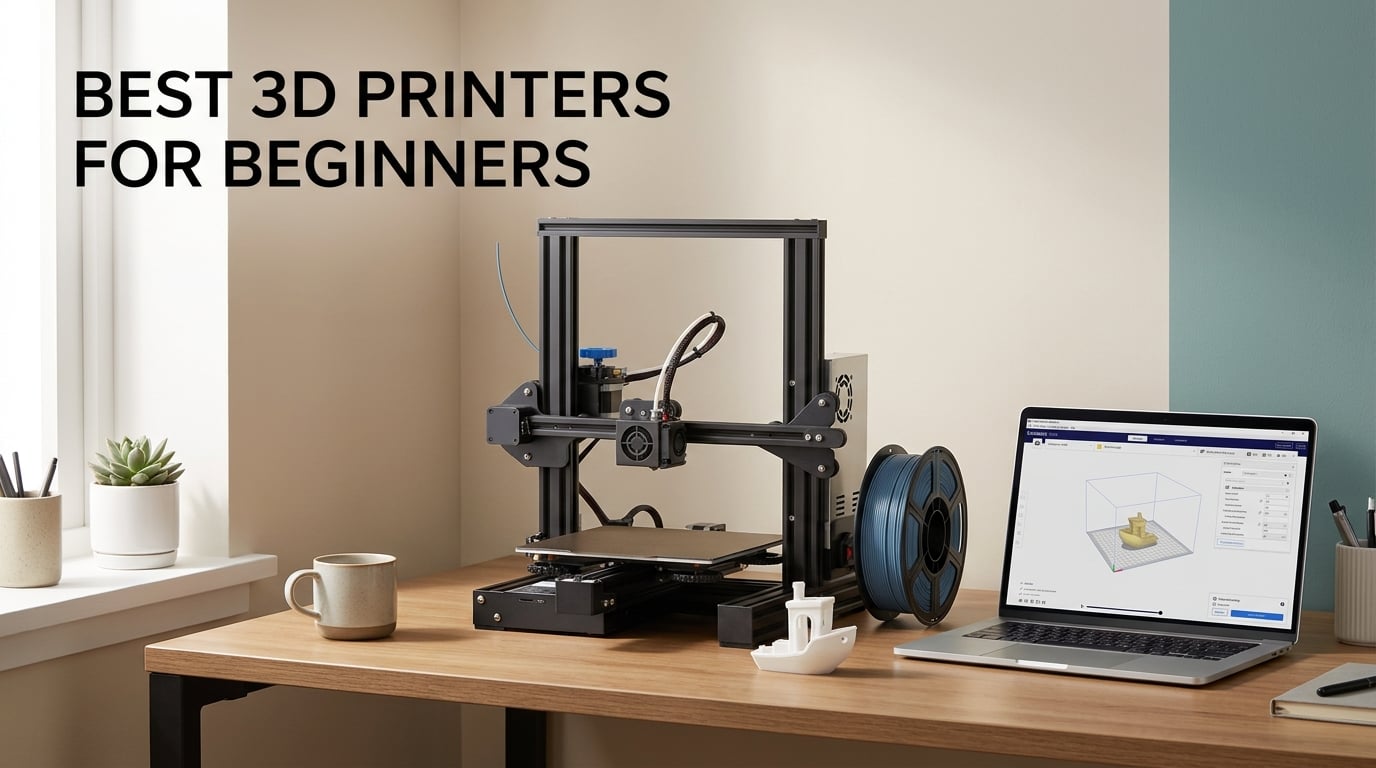
The best 3D printers for beginners are the Bambu Lab A1, the Creality Ender 3 V3 SE and the FLASHFORGE Adventurer 5M. The Bambu Lab A1 takes the top spot because it arrives fully assembled, calibrates itself for bed level and Z-offset the moment you power it on, and keeps printing reliably without weekly tinkering. That combination is what decides whether a first print succeeds and whether you keep going.
A first printer is not a spec-sheet purchase. It is a patience purchase. The machine that wins for a beginner is the one that produces a decent first layer on a Tuesday evening when you have just come home from work, not the one with the highest acceleration figure on the box. Every pick in this guide was chosen on that basis: automatic calibration, out-of-the-box readiness, dependable first-layer adhesion and a build platform big enough for something you would actually want to keep.
We spent weeks reading owner reviews, failure reports and long-term reliability threads for all eight machines below, then compared the specifications that change day-to-day life: build volume, filament handling, enclosure or open frame, noise, and whether the software holds your hand or hands you a checklist. Last updated for 2026, and every pick links to the current listing so you can check today’s price and rating yourself.
If you are still deciding between very different types of machine, our [best overall 3D printers guide](https://www.peggyomara.com/best-3d-printers/) covers the wider field, and our [3D printers for kids guide](https://www.peggyomara.com/best-3d-printers-for-kids/) goes deeper on machines aimed at younger users.
Table of Contents
Top 3 Best 3D Printers for Beginners in 2026

Bambu Lab A1
- Full-auto bed leveling and Z-offset
- 10000 mm/s2 acceleration
- 1-Clip quick swap nozzle
- Quiet active motor noise canceling

Creality Ender 3 V3 SE
- CR Touch auto leveling and Z-offset
- 250mm/s with 2500mm/s2 acceleration
- Sprite direct drive for PLA PETG TPU
- About 20 minute assembly

Bambu Lab P1S
- Fully enclosed build chamber
- 500mm/s with 20
- 000 mm/s2 acceleration
- Built-in camera and time-lapse
- Setup in about 15 minutes
At a Glance: All 8 Beginner 3D Printers (October 2026)
The table below puts all eight picks side by side so you can rule machines in or out without opening eight tabs. Every one of them arrives as a finished machine rather than a kit, every one has automatic bed levelling, and every one prints PLA and PETG on a standard hot end. The differences that matter to a beginner are build volume, whether the chamber is enclosed, whether multi-colour is included, and how big the machine is on your desk.
| Product | Specifications | Action |
|---|---|---|
| Bambu Lab A1 |
|
Check Latest Price |
| Creality Ender 3 V3 SE |
|
Check Latest Price |
 FLASHFORGE Adventurer 5M FLASHFORGE Adventurer 5M |
|
Check Latest Price |
 TINA2S Mini 3D Printer TINA2S Mini 3D Printer |
|
Check Latest Price |
| Bambu Lab P1S |
|
Check Latest Price |
 FLASHFORGE AD5M FLASHFORGE AD5M |
|
Check Latest Price |
 ELEGOO Centauri 2 Combo ELEGOO Centauri 2 Combo |
|
Check Latest Price |
 Bambu Lab A1 mini Bambu Lab A1 mini |
|
Check Latest Price |
Two quick notes before the individual reviews. First, if your interest is miniatures, wargaming terrain or jewellery, none of these eight is the right tool and you want the resin route instead. Second, if you are buying for a child or a shared family space, footprint and noise matter more than speed, which changes the ranking entirely.
1. Bambu Lab A1 – Best 3D Printer for Beginners Overall
Bambu Lab A1 3D Printer, Ready-to-Use FDM 3D Printer for Beginners and Kids
- Near-zero ongoing calibration
- Very quiet for a fast printer
- Reliable day-to-day printing
- 1-Clip nozzle swaps in seconds
- Strong owner rating of 4.7 across 671 reviews
- Closed software ecosystem
- Multi-colour needs the AMS lite add-on
- Z-axis fault possible if a module connector is not fully seated
Out of eight machines that all claim to be beginner friendly, the A1 is the one that owners describe with the fewest war stories. It is the highest-rated machine in this group at 4.7 across 671 reviews, and the reason is not a headline specification. It is that the calibration routine runs on its own at power-on, covering bed levelling and Z-offset, so there is no first-night ritual of paper tests and nozzle nudging.
What that buys you in practice is the thing community owners mention most: a first print that succeeds, followed by a hundred more that also succeed. The Active Flow Rate Compensation watches extrusion and corrects for it, which is the difference between a print that looks fine and one that looks the same on layer 40 as it did on layer 4. You would stop noticing this feature within a week, which is the point.
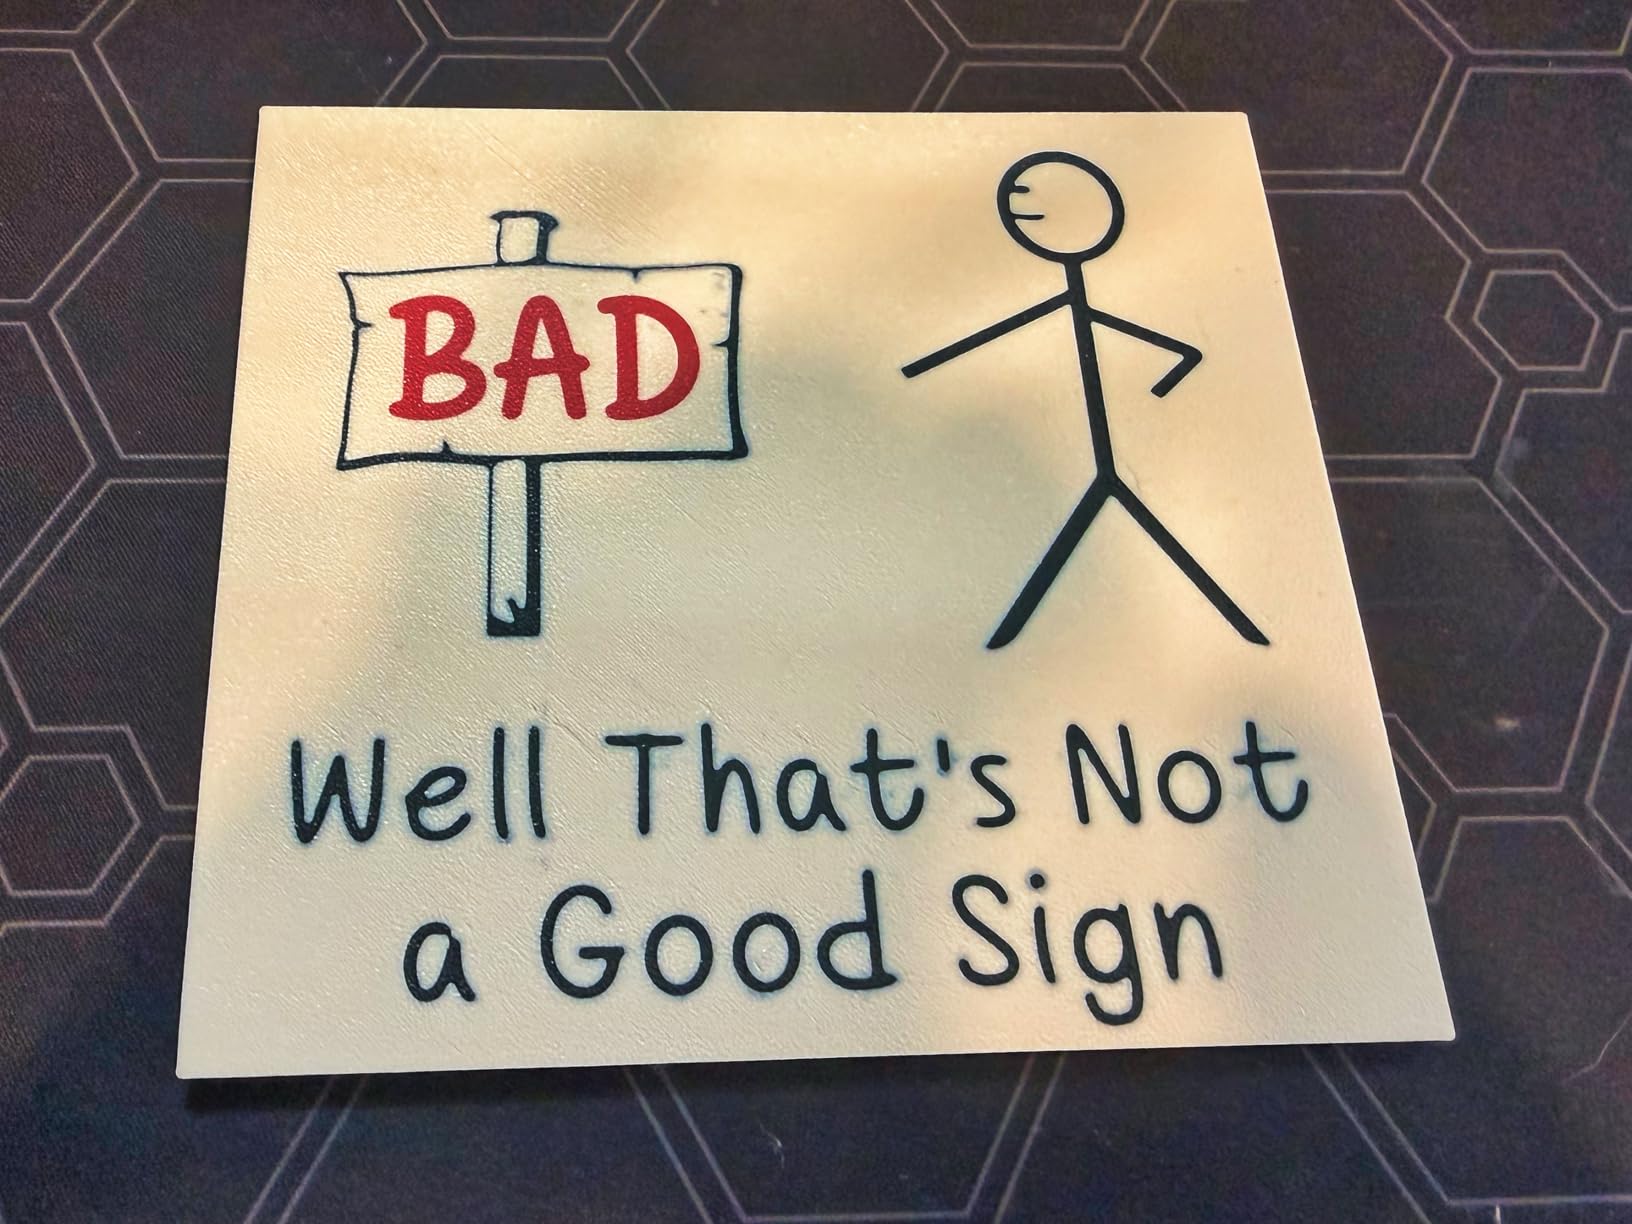
The machine is also genuinely quiet for something capable of this speed, because the active motor noise cancelling takes out the low rumble that usually makes fast printers unusable in a living space. At 22 pounds and just over 12 inches tall, it is compact enough for a home office shelf and heavy enough not to walk across the desk when the bed moves.
The 1-Clip quick swap nozzle is a small detail that saves real time. Swapping a nozzle normally means cooling down, undoing a grub screw or two and re-tensioning a spring. Here it is a single clip, so a clogged nozzle stops being an evening project. Combined with 10,000 mm/s2 acceleration, it also means you are not waiting an hour for a phone stand.
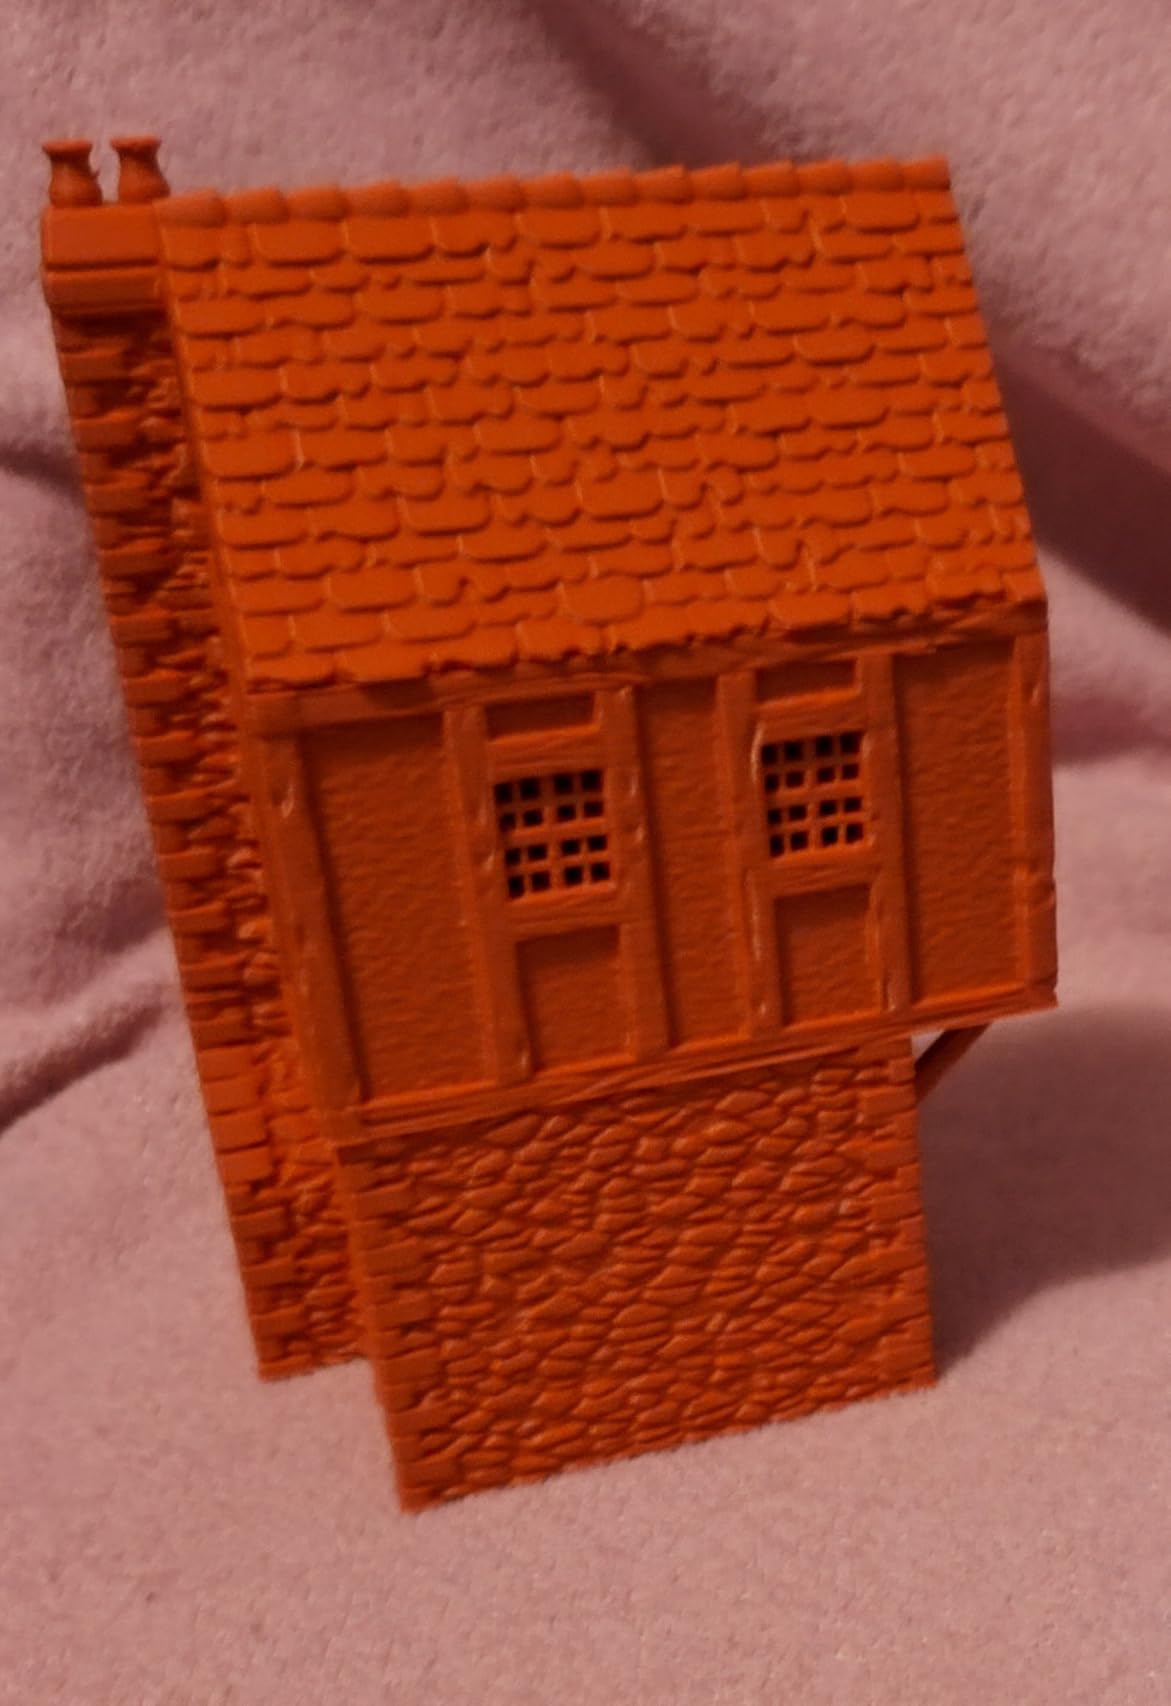
Who the Bambu Lab A1 suits
This is the pick for someone who wants their first print to work and then wants to stop thinking about the printer. Parents buying for a teenager, adults who lost interest in the hobby last time they fought bed levelling, and anyone in a small flat who cannot tolerate a loud machine will find the combination of auto-calibration, quiet running and low maintenance decisive.
It is also the right first machine if your project list is functional rather than decorative. Replacement parts, hooks, brackets, planters, phone stands and desk organisers all sit comfortably within its build volume, and the direct response of the print head to a new model means you iterate quickly rather than once a week.
Where the A1 falls short
Two real limits. The first is the software ecosystem, which is closed: the slicer, the app and the model library are all tied to the manufacturer’s own tools, and buyers who like to work outside that system consistently name it as the thing they would change.
The second is multi-colour printing, which is not included and requires the AMS lite add-on. That is fine if you plan to print in one colour, which most first-time buyers do for months. If two-colour logos and seasonal decorations are the reason you are interested, look at the ELEGOO Centauri 2 Combo instead, which includes a four-colour system in the box.
2. Creality Ender 3 V3 SE – Best Value Beginner 3D Printer
- Lowest entry cost of the eight picks
- About 20 minutes of assembly
- Handles PLA PETG and TPU
- Quiet 32-bit mainboard
- Over 790 owner ratings
- Open frame so no ABS
- Rear power selector set to 220V out of box
- Fan and Y-axis complaints after months
- Build volume shorter than some rivals
The Ender 3 V3 SE has the lowest entry cost of the eight machines here, and the 65 percent of its 791 ratings that are five stars explain why. It is not the most refined machine here, but it is the least likely to leave you feeling that you bought a hobby instead of a printer. Setup is roughly 20 minutes with an Allen key, and CR Touch handles both bed levelling and Z-offset calibration automatically.
Its 250mm/s print speed with 2500mm/s2 acceleration is well short of the CoreXY machines further down this list, and you will feel that on a tall vase-mode print. For functional parts, though, speed rarely matters. The dual synchronized Z-axis lead screws and the Y-axis linear shafts do the work that keeps small parts dimensionally consistent, which is what you actually notice in a printed bracket or a drawer insert.
The Sprite direct drive extruder is the part to understand before you buy. Direct drive means the motor sits right at the nozzle, which gives it fine control over flexible TPU filament that a Bowden tube setup handles poorly. Phone cases, phone grips and other flexible items are simply a material change on this machine, with no hardware swap.
The flexible PC spring steel build plate is another quiet win for a first-timer. Parts pop off with a gentle flex instead of a spatula and a scraped layer, so the difference between a good print and a ruined one after four months of use is much smaller than it would be on a glass plate. The 32-bit silent mainboard also keeps the idle noise down.
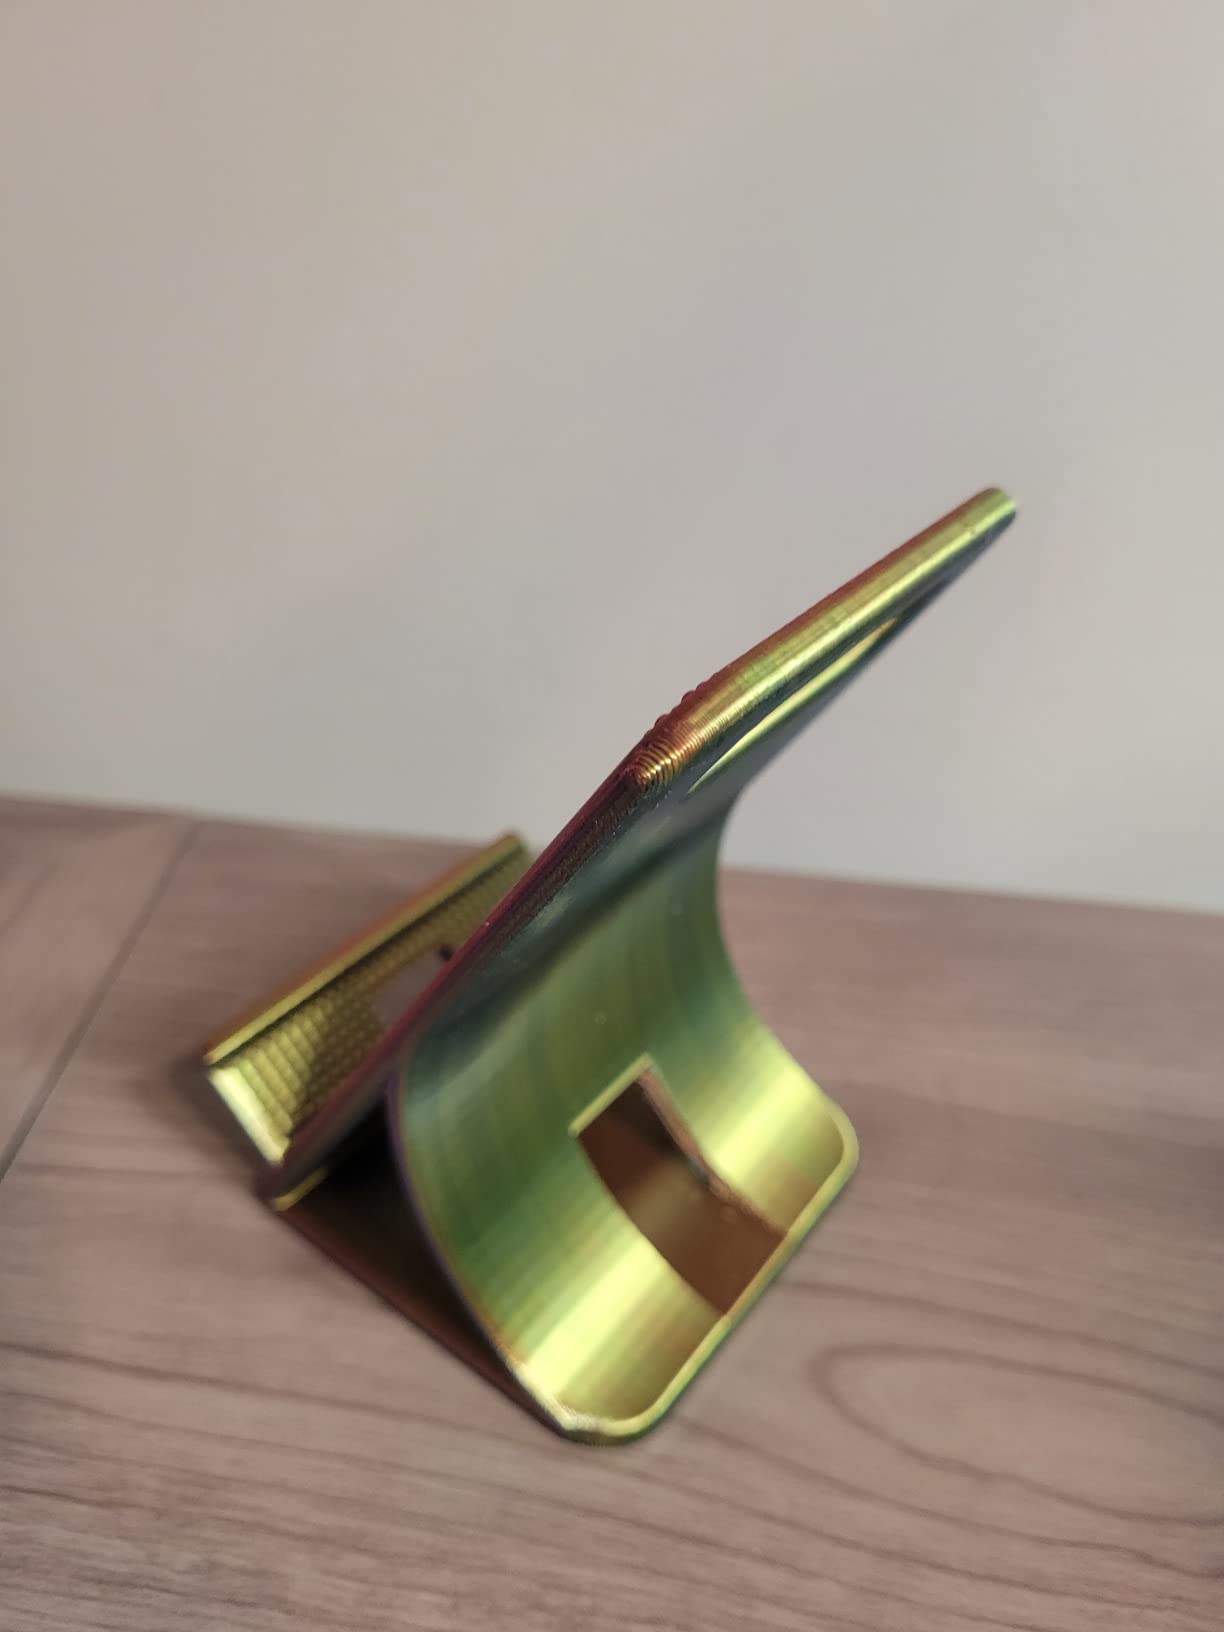
Who the Ender 3 V3 SE suits
This is the machine for someone who wants the lowest entry cost and still expects auto-levelling. If the price of a first hobby feels like a barrier rather than an investment, this removes it. It is also the natural choice for TPU users, since flexible filament is one of the most satisfying things a new owner can print and this extruder handles it directly.
It suits a first project list of functional household items, and it suits anyone who does not mind an open-frame silhouette on the desk. For most people the open frame is a non-issue; PLA and PETG do not need an enclosure.
Where the Ender 3 V3 SE falls short
The open frame rules out ABS and ASA, which need a warm chamber to stick to the bed. That is a real limitation for anyone who wants to print car interiors or outdoor parts in engineering plastic, and it is why an enclosed machine appears higher up this list.
There are also two reliability notes. A recurring minority of owners report noisy cooling fans or Y-axis dragging after a few months of heavy use, which is the trade-off for the lower cost. The rear power selector also leaves the factory set to 220V, which genuinely confuses first-time owners in North America. Check it before the first print, because a wrong setting here is a common and very avoidable first failure.
3. FLASHFORGE Adventurer 5M – Best for Speed and CoreXY Handling
- Printing in about 10 minutes from the box
- Very fast CoreXY motion
- Vibration compensation reduces ghosting
- Sturdy all-metal frame
- Responsive replacement part support
- Small 220mm build volume
- Wi-Fi and app drop mid-print
- No enclosure
- Filament sensor only detects an empty tube
The Adventurer 5M is the machine for someone who cares about how quickly a job finishes. Its CoreXY motion system moves up to 600mm/s with 20,000 mm/s2 acceleration, which is at the top of the range in this group, and owners repeatedly describe it as faster than expected for the money. The all-metal frame gives it a solidity that plastic frames never quite match.
Getting to a first print is the shortest journey of the eight. One-click fully automatic bed levelling handles the plate, and vibration compensation takes out the ringing that produces ghosting on high-speed moves, which means the fast settings are actually usable rather than theoretical. The 50W heater reaching 200C in roughly 35 seconds means a short print does not start with a long wait.
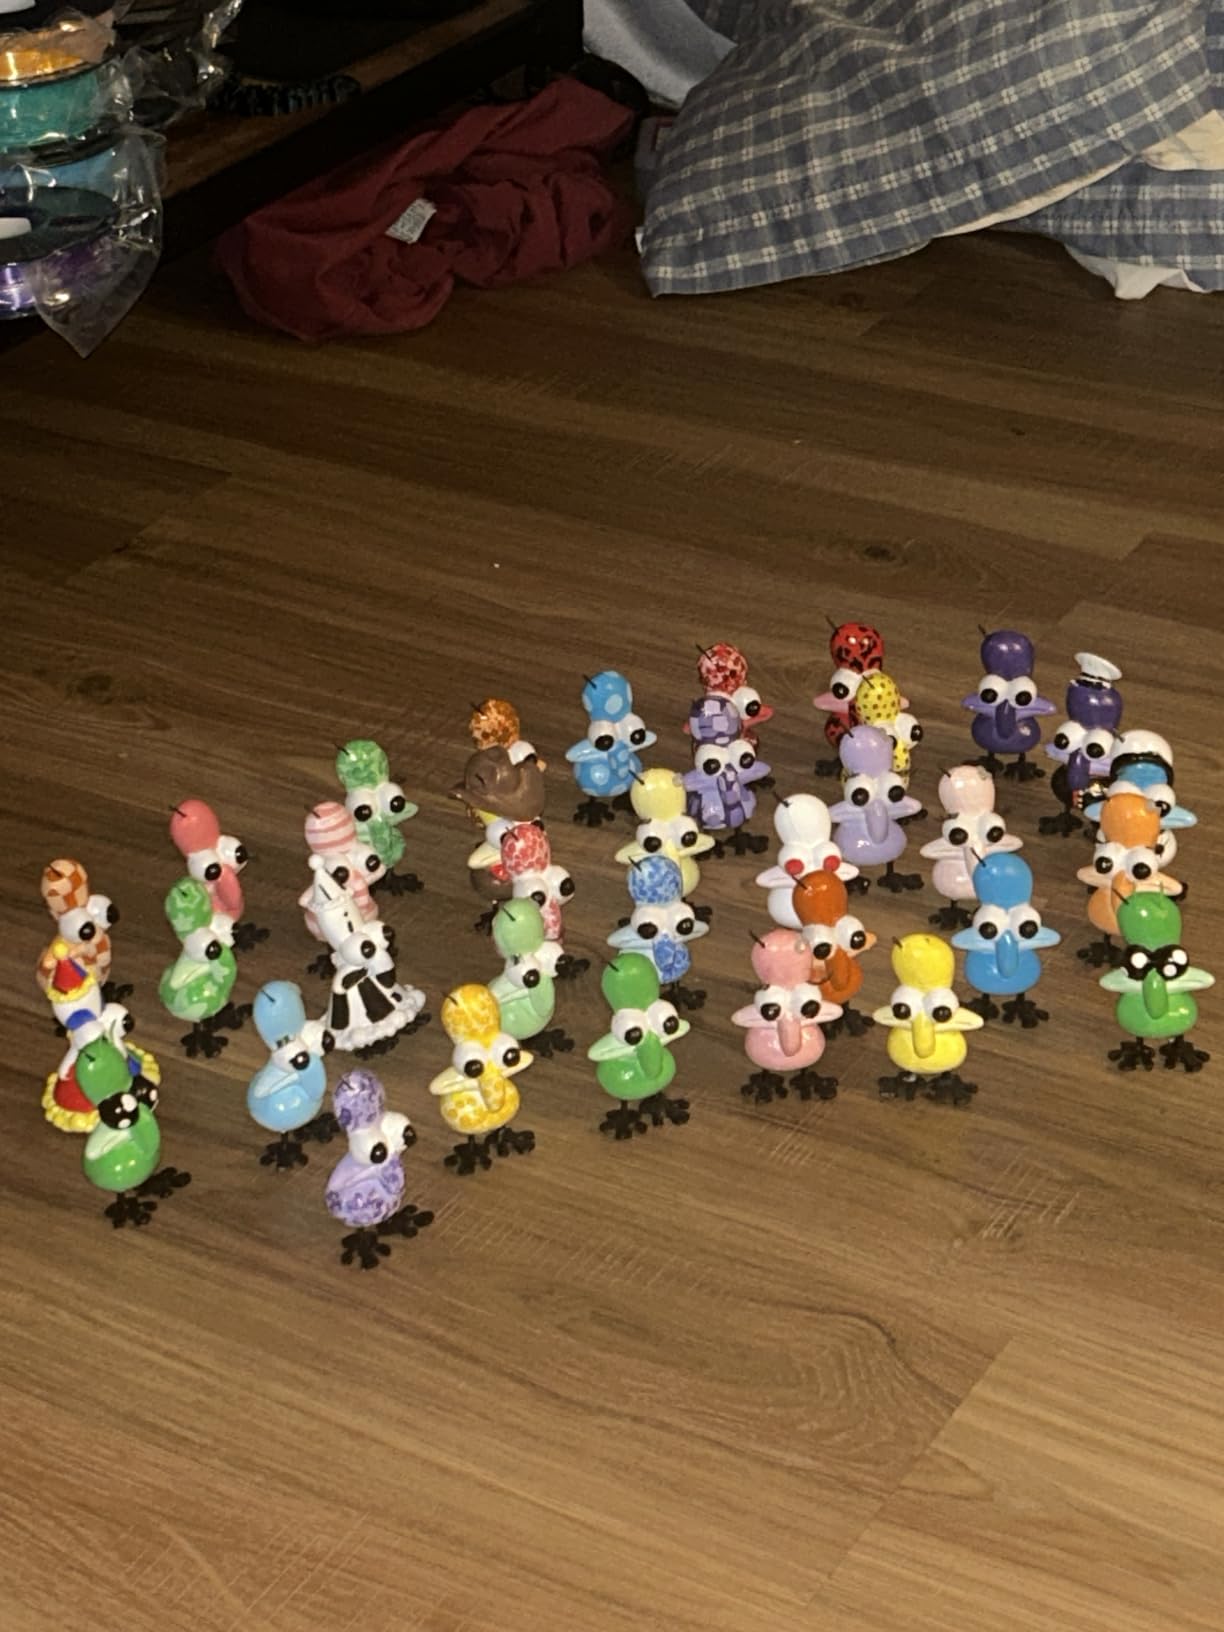
The quick-detachable 280C direct-drive nozzle is worth noting if you plan to move beyond PLA. At that temperature the hot end handles PETG comfortably and gives you headroom for tougher materials later, and the tool-free removal means changing a nozzle is not a reason to put the project off. The dual-sided flexible PEI steel plate is good for both PLA and PETG adhesion and is forgiving of a first attempt.
Run-out detection and power loss recovery are the two features that matter most once you start leaving prints running overnight. The printer pauses when filament runs out and resumes from the last completed layer after a power interruption, so a knocked power lead costs you one layer rather than the whole job.
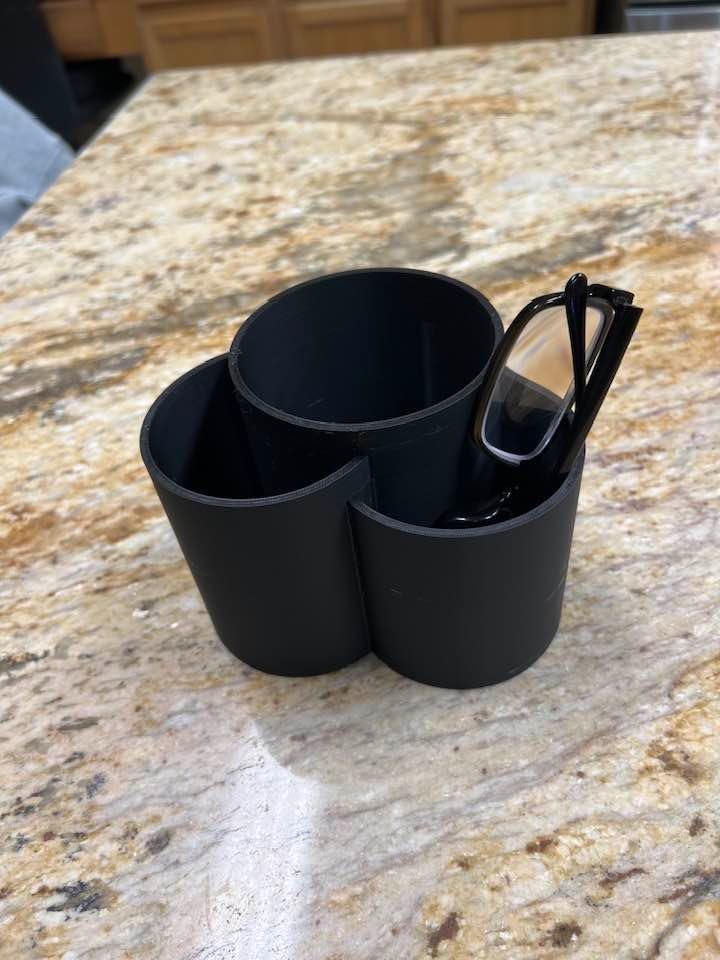
Who the Adventurer 5M suits
It suits people with a long queue of small and medium projects, and anyone who finds waiting for a print genuinely frustrating. Arm brackets, cosplay pieces, terrain, storage boxes and quick replacement parts all benefit from a machine that covers ground quickly, and the fast layer bonding holds detail well on both PLA and PETG.
It is also a good choice for someone who wants CoreXY motion without stepping up to a much larger machine. Just know the frame is 220mm in each direction, which is generous for a desktop part and tight for anything larger.
Where the Adventurer 5M falls short
The 220 x 220 x 220mm build volume is the first limitation to check against your project list. It is a cube, so anything substantially taller or wider is out of reach without a bigger machine.
Connectivity is the second. Owners report Wi-Fi and app connections dropping mid-print, and the filament sensor only detects a genuinely empty tube rather than a tangled spool. Print from a USB stick or the local network when you can, and treat the app as a convenience rather than something to depend on. There is no enclosure here either, so this is a PLA, PETG and TPU machine rather than an ABS one.
4. TINA2S Mini 3D Printer – Best for Kids, Classrooms and Small Rooms
TINA2S Fully Assembled Mini 3D Printer for Kids and Beginners, Starter Kit
- Comes fully assembled so there is no build step
- Very small and light footprint
- Starter kit bundles filament plus a card of models
- Open source and accepts Cura and Slicr3d
- 4.6 rating across 393 reviews
- Small build volume
- Proximity sensor needs the included metal plate
- Wi-Fi and app less polished
- Single-colour and single nozzle only
This is the pick when the person learning to print is a child, a student or an adult with very little free space, and it earns its 4.6 rating across 393 reviews for one reason above all others: it arrives complete. There is no frame to build, no belt to tension and nothing to get wrong before the first print.
At 6.4 pounds and 8.3 x 8.3 x 11.4 inches, it is the smallest and lightest machine in this guide by a wide margin, and that changes what a 3D printer can be in a home. It can live on a shelf in a bedroom, a classroom or a dorm room, and it is light enough for a child to move it themselves. Auto levelling with dual Z-axis rails handles the calibration, and the 2.4-inch LCD keeps the interface simple enough to use without reading a manual.
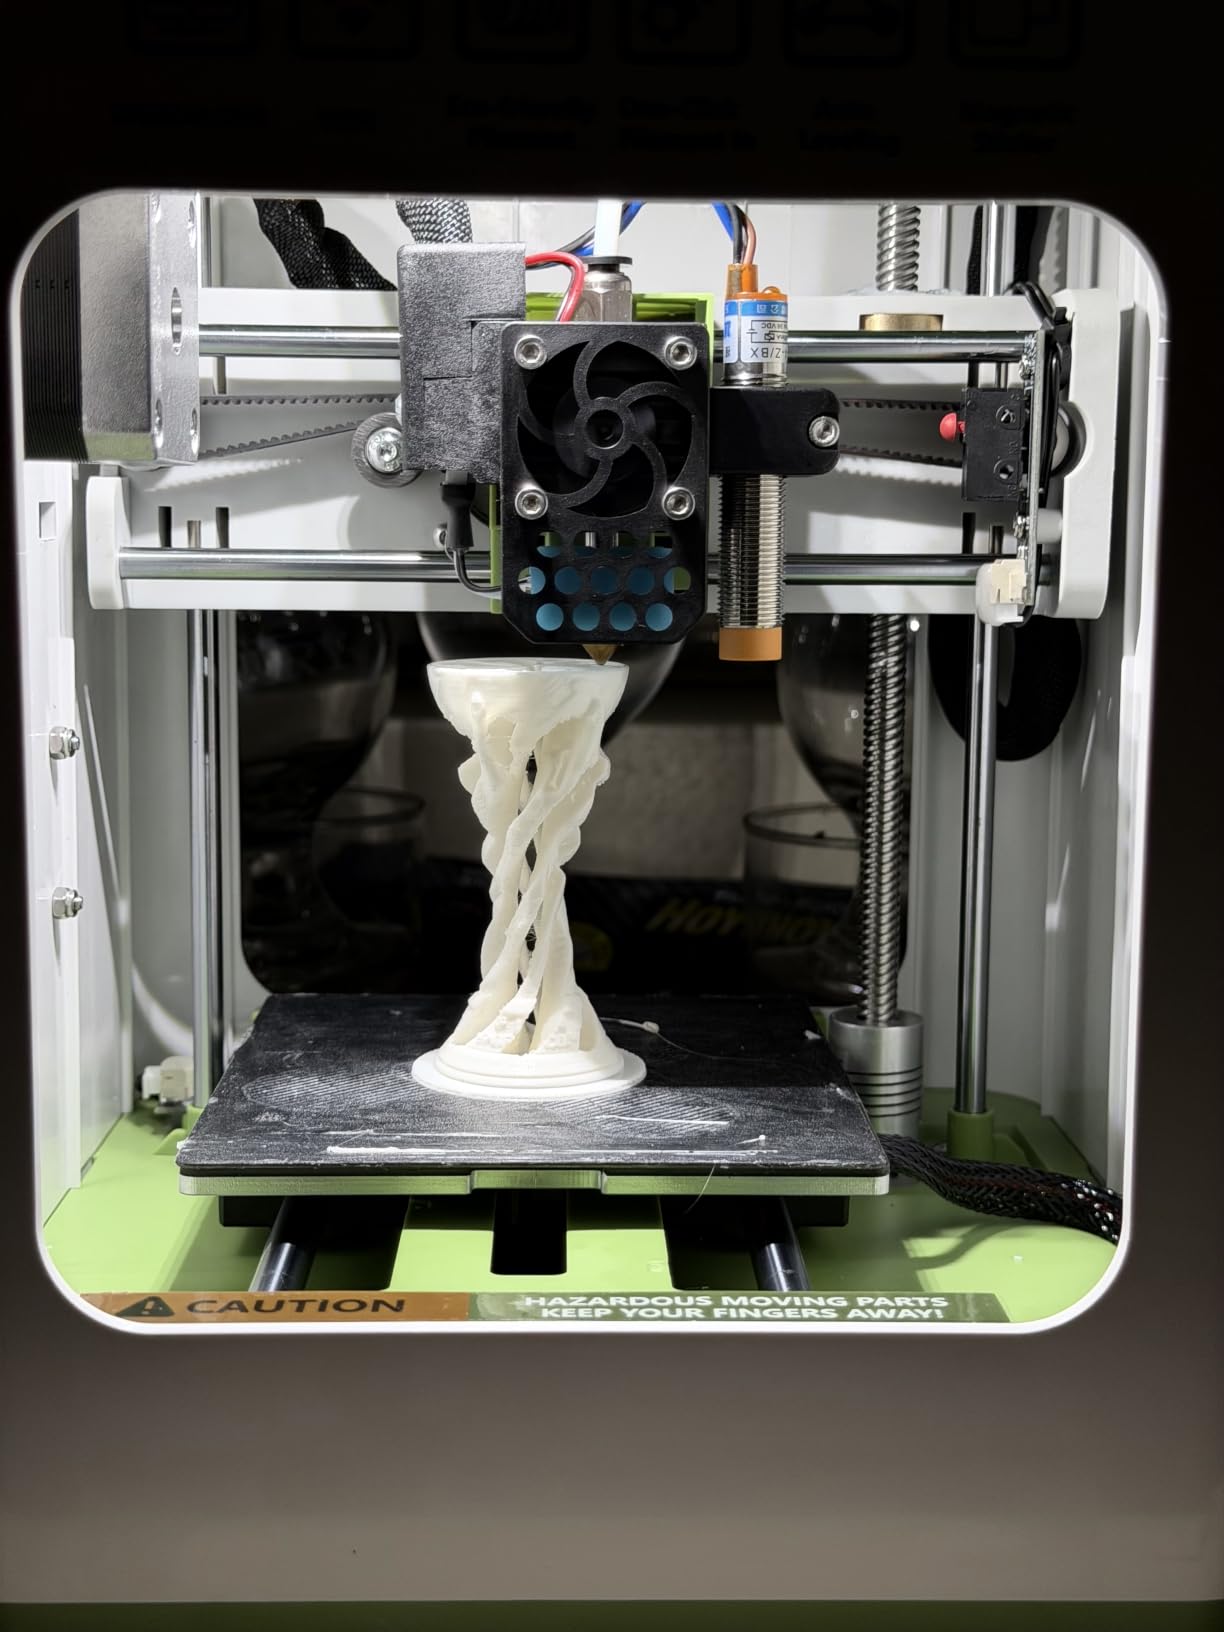
The starter kit is unusually complete out of the box. It includes 10 metres of PLA filament, a microSD card loaded with models and slicing software, and the accessories needed to get going. For a first-time buyer that removes an entire decision, and for a parent buying a birthday present it means it works on the day it is opened.
It is also open in a way that larger ecosystems are not. The printer accepts mainstream slicers including Cura, Simplify3D and Slicr3d, so nobody is locked into a single tool, and it runs on Mac, Windows and Linux. The one-touch filament load and retract, plus active pause and resume, mean a failed print is recoverable by a beginner without any special knowledge.
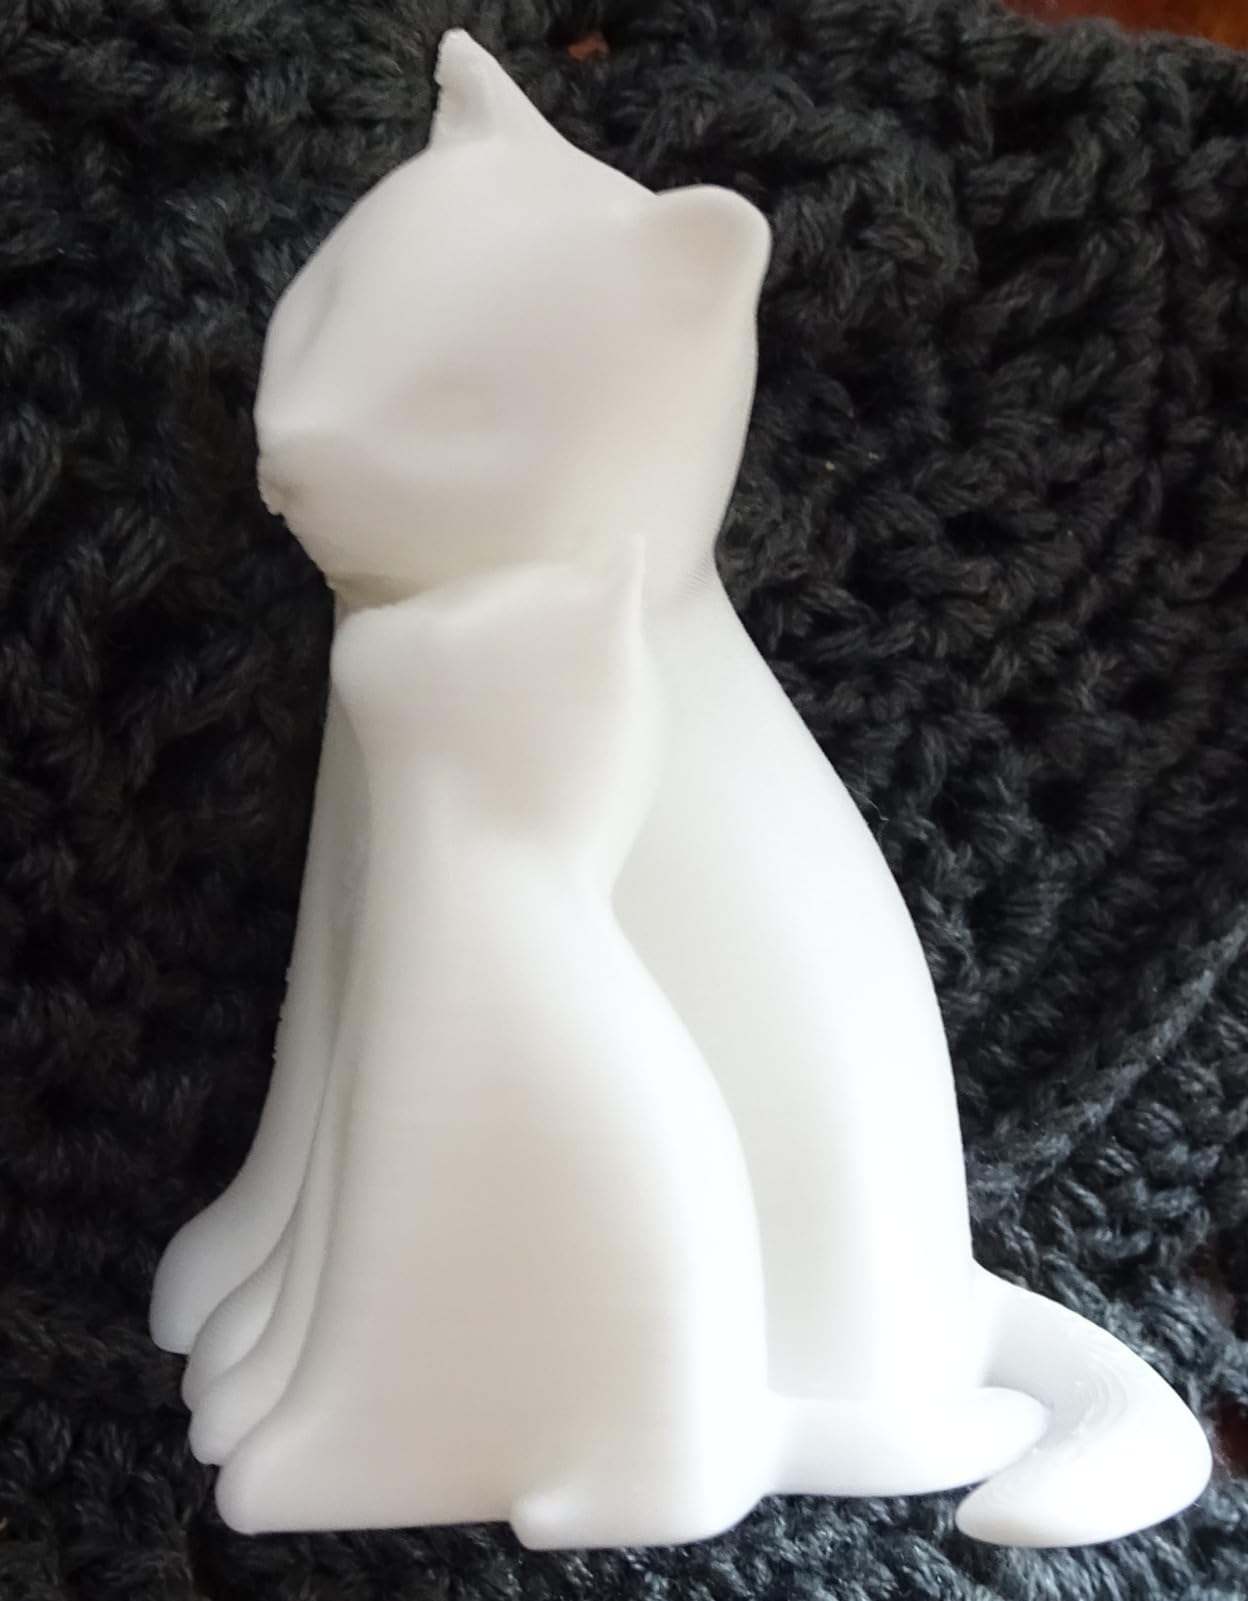
Who the TINA2S suits
It suits children and teenagers because it is small, forgiving and hard to break. A knocked-over spool or a lifted print head is a very different event on a six-pound mini machine than on a 38-pound enclosed printer, and the bundled model card means a new user can be printing something they picked themselves within an hour.
It suits small living spaces and anyone who wants a printer for name tags, bookmarks, board-game tokens, plant markers and other desk-scale objects. TPU compatibility opens the door to flexible phone grips and simple wearables, which are reliably the most popular projects with younger users.
Where the TINA2S falls short
The build volume is the hard limit. Once someone learns to print, they will quickly outgrow the small build plate, and the machine cannot be expanded. If there is a reasonable chance that a larger project is coming within a year, a full-size machine is the better first buy even if it is less convenient today.
Two smaller caveats. The proximity sensor only works with the included metal plate that attaches magnetically, so swapping in a different plate can break auto levelling. And the Wi-Fi and app printing experience is less polished than the larger ecosystems, so set expectations early and teach the bundled local workflow first.
5. Bambu Lab P1S – Best Enclosed 3D Printer for Beginners
- Enclosed chamber supports advanced filaments and cuts noise
- Setup in about 15 minutes with no assembly
- Excellent quality with little tinkering
- Camera and app for remote monitoring
- 4.5 rating across 407 reviews
- Closed software ecosystem
- Camera preview has a low frame rate
- Multi-colour needs the separate AMS
- Skip transparent and silk filaments
The P1S is the pick for a beginner who already knows they will outgrow PLA. It is fully enclosed, it prints at up to 500mm/s with 20,000 mm/s2 acceleration, and owners describe long-term reliability as the standout feature rather than any single specification. It ranks as the number one selling printer in its category, and the 81 percent five-star share reflects that.
Setup takes about 15 minutes with no assembly, which puts it in the same plug-and-play class as the machines below it while offering an enclosed chamber. The chamber does two things at once. It holds heat in, so ABS and ASA stick to the bed instead of curling off it, and it damps the fan noise, so a machine capable of this speed can run in an office without becoming a nuisance.
The built-in camera with time-lapse is a bigger practical benefit than it sounds. Most beginner prints finish while you are out, and being able to check the state of a job from your phone, or to watch it start, is what turns a 3D printer from a hobby into a tool you schedule your evening around. Long-term owners call the combination of camera, app and reliable overnight printing the reason the machine stays on the desk.
Filament support is broad for a machine at this level: PLA and PETG are ideal, with TPU, PVA, ABS and ASA supported, and PA and PC capable. The practical caveat is that carbon and glass fibre filaments are not recommended on this hot end, and long-term advice from owners is to stay on solid PLA while you are finding your feet.
Who the P1S suits
It suits beginners who print in a shared space, where the enclosure and the noise damping are worth paying for. It suits anyone who will want to print ABS or ASA parts, or who wants to leave long overnight jobs running without a door open in the room.
It is also the safer long-term choice. It is heavier, more rigid, and the enclosed chamber protects the frame and the electronics from dust, which is the main thing that shortens the life of an open-frame machine in a home where a pet is likely to knock something over.
Where the P1S falls short
At 38.9 pounds it is the heaviest machine in this guide, so the desk has to be able to take it. The closed ecosystem is the other recurring note from advanced users: the slicer, app and model library are all first-party, and that bothers people who want to work outside them.
Two smaller things. The camera preview runs at a low frame rate, so it is a monitoring tool rather than a live video feed. And multi-colour needs the separately sold AMS unit, which is a separate purchase on top of the printer. If you want multi-colour out of the box rather than later, skip ahead to the ELEGOO Centauri 2 Combo.
6. FLASHFORGE AD5M – Best for Simple Upkeep and Quick Nozzle Swaps
- Setup in 15 to 20 minutes with only the screen to mount
- Orca-flashforge slicer is friendly to new users
- Tool-free quick-release nozzle in about 3 seconds
- Good quality on default settings
- 4.2 rating across 366 reviews
- Slicing needs Windows or Mac
- Wi-Fi unreliable so Ethernet is better
- Noisier than some competing machines
- Bed heat-up is slow
The AD5M is the pick for someone whose biggest worry is maintenance. The tool-free quick-release nozzle swaps in roughly three seconds, so a clog is a thirty-second interruption rather than a half-evening job, and nozzles are available in 0.25, 0.4, 0.6 and 0.8mm so you can change the resolution profile as your skills grow.
Setup takes about 15 to 20 minutes, and in practice the only assembly is mounting the screen. One-click fully automatic bed levelling and nozzle-to-plate offset calibration handle the rest, which is the part most beginners get wrong when starting from scratch. The all-metal CoreXY structure is rigid, and at 600mm/s maximum speed this machine matches the fastest print ceiling in this group.
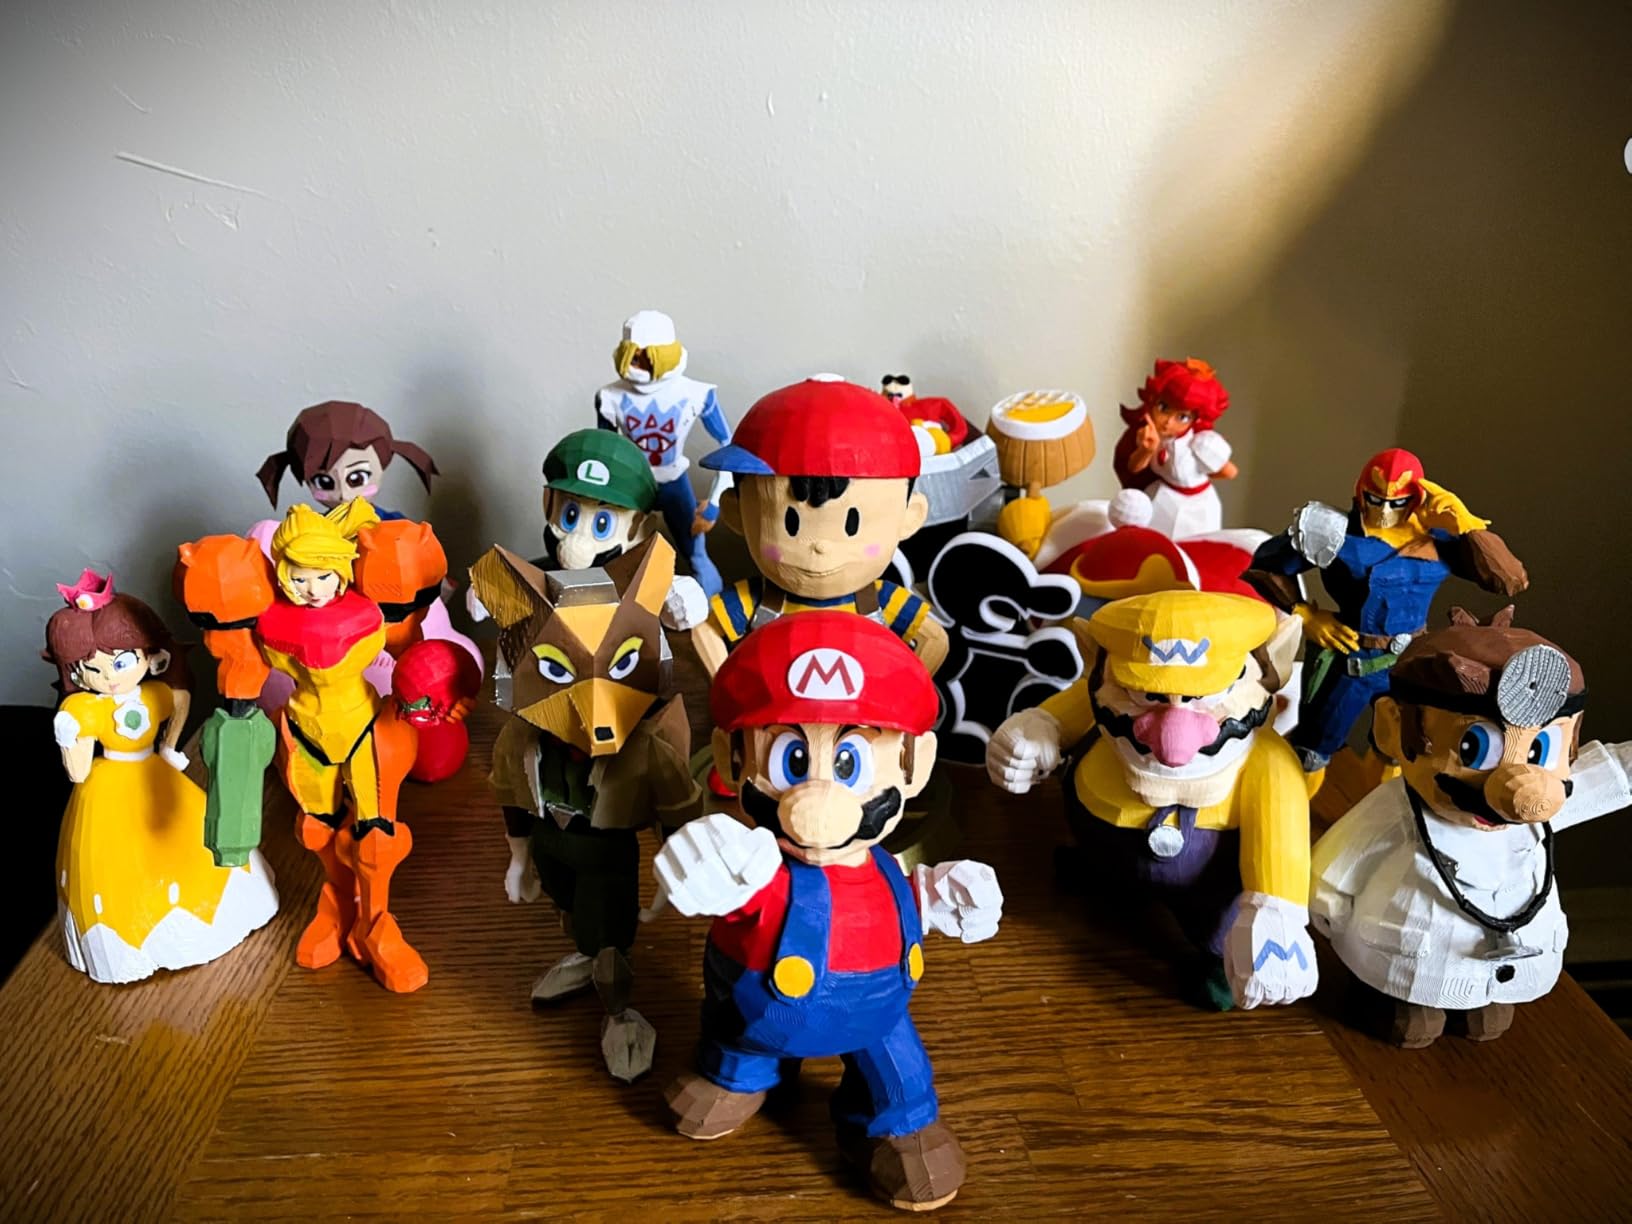
Power loss recovery resumes from the last completed layer, which is the single most valuable overnight feature a beginner can have. Combined with the filament run-out behaviour, it means an interrupted print is a pause rather than a restart. The double-sided flexible PEI steel plate handles PLA and PETG adhesion well and releases easily once cool.
Software is the stand-out here. The Orca-flashforge slicer is user friendly enough that a first-time user can produce a good file from a model without a tutorial, and one-click batch transmission plus multi-printer monitoring make it easy to queue work from a laptop. For a beginner, the slicer is the part that decides whether the hobby sticks, and this one is friendly.
Who the AD5M suits
It suits anyone who wants a machine that is easy to live with rather than one that is impressive on paper. The quick-swap nozzle and the automatic offset calibration mean the two most common beginner problems, a blocked nozzle and a bad first layer, are both one-click fixes.
It is also a good second machine for someone who already owns an entry-level FDM printer and wants faster prints and stiffer construction without moving to a much larger or heavier unit.
Where the AD5M falls short
Two things to know before you start. Slicing must be done on Windows or Mac; the slicer does not run on an iPad or a phone, so a mobile-only workflow is not available here. And Wi-Fi connectivity is unreliable enough that reviewers recommend Ethernet, which means the printer needs to be near a cable or router.
It is also somewhat noisier than some competing machines, and the bed heat-up is slow, which adds a wait to the start of every print. Both are minor compared with the maintenance benefits, but they are the reasons this machine sits below the Adventurer 5M for a first purchase.
7. ELEGOO Centauri 2 Combo – Best for Multi-Colour Printing Out of the Box
ELEGOO Centauri 2 Combo 3D Printer, Beginner-Friendly Multicolor Printing
- Four-colour CANVAS system included in the box
- Enclosed CoreXY body
- Good bed adhesion out of the box on ELEGOO filament
- 30 to 60 minutes to a first print
- Largest review base at 2572 ratings
- Louder and more vibration-prone than Bambu machines
- Wi-Fi and app drops
- Prime tower slows multi-colour prints
- Four-spool unit takes a lot of space
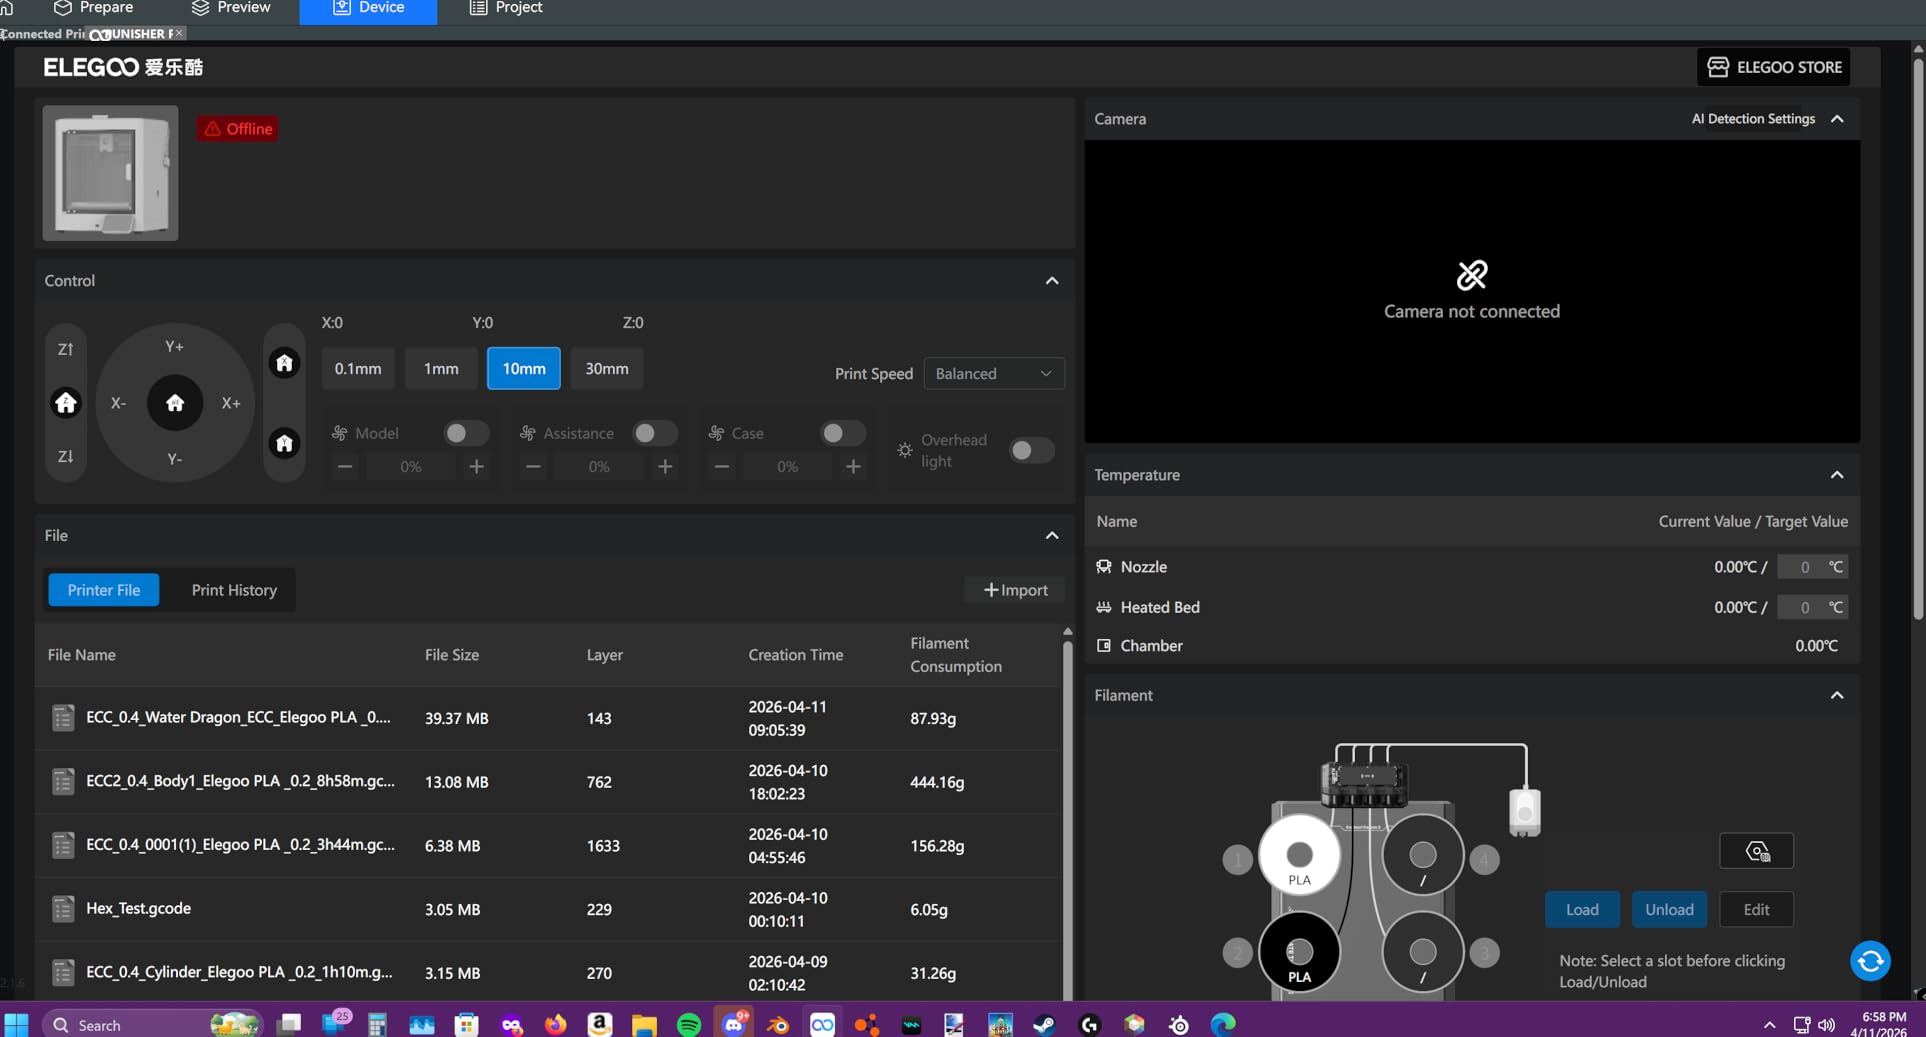
This is the pick for anyone who wants multi-colour printing without a second purchase. The CANVAS system carries four spools with independent motors and RFID filament recognition, so the machine knows what material is loaded without being told, and colours switch quickly rather than through a slow single-nozzle purge. The four-spool system is included, so there is no second purchase to make.
Underneath, it is an enclosed CoreXY machine running up to 500mm/s with 20,000 mm/s2 acceleration on a rigid aluminium frame with precision linear guides. Full auto calibration with smart pre-print checks and 22 intelligent sensors handles levelling and monitoring, and the 5-inch touchscreen is large enough to read comfortably, which matters when you are navigating a colour change for the first time.
Owners generally report 30 to 60 minutes from unboxing to a first print, and good bed adhesion out of the box when printing with ELEGOO filament. The semi-automatic belt tensioner and the nozzle wiper are small maintenance conveniences that reduce the two tasks beginners most often put off.
With 2572 ratings, this is the most reviewed machine in the guide, which makes its 4.0 score the most informative number here. It is not a criticism of the machine so much as a reflection of a much larger owner base, and the recurring themes in that volume of feedback are consistent: strong value for an enclosed multi-colour machine, and a few mechanical and connectivity rough edges.
Who the Centauri 2 Combo suits
It suits anyone whose interest is two-colour logos, layered colour designs, seasonal decorations or personalised gifts. If you have watched a multi-colour print video and wanted to make one, this removes the two-step purchase that every other option in this guide requires.
It also suits a first-time buyer who is nervous about tinkering, because the enclosed body and the automatic pre-print checks handle more of the variables that normally cause a failure. The ELEGOOSlicer software, Nexprint model library and Matrix app cover the whole workflow from download to print.
Where the Centauri 2 Combo falls short
The most concrete trade-off is the prime tower. Every multi-colour print begins with the machine purging and wiping between colours, which adds time to the start of the job and eats into the usable build area, so multi-colour is convenient rather than efficient. Reviewers with experience of the process report noticeably longer prints for the same model in multiple colours.
The other honest notes are physical. It is louder and more vibration-prone than the Bambu machines, and it benefits from isolation feet. The four-spool unit is bulky at nearly 24 inches tall, and the spool system cannot be expanded. Wi-Fi and app connections drop for some users, and firmware updates have taken machines offline. A minority of owners also report reliability problems and long support cycles, though several of those ended satisfied after a replacement.
8. Bambu Lab A1 mini – Best Compact 3D Printer for a Desk
Bambu Lab A1 mini 3D Printer + LED Lamp Kit, Ready-to-Use for Beginners
- Automatic calibration and very simple setup
- Compact and quiet for a home office or bedroom
- LED lamp kit gives a ready-made first project
- Bambu Handy app and MakerWorld model library
- 4.4 rating across 204 reviews
- Smaller build volume than the full-size A1
- Not enclosed so high-temperature materials are out of reach
- Multi-colour needs the separately sold AMS lite
The A1 mini is the version of our top pick for anyone who works from a desk and does not have room for a full-size machine. It is 12.1 pounds, quiet, and compact, and it runs the same automatic calibration and app-driven workflow that makes the larger A1 so approachable. Reviewers rate it 4.4 across 204 reviews, with the compact footprint and quiet operation cited most often as the deciding factors.
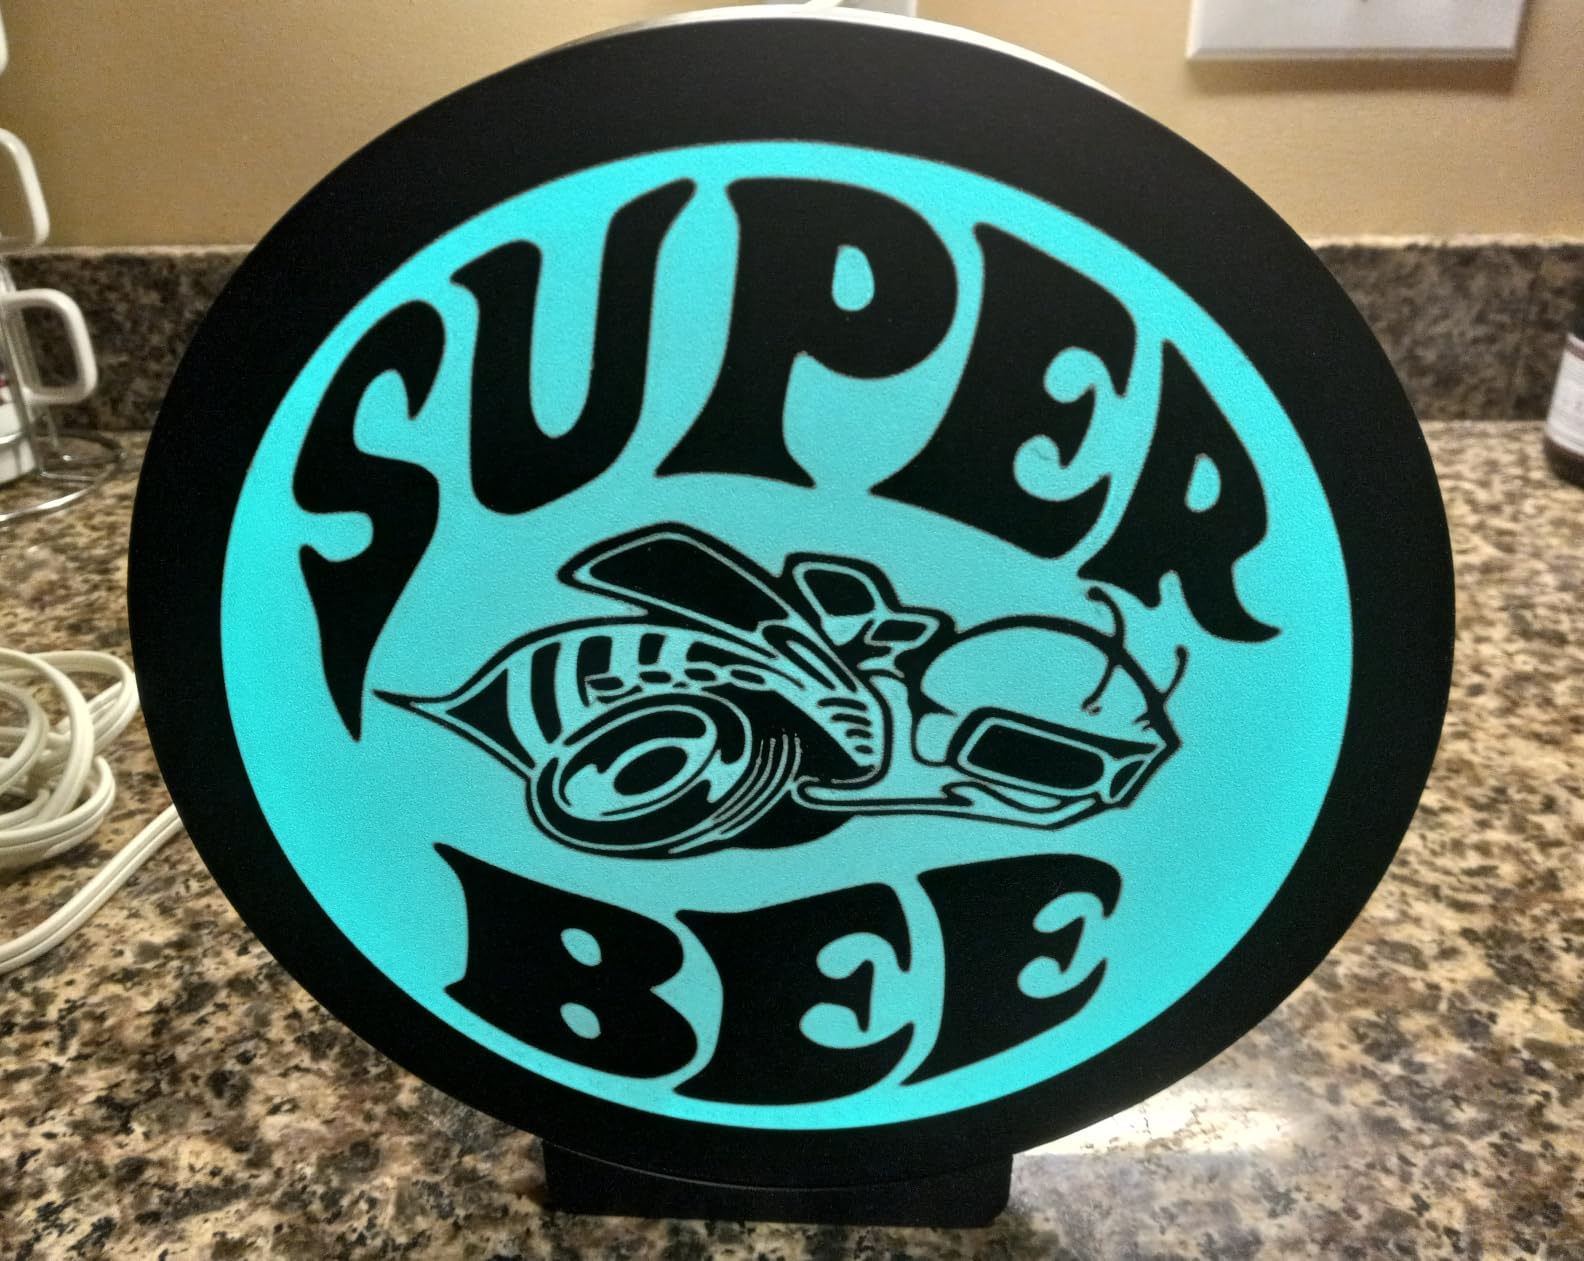
The bundle sets it apart from the standard model. It includes an LED lamp kit for printing compatible lamp models, which is a genuinely good first project: it is a real functional object, it takes a few evenings, and the finished lamp is something a beginner is proud to show people. Starting with a project you will keep is the best motivation we know of.
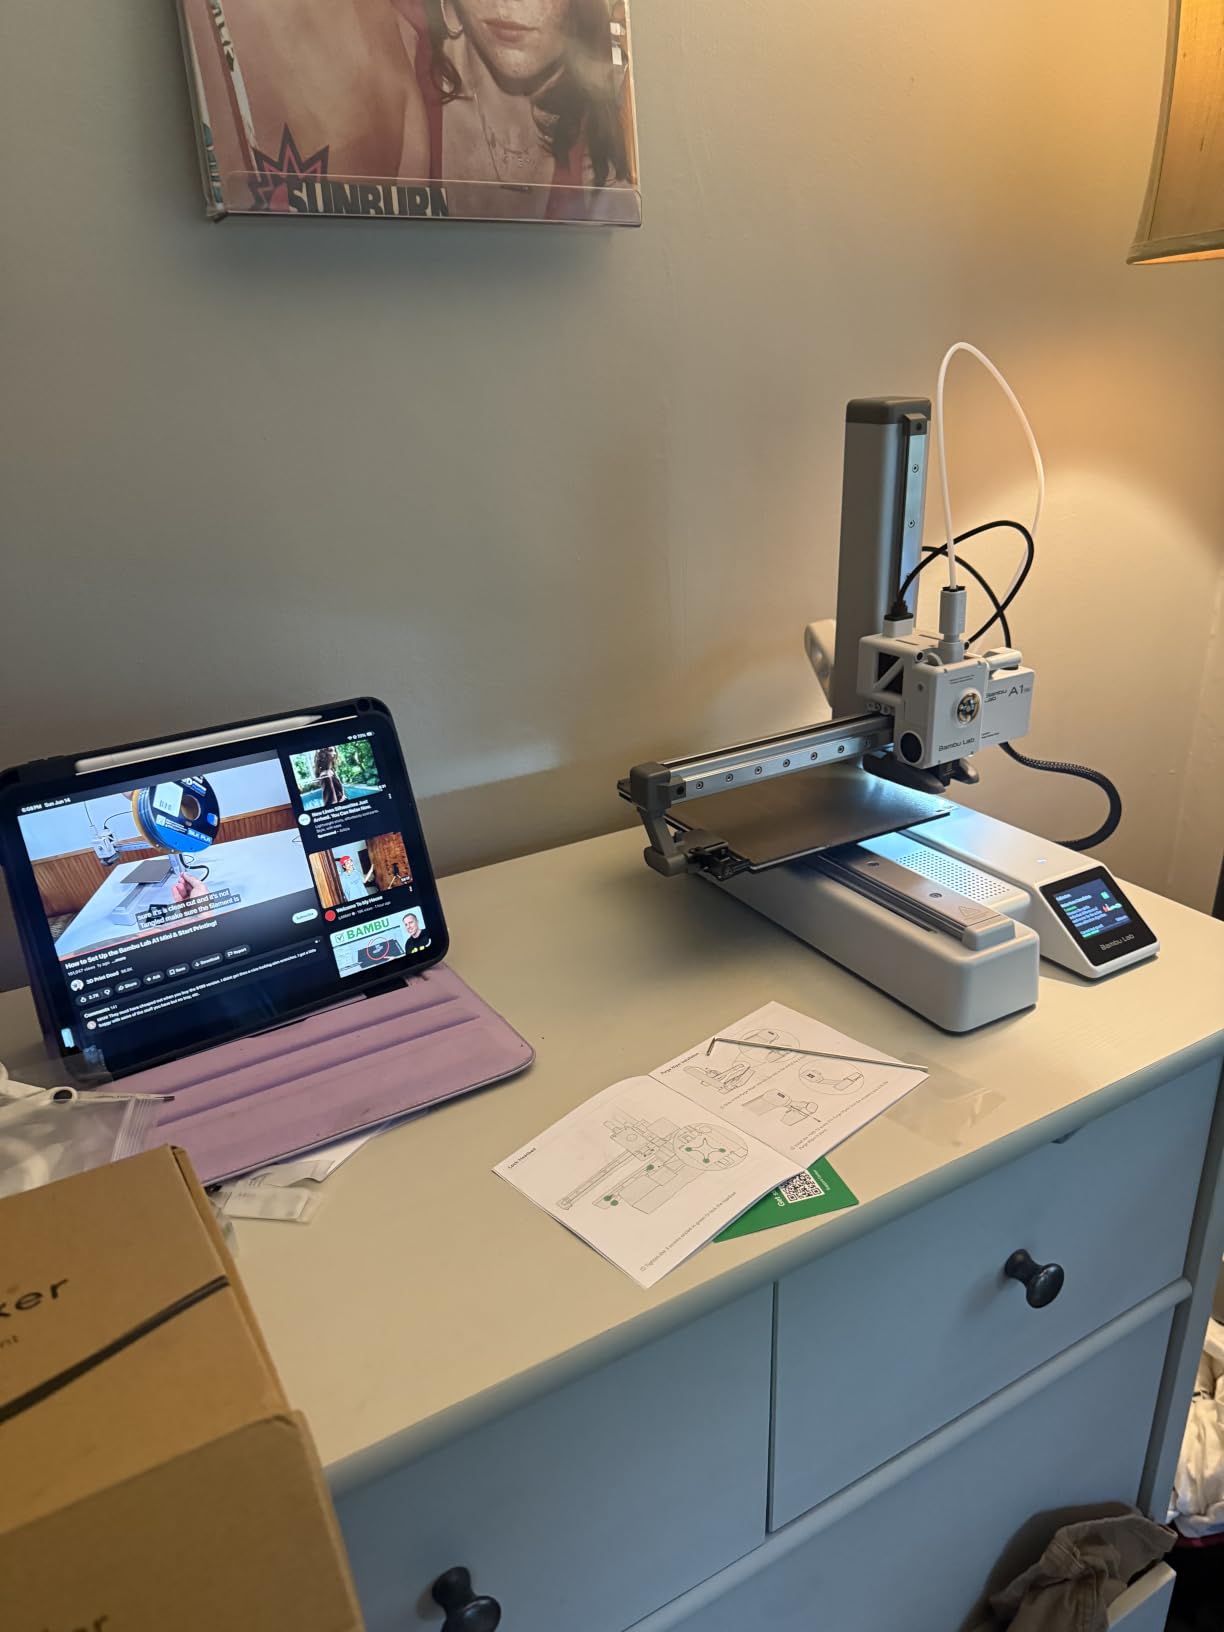
The Bambu Handy app handles print management and the MakerWorld library supplies ready-to-print models, so the learning curve is mostly about choosing something to print rather than learning slicer settings from scratch. That is a real advantage for a first machine, and it is the same advantage the full-size A1 offers in a smaller package.
Print quality and speed hold up for everyday and hobby work, and owners use it for toys, home decor, functional tools and personalised gifts. If you are printing replacement household parts rather than cosplay armour, the size limit rarely comes up in the first few months.
Who the A1 mini suits
It suits a home office, a small flat, a study or a shared family space where noise and footprint decide the purchase. It is the machine for someone who wants the low-fuss calibration and app workflow of the A1 in a footprint that fits on a desk beside a monitor.
It also suits a parent buying a first machine for a child who is not sure whether the hobby will last. The lamp kit gives an immediate goal, the machine is quiet enough to run while a child studies, and nothing about it is intimidating to look at.
Where the A1 mini falls short
The build volume is smaller than the full-size A1, and that is the defining limit. Anything that will not fit in the printable area simply will not print, and there is no upgrade path inside this machine.
Like the full-size A1, it is not enclosed, so ABS and ASA are out of reach and the chamber does nothing to reduce fan noise beyond what the drive trains already produce. Multi-colour needs the separately sold AMS lite, so treat colour as a later upgrade rather than something available on day one.
FDM or Resin: Which One Should a Beginner Buy?
Almost every first-timer should start with an FDM printer running PLA. FDM, also called FFF, melts plastic filament and pushes it through a heated nozzle, building the object one layer at a time. The material is solid in your hand, the smell is mild, the clean-up is a brush and a scraper, and mistakes cost a few cents. Resin printing works completely differently: liquid photopolymer is cured by UV light, which produces detail no FDM machine can match.
That detail comes with a workflow that catches beginners out. Resin parts come off the build plate cured but still covered in liquid resin, and that resin has to be washed off and fully hardened under UV light before you can handle the part safely. Gloves are not optional, a wash station and a curing setup are not optional, and uncured resin is genuinely harmful in a way that melted PLA is not. If a bedroom, a small flat or a room with a pet is where the machine would live, that is a bad combination for a first purchase.
There is one more practical difference. FDM printers handle mistakes gracefully, because you can scrape a bad layer off a plate and start again. A resin print that fails at hour nine is usually a part in the bin and an afternoon of cleaning. For a first machine, that asymmetry matters more than surface finish.
So: resin only if your goal is miniatures or fine detail and you can set up a ventilated, separate work area. Otherwise, take an FDM machine. If resin is genuinely what you want, read our [best resin 3D printers guide](https://www.peggyomara.com/best-resin-3d-printers/) and our [large-format resin picks](https://www.peggyomara.com/best-large-format-resin-3d-printers/) before you buy anything.
How We Chose These 8 Beginner 3D Printers?
Every machine here was selected against the same four filters, and anything that failed one of them was dropped regardless of how good its other numbers looked.
Automatic calibration that actually works. Bed levelling sensors that also handle Z-offset, not just bed levelling, because community troubleshooting threads show repeatedly that a level bed with the wrong nozzle height still produces a failed first layer.
Out-of-the-box readiness. A machine that needs an afternoon of frame assembly and cable routing is a different product category from one you can unpack, level and print on.
Review evidence of repeatability. We weighted owner reports of several months of printing far more heavily than unboxing impressions, and we treated recurring mechanical complaints as a real cost to the buyer.
A sensible first project. The machine has to be able to print a 3DBenchy, a phone stand and a set of drawer organisers without needing a second upgrade before month two.
Where we quote review counts and ratings, they are taken directly from the current listing for each product, because those numbers move and we would rather you see the same figure we did.
What to Look for Before You Buy Your First 3D Printer?
1. Automatic calibration that covers Z-offset
This is the single most important feature for a first machine, and the distinction matters. Bed levelling makes the plate flat and evenly spaced from the frame. Z-offset sets the correct gap between that flat plate and the nozzle. A machine can pass the first test and fail the second, which is the most common cause of a first layer that looks squashed, gappy or refuses to stick. Every printer in this guide handles both in software.
2. Build volume matched to your projects
Build volume is the width, depth and height of the space the print head can reach, and it is the constraint you cannot work around. Full-size machines handle phone cases, planters, drawer organisers, masks and small brackets comfortably. The two smaller machines here, the TINA2S and the A1 mini, are excellent within their limits and will hit a ceiling as soon as your projects grow. If you can already name three things you want to print, check them against the number before you buy.
3. Filament and hot end capability
Start with PLA. It needs the lowest temperature, sticks to almost any bed surface, has barely any odour and is the cheapest material to replace when you make a mistake. Move to PETG once you want parts that survive a hot car or a glass of water; it is tougher, stringier and needs a hotter bed. TPU gives flexible phone cases and grips. Leave ABS and ASA alone until you have an enclosed machine, because they need a warm chamber to adhere.
The hot end temperature sets the ceiling on what you can print later. An end rated to 280C gives you headroom, while a lower-rated end limits you to everyday materials. All eight machines here print PLA and PETG as standard.
4. Enclosure and indoor air
Open-frame machines are fine for PLA and PETG in a normal room. The question worth asking is whether you will ever print ABS or ASA, and whether the machine will sit near a bedroom, a home office or a pet. An enclosed chamber holds heat in for temperature-sensitive plastics and reduces the spread of fumes and fine particles. If either applies to you, the enclosed machines on this list are the better buy even though they cost more and weigh more.
5. Multi-colour, and what it really costs
Multi-colour systems add a second filament path, either a box that holds several spools and feeds them to a single nozzle, or four independent feeds as on the Centauri 2 Combo. Two things are worth knowing before you pay for one. First, most single-nozzle systems purge waste on every colour change, so a three-colour print can discard several times the filament of a single-colour print of the same model and take far longer. Second, the multi-material unit is usually a separate purchase.
For a first machine, single-colour PLA is enough for months. Buy colour later if you still want it.
6. Software and where models come from
A printer is only as good as the file you give it. A slicer converts a 3D model into instructions the printer can follow, and the difference between a beginner-friendly slicer and a barebones one accounts for a lot of first-print frustration. Check whether the machine bundles a slicer, whether it works on your operating system, and whether there is a model library included. Two of the machines here are closed ecosystems, one is fully open and accepts the mainstream third-party slicers, and two use their own branded forks of a well-known slicer.
7. Noise and where the machine will live
A printer that runs while you work is a printer you will actually use. Fan noise, stepper motor whine and the rattle of a bed-slinger frame vary enormously between machines, and several on this list include active motor noise cancelling or a silent mainboard specifically to address it. If the machine is going in a bedroom, treat noise as a top-three criterion rather than an afterthought.
What to Print in Your First 30 Days
The single biggest predictor of whether someone keeps a 3D printer is whether the first three prints succeed. The most common beginner mistake, visible all over community threads, is starting with a model that is far too complicated. Avoid it.
Print one: 3DBenchy. A small test model designed to show off a printer’s limits. It takes under an hour on most of these machines, and it tells you immediately whether your first layer, corners and fine detail are working. If the Benchy looks clean, your machine is calibrated correctly.
Print two: a phone stand or a business card holder. Flat, quick and genuinely useful. This is the print that makes a new owner feel the value of the machine for the first time.
Print three: a drawer organiser or a wall hook. This is where you start thinking about tolerances and fit, and it is the first project that shows you why a small calibration error matters.
Print four: a TPU phone case or grip. Switch material once the machine is familiar. Flexible filament is the moment many beginners realise they have bought a tool rather than a toy.
Print five: something multi-colour. Only now, once single-colour printing is routine. Multi-colour takes longer and wastes more filament, which is exactly why it works better as a milestone than as a starting point.
What 3D Printing Costs to Run
The printer is the small part of the cost. Once you own one, the recurring spend falls into three categories, and it is worth knowing all three before you decide this is a hobby you will keep.
Filament dominates. PLA is the cheapest and easiest material, and a single spool covers a surprising number of small parts. PETG costs a little more per kilo and is heavier on the spool for the same volume, so the per-part cost is higher. TPU is the most expensive of the three you will use early on, which is worth remembering before you decide to fill a shelf with phone cases.
Multi-colour multiplies filament use. Purging waste between colour changes is the least obvious running cost in 3D printing, and it can exceed the filament actually in the part. Owners who print a lot of multi-colour jobs report discarding several times the filament they would have used for a single-colour version of the same model, on a print that also takes much longer.
Electricity is real but modest. Printing pulls moderate power for the heated bed, the hot end and the motion systems, and the bed staying on between prints is often the largest single contributor. Unplugging or switching off the machine when you are not printing it for a few days is the simplest saving available.
Wear parts are the hidden line item. Nozzles wear, build plates eventually need replacing, and a PTFE-lined hot end eventually wants new tubing. None of this is expensive at first and all of it is cheap when you have spare parts on hand. The machines on this list with a quick-swap or tool-free nozzle, such as the Bambu Lab A1 and the FLASHFORGE AD5M, simply make it less likely that a worn nozzle ever stops a project.
Fixing the Four Most Common First-Print Failures
Almost every failed first print comes down to one of four things, and all four are fixable in minutes once you know what you are looking at.
The first layer will not stick. Check three things in order. First, the Z-offset, which the machine should set automatically on these models, and which can drift if the bed or nozzle assembly has been knocked. Second, bed cleanliness, because a single fingerprint is enough to stop adhesion on an otherwise perfect plate. Third, the plate itself, which should sit flat against the bed. Bed adhesion is the single largest source of beginner frustration, and it is almost always one of these three rather than a faulty machine.
Stringing between parts. Fine strands of plastic between two separate objects or off the top of a print mean the nozzle is leaking a small amount of plastic while it travels. A quick wipe of the nozzle before the print, a slightly higher retraction setting and a marginally higher temperature all reduce it. Strings also come from a hot nozzle dragging across a tall thin section, which is a model choice rather than a fault.
Elephant foot on the bottom edge. If the first layer is squashed flat and slightly wider than the rest of the print, the nozzle is too close to the bed. Raise the Z-offset by a small amount, or enable the elephant-foot compensation option in your slicer, which trims the bottom of the model slightly.
Not sticking to the bed in a corner, or layers splitting. A corner that lifts while the rest holds is usually a warped or slightly unlevel bed or a plate that is not seated properly. Layers splitting in the middle of a tall print is usually the other problem: the part is too tall for the cooling, so add a brim or a raft, reduce the print speed, or add a fan duct. If the split appears only with ABS or ASA, you need an enclosed machine.
One last piece of forum advice worth repeating: when a print goes wrong, most beginners assume the machine is faulty. Usually the cause is the filament, the model, or the settings. Try a different spool of the same material before you conclude anything about the hardware.
Frequently Asked Questions
Can I teach myself 3D printing?
Yes, and the learning curve is much smaller than most hobbies. The hard part is not the printing, it is the software: choosing a model and slicing it. Every machine on this list handles levelling and Z-offset automatically, and most bundle a model library, so you can be printing within an hour. Allow yourself a weekend to learn the slicer basics and your first month before deciding it is not for you.
How expensive is 3D printing as a hobby?
The running cost is modest. Filament is the largest recurring expense, with PLA cheapest and PETG and TPU costing more per kilo, and multi-colour printing adds purge waste on top. Electricity is real but modest, and the main lever is switching the machine off when you are not printing for several days. Spare nozzles and build plates are the occasional extra cost.
What is currently the best 3D printer for home use?
For a first printer at home, the Bambu Lab A1 is the strongest overall choice because it arrives assembled, calibrates bed level and Z-offset automatically at power-on, and runs quietly enough for a living space. If you need an enclosed chamber for ABS and ASA or for a shared room, the Bambu Lab P1S fills that role. If you want the lowest entry cost, the Creality Ender 3 V3 SE does the job.
Should a beginner buy an FDM printer or a resin printer?
Almost every beginner should start with FDM and PLA. It is clean, low-fume, forgiving of mistakes and cheap to experiment with. Resin produces far finer detail, but parts need washing and UV curing, uncured resin is genuinely harmful, and a failed print usually means a ruined part. Choose resin only if you want miniatures and can set up a ventilated, separate work area.
What filament should a beginner use first?
Start with plain PLA and nothing else. It needs the lowest nozzle temperature, sticks to almost any bed surface, has minimal odour and is inexpensive to replace after a mistake. Move to PETG when you want tougher parts that survive heat, and to TPU when you want flexible items such as phone grips. Avoid ABS and ASA until you own an enclosed machine.
Do 3D printers come assembled?
Every machine in this guide arrives as a finished unit. The fastest to running order is the FLASHFORGE Adventurer 5M at roughly ten minutes, and the Bambu Lab P1S takes about fifteen. The Creality Ender 3 V3 SE is the exception in the sense that it asks for around twenty minutes of assembly with an Allen key, and it includes a bundled SD card so you can print before finishing the setup.
Which Beginner 3D Printer Should You Buy?
Buy the Bambu Lab A1. It is the machine on this list where the combination of automatic bed levelling and Z-offset, quiet operation, quick nozzle swaps and a very high owner rating of 4.7 across 671 reviews makes the first print succeed and the hundredth after it succeed too. For almost everyone reading this, that is the whole decision.
Choose differently only for a specific reason. Go for the Creality Ender 3 V3 SE if entry cost is the barrier and you want flexible TPU capability. Pick the FLASHFORGE Adventurer 5M if speed is what frustrates you most, or the FLASHFORGE AD5M if you want the simplest maintenance. Choose the Bambu Lab P1S if you need an enclosed chamber, will print ABS or ASA, or share the room. Choose the ELEGOO Centauri 2 Combo only if multi-colour matters more to you than quiet operation and compact size, and go for the TINA2S or the A1 mini if the machine has to live in a small space.
Print a 3DBenchy on day one, keep the first month on PLA, and upgrade the filament rather than the printer. Our [full 3D printer guide](https://www.peggyomara.com/best-3d-printers/) covers the wider field if you want to see how these compare against machines aimed at more experienced users, including our [3D wall panel picks](https://www.peggyomara.com/best-3d-wall-panels/) for a first large project once your machine is dialled in.