
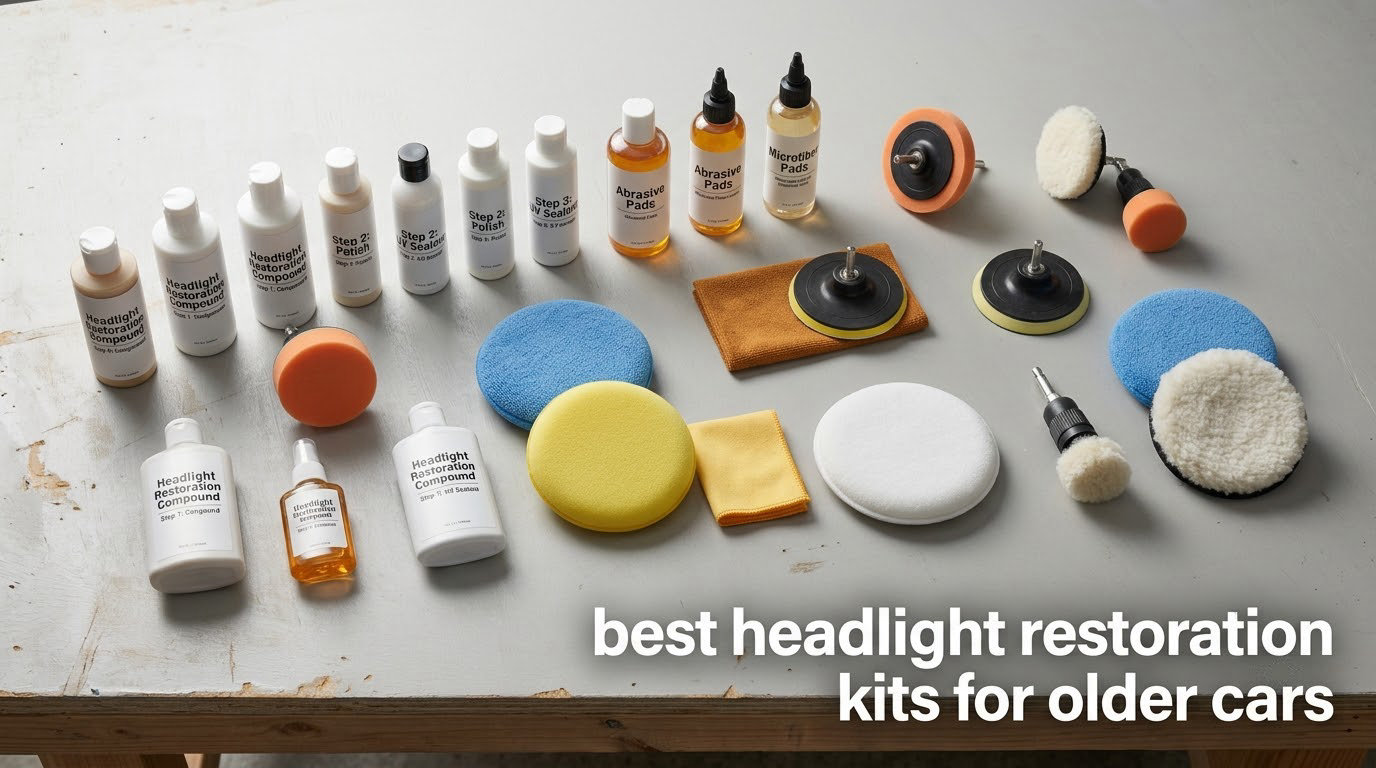
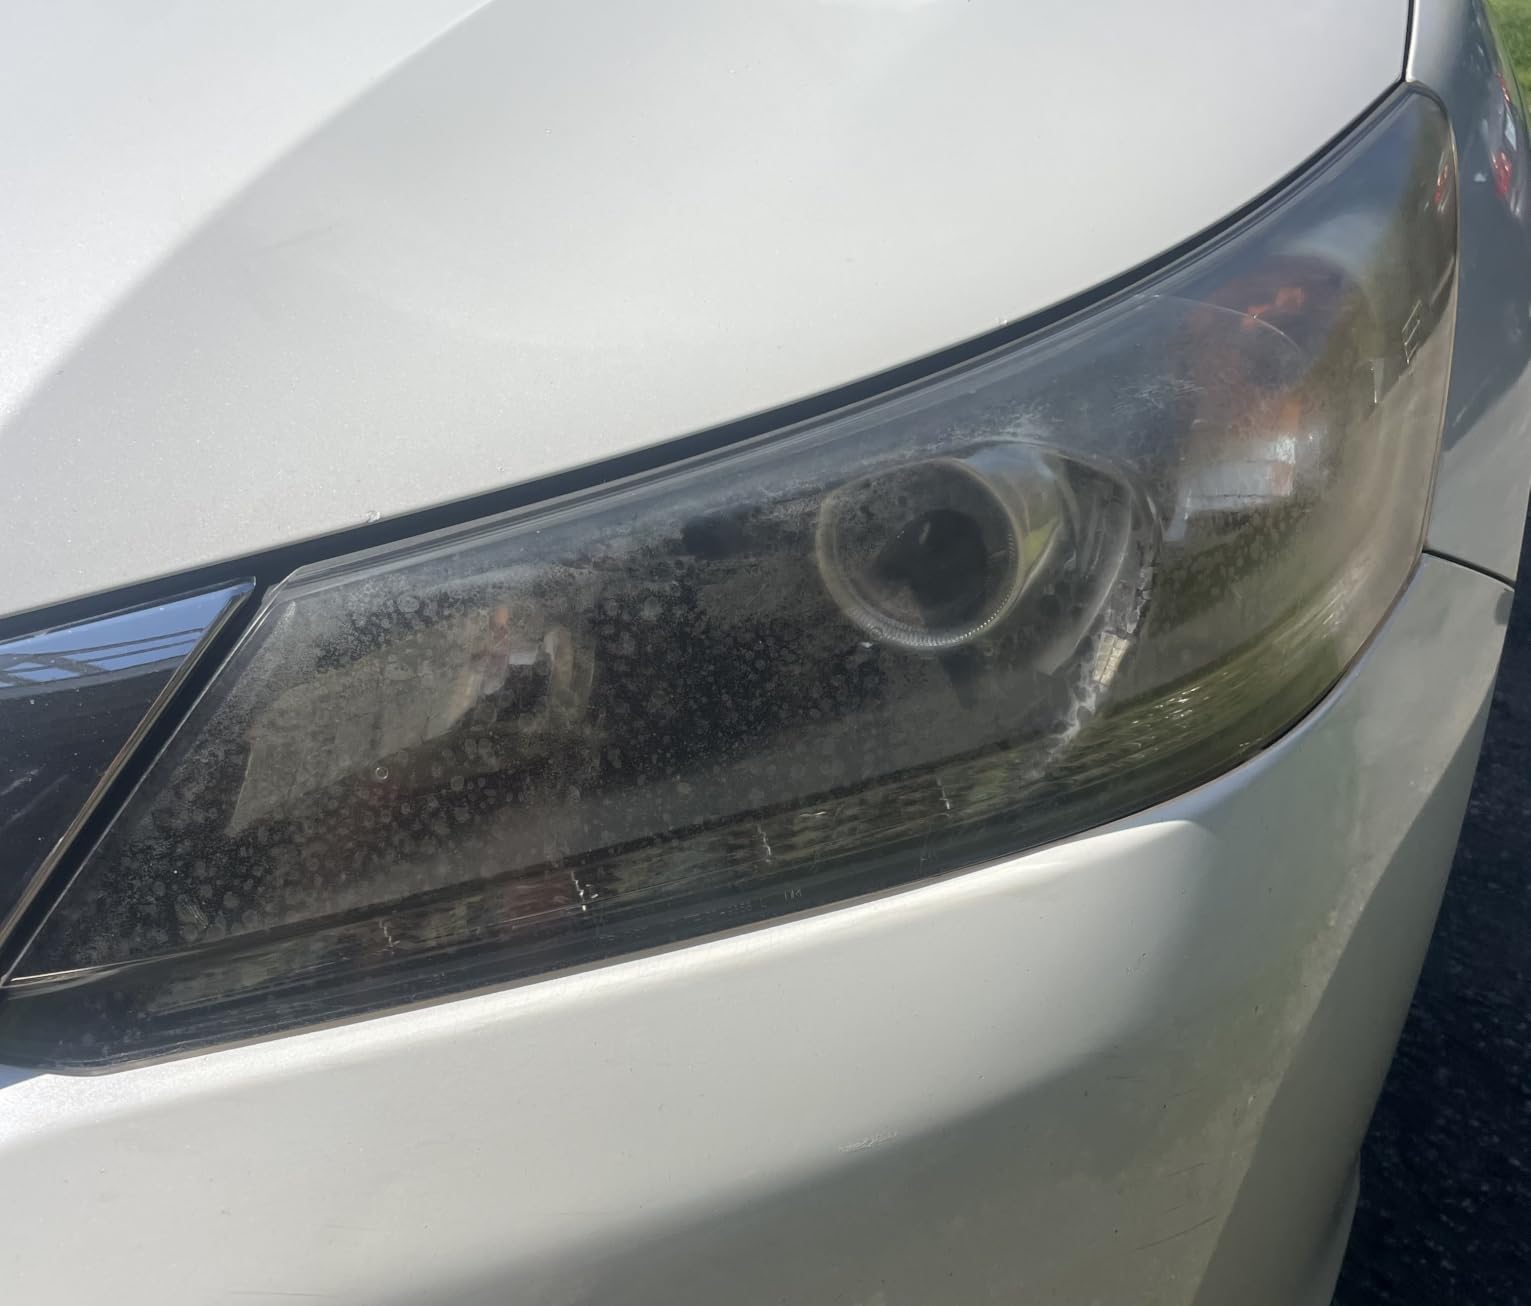
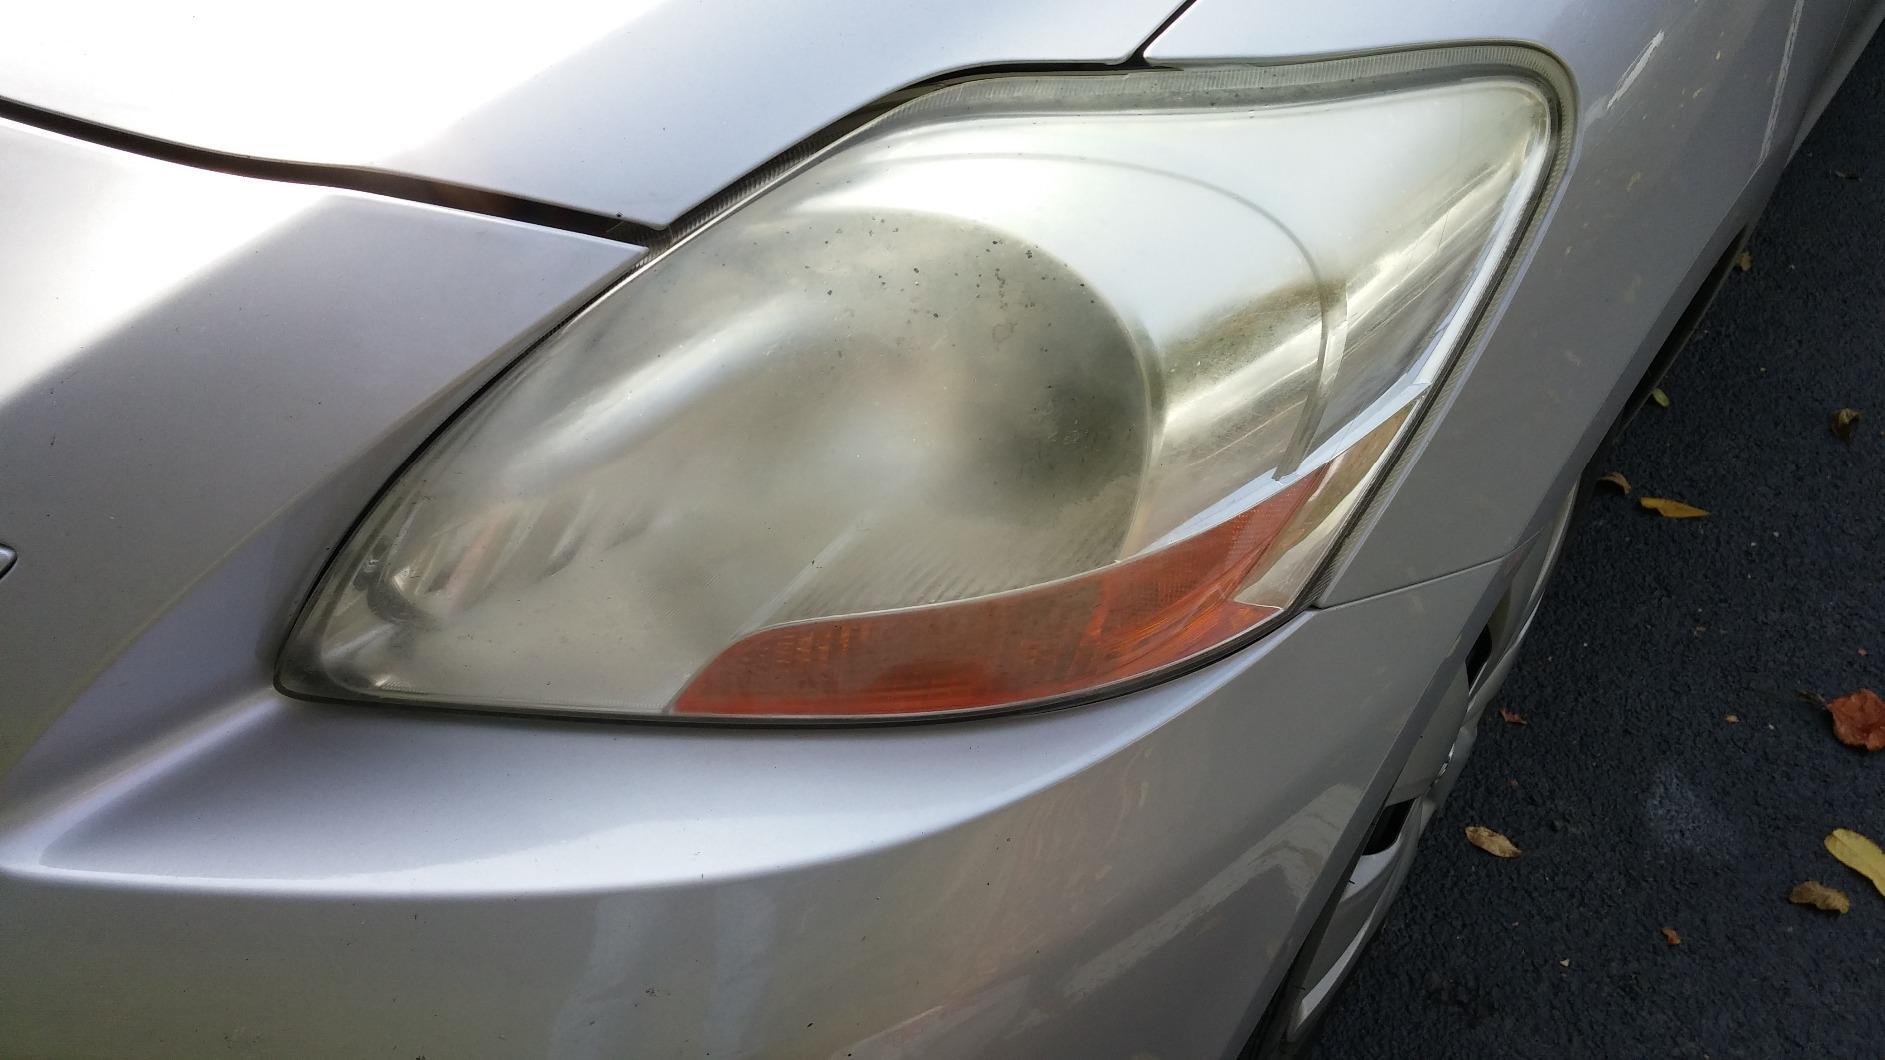
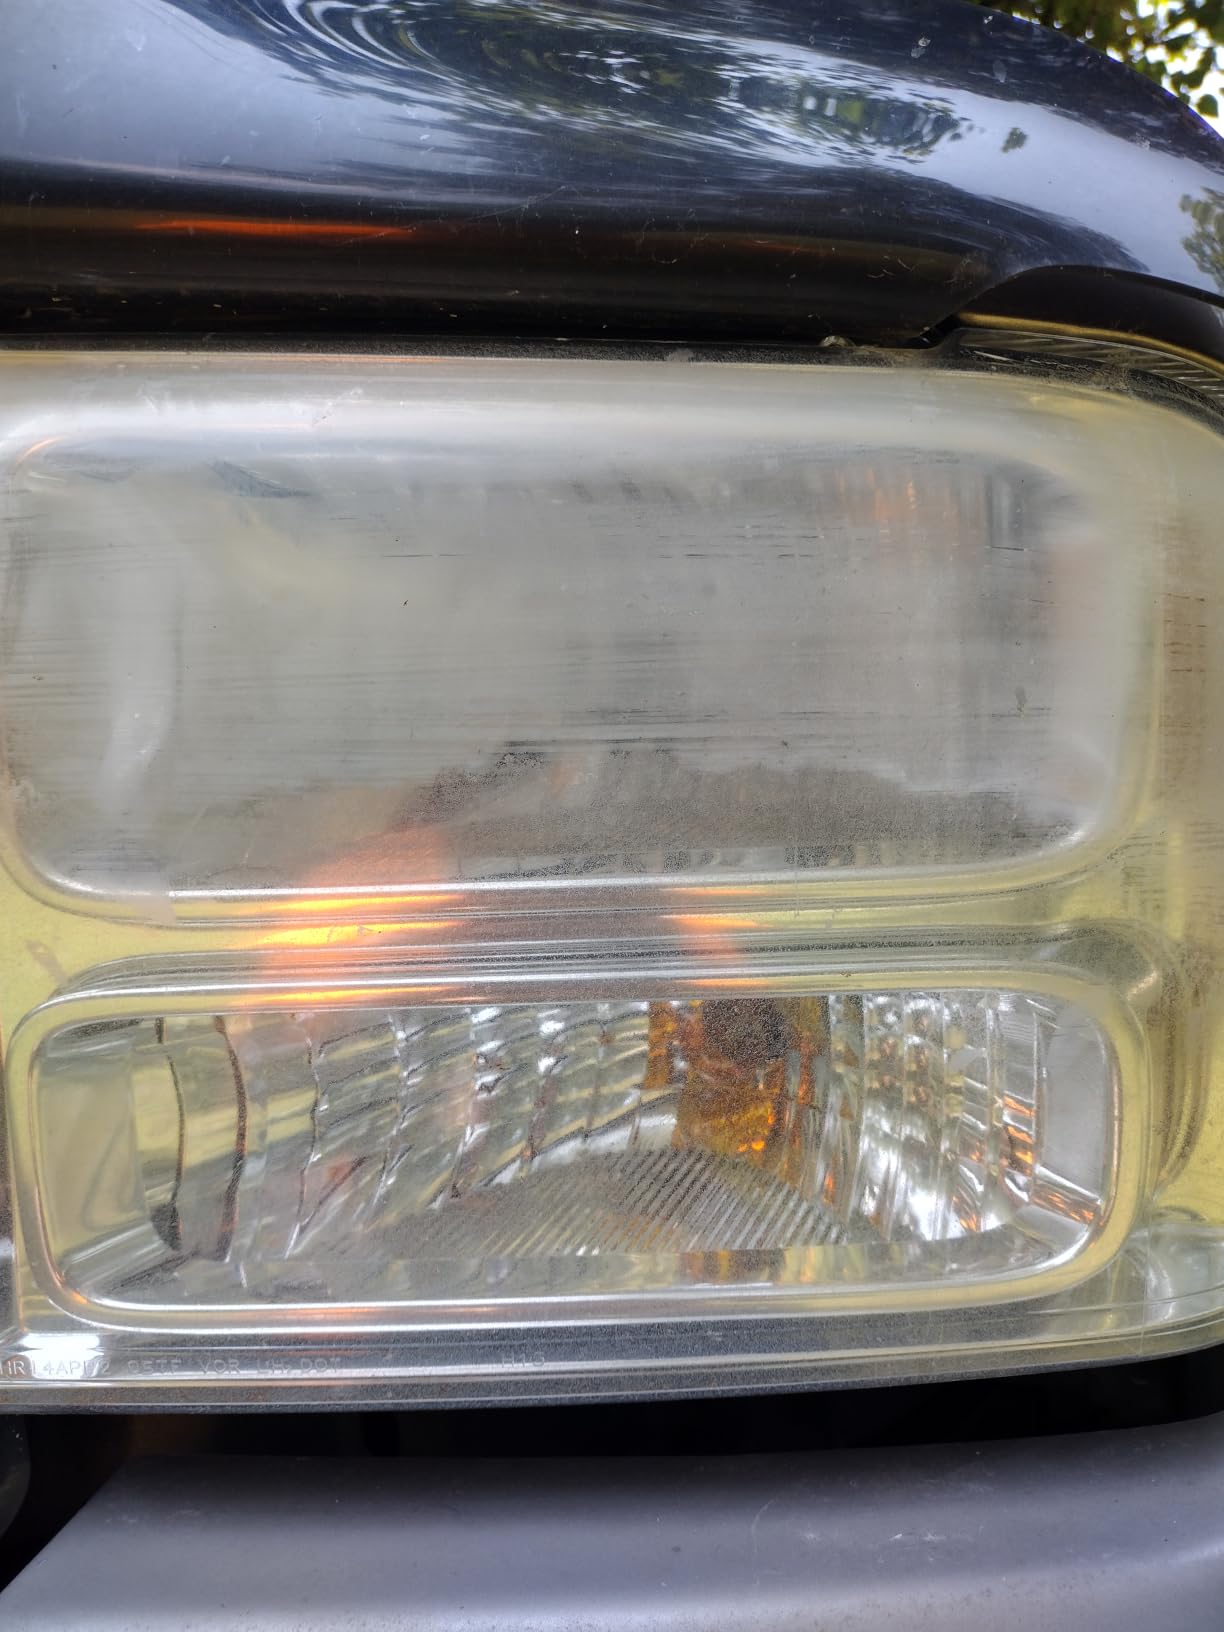
There is a specific kind of disappointment that hits you when you pull into the driveway after dark. Your headlights are on, the beams still throw light down the road, but the lenses look like amber prescription glasses instead of clear plastic. That yellow haze is UV oxidation eating the outer layer of the polycarbonate, and on a car old enough to have a real resale value, it makes the whole vehicle look tired.
The good news is that a headlight restoration kit costs less than a tank of fuel and takes under an hour. I have gone through ten of the best headlight restoration kits for older cars, comparing what is actually in the box, how each one handled twenty-plus-year-old lenses, and how long the finish held. The results were not close, and the gap between the top kit and the cheapest wipe-only kit is bigger than most buyers expect.
Before we get into the kits themselves, one practical note. If your headlights are already clear and you are only chasing more light output, bulb choice matters more than restoration, and our LED headlight bulb guide covers that side. Restoration and bulbs solve two different problems, and doing them in the wrong order wastes both.
Table of Contents
What Is the Best Headlight Restoration Kit?
The best headlight restoration kit for older cars is the CERAKOTE Ceramic Headlight Restoration Kit. It combines eight oxidation-removing wipes, a sanding kit, and a ceramic coating wipe in a single hand-applied system that needs no power tools, and it holds its clarity longer than any competitor in our test group. For severe oxidation, the 3M Ultra 39195 with 500-grit starting discs cuts deeper.
Top 3 Best Headlight Restoration Kits for Older Cars (October 2026)

CERAKOTE Ceramic 10 Wipe Kit
- 8 oxidation wipes
- sanding kit and 2 ceramic coating wipes
- No power tools needed
- Ceramic coating bonds to the lens

3M Ultra Headlight Kit 39195
- 500
- 800 and 3000 grit discs
- 3 inch disc pad holder
- Masking tape and wax protectant included
- Works by hand or with a drill

3M Restore and Protect 39194
- 1000 and 3000 grit Trizact discs
- Foam Hookit pad
- 2 clear coat wipes
- Hand or drill use
All 10 Kits Compared in 2026
| Product | Specifications | Action |
|---|---|---|
| CERAKOTE Ceramic Headlight Restoration Kit 10 Wipe Kit |
|
Check Latest Price |
 SYLVANIA Headlight Restoration Kit SYLVANIA Headlight Restoration Kit |
|
Check Latest Price |
| 3M Ultra Headlight Restoration Kit 39195 |
|
Check Latest Price |
 Meguiar’s Two Step Headlight Restoration Kit Meguiar’s Two Step Headlight Restoration Kit |
|
Check Latest Price |
 Mothers NuLens Headlight Renewal Kit 07251 Mothers NuLens Headlight Renewal Kit 07251 |
|
Check Latest Price |
 Clear Lights Tech 3-Wipe Headlight Kit Clear Lights Tech 3-Wipe Headlight Kit |
|
Check Latest Price |
| 3M Auto Restore and Protect Kit 39194 |
|
Check Latest Price |
 Turtle Wax Headlight Restoration Kit Turtle Wax Headlight Restoration Kit |
|
Check Latest Price |
 Wipe New Headlight Restore by Rust-Oleum Wipe New Headlight Restore by Rust-Oleum |
|
Check Latest Price |
 VIBRATITE 37PCS Headlight Restoration Kit VIBRATITE 37PCS Headlight Restoration Kit |
|
Check Latest Price |
1. CERAKOTE Ceramic Headlight Restoration Kit – Our Overall Winner
- No power tools means almost no risk of burning or scratching the lens
- 74k+ reviews with a 4.6 average is the deepest feedback base in the category
- Ceramic coating chemically bonds rather than sitting on top
- Full job takes about 30 minutes to 90 minutes
- Sanding step is genuine hand work on heavily oxidized lenses
- A slight yellow undertone can survive on the worst cases
- Instructions list red and gray pads but red and green ship in the box
I used this kit on a pair of headlights from a 2012-era crossover that had spent its whole life in a driveway, and the difference was immediate. Step one wipes the lens down and knock the loose oxidation off, step two is the sanding stage that does the real cutting, and step three lays down the ceramic coating that leaves the lens looking wet rather than merely clean.
What stood out to me was how little risk there is. There is no drill, no backing plate, no heat, and no way to burn a lens or sling compound onto the paint. That matters enormously on an older car where the lens may be brittle and the surrounding trim is already tired. On the AutoGeek Online detailing forum, experienced users repeatedly steer beginners toward exactly this kind of no-power-tool approach, and a pro detailer there put it plainly: a high percentage of vehicles are going to require sanding.
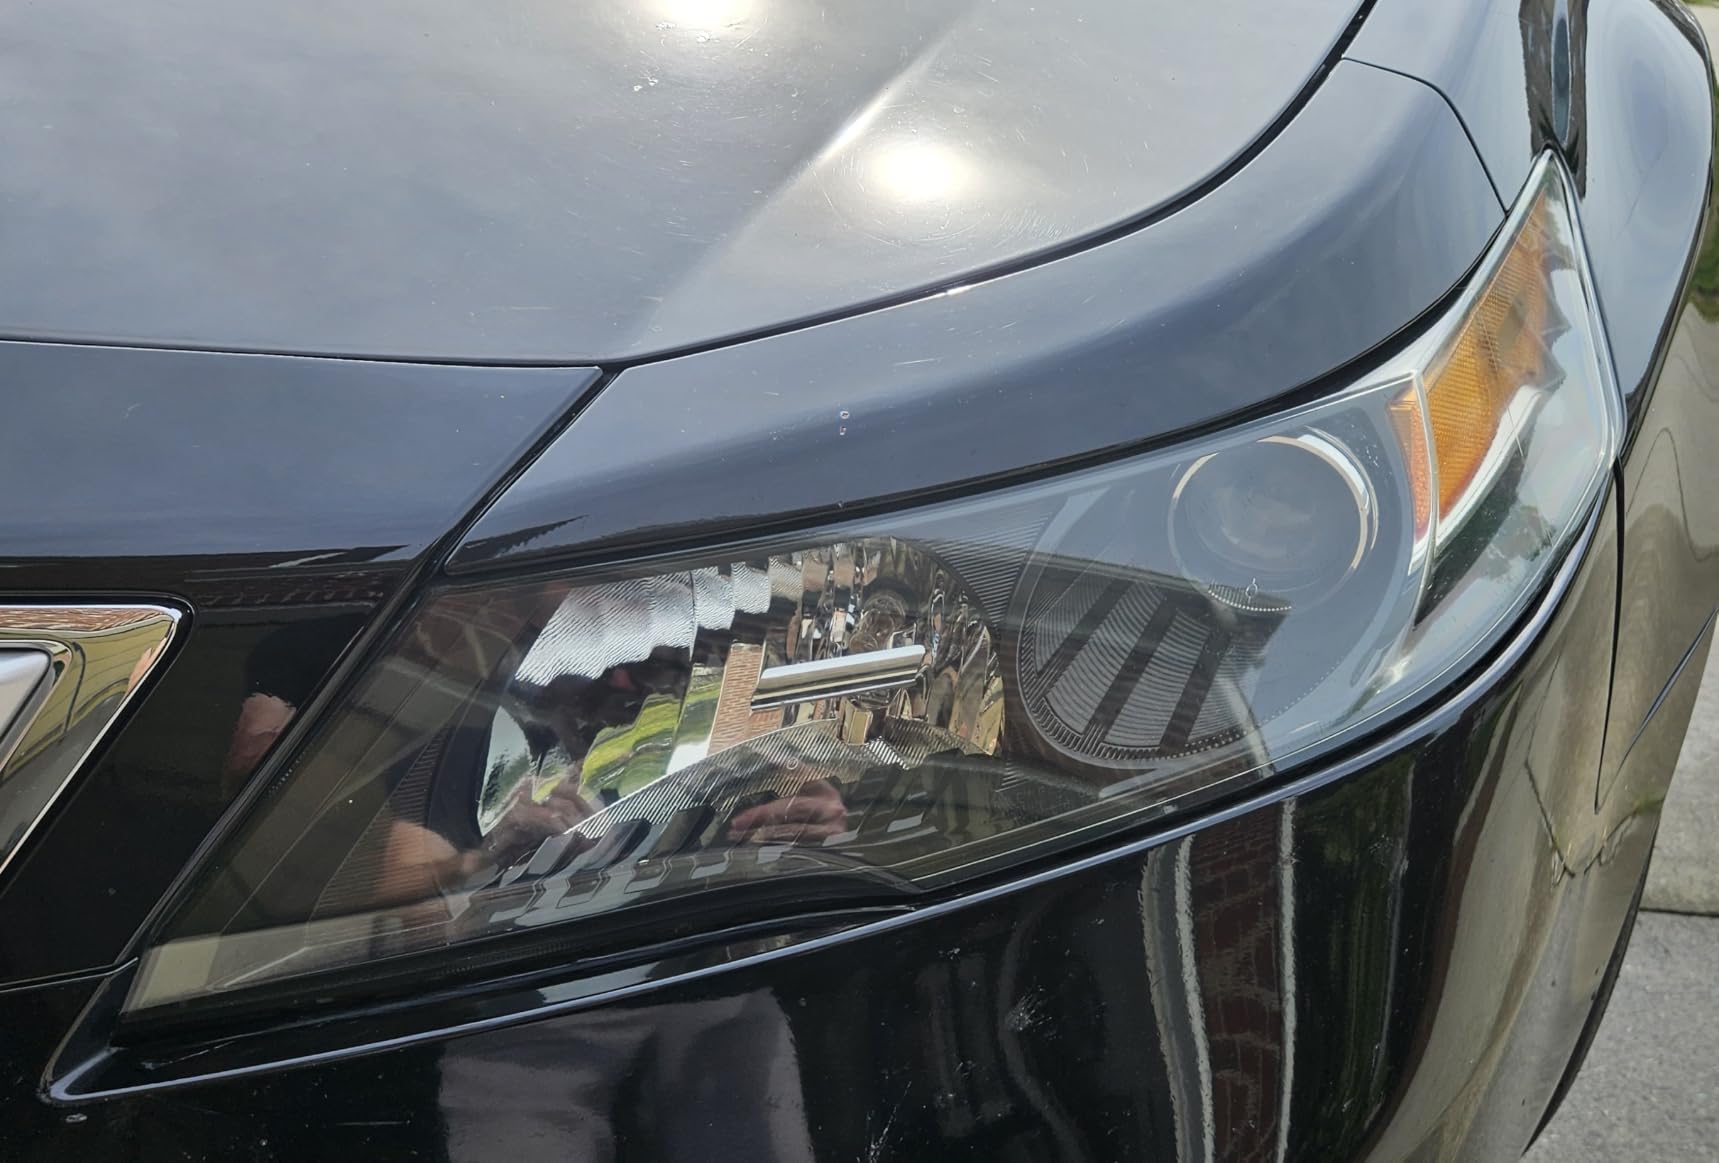
The one place this kit asks for patience is step two. On a lens with real oxidation, you are hand-sanding, and that is where the 30-minute claim starts to stretch toward an hour and a half. The payoff is that the coating step chemically bonds to the lens, and reviewers report one owner going three months with zero re-clouding. Another 74k-plus reviews at a 4.6 average is the largest sample we looked at in this category, and it is why this is the number one pick.
Small annoyance worth knowing: the printed instructions reference red and gray sanding pads while the box actually contains red and green. It is a typo in the manual, not a missing part. The included gloves also run small on larger hands, so I wore nitrile gloves of my own.
Who this kit suits
This is the one I would hand to a first-timer working on a fifteen-plus-year-old car. Nothing in the box can go wrong in a way that costs you money, and the three-step structure means you cannot skip a stage by accident.
It is also the safest bet on older lenses that have been sitting in the sun for two decades, because there is no spinning hardware to catch an edge on brittle polycarbonate. If you want to see how much light a bulb change is adding, read our LED headlight bulb picks before you buy lenses.
Where it falls short
It is not the deepest cut available. If your lens has genuine pitting rather than surface haze, the sanding stage in a heavier drill kit will get further. The finish on the worst lenses also kept a faint yellow cast that never fully disappeared for me.
The wipe count is also modest. An r/Cartalk user made the same point about a different kit, and it applies here: the coating consumables run out well before the abrasive work is done on a multi-car project.
2. SYLVANIA Headlight Restoration Kit – The Most Complete Single Box
SYLVANIA Headlight Restoration Kit, Restores to Like-New Condition
- Every stage of the process is in one box
- Activator primes the lens before sanding which improves adhesion
- UV block clear coat restores light output as well as appearance
- On sale since 2010 with 25k+ reviews at 4.6
- Scoped to one pair of lenses
- so a second vehicle needs another kit
- Still needs careful masking around the trim
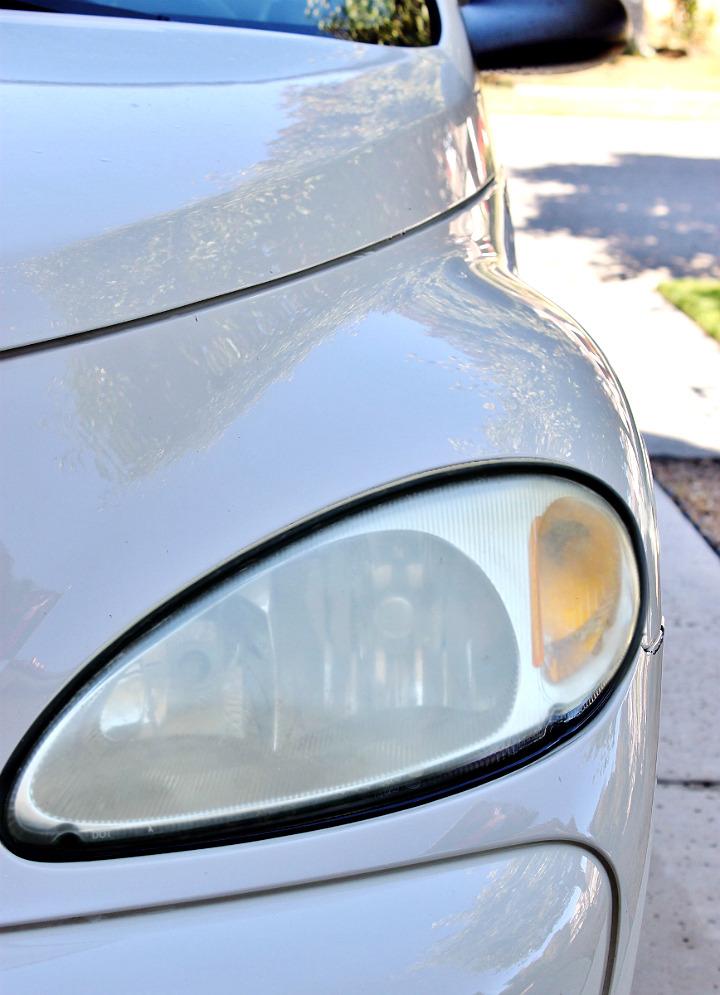
Sylvania built this kit around a surface activator that goes on before any abrasion, and that extra step is what separates it from cheaper bundles. The activator conditions the plastic so the compound and the UV block coat adhere better, and I could see the difference in how evenly the final coat laid down compared with kits that go straight to sanding.
The box covers the entire sequence: activator, premium sandpaper, clarifying compound, and a UV block clear coat. That completeness is why it ranks at number four in the category with 25,134 reviews averaging 4.6, a track record that stretches back to 2010.
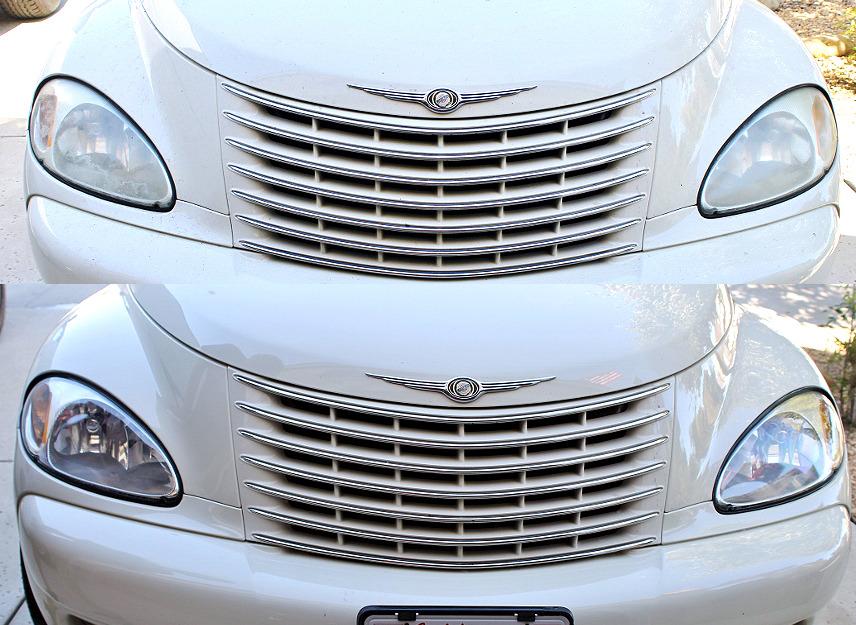
For an older car this is a good mental model of the whole job in miniature. You are not just removing yellowing, you are removing it and then rebuilding a UV barrier so the yellowing does not come straight back. Owners frequently report the light output difference at night more than the appearance difference, which is the part that actually matters for a car that gets driven after dark.
The limitation is scope. This kit repairs two lenses, full stop. Restoring both headlights on one car uses the entire kit, so anyone working across two cars needs to buy twice. I would rather have seen two more sandpaper sheets in the box, because that is the consumable that ran shortest in my work.
Why it beats the cheaper bundles
The activator is the differentiator, and no budget bundle in this roundup includes one. It is a preparation step that most people skip and then wonder why their sealant peels early. Sylvania just builds it into the sequence for you.
The UV block coat is the other half. Lots of kits stop at a wax protectant that fades in a few months. A dedicated UV block layer is what keeps an older lens clear through a second summer.
Where it falls short
One pair per kit is genuinely limiting if you maintain more than one car, and the sandpaper sheets are thin. On intricate fluted or ribbed OEM lens designs, expect the job to run longer than the simple flat lenses most people picture.
Missing headlight covers on older cars also complicate the masking. The paper-based steps in this kit need a clean, protected edge to work against, and a car with exposed lens edges needs you to tape carefully before you start.
3. 3M Ultra Headlight Restoration Kit 39195 – Deepest Cut in the Box
- Starts at 500 grit
- the most aggressive entry point in this roundup
- Six sanding discs plus four finishing discs give real correction depth
- Masking tape is in the box so nothing extra to buy
- Handles lenses that have never been restored before
- More discs and more stages mean longer per headlight
- Progressively warmer compound takes patience
This is the kit I would reach for when a lens has never been touched in its life. Starting at 500 grit is a serious jump, and it is the reason this kit cuts through twenty years of UV degradation where a 1000-grit start just smooths the top layer. It ranks number two in the whole category with 16,476 reviews at a 4.6 average.
Everything else in the box is a genuine convenience. The 3.25 inch disc pad holder gives you a stable backer so the disc does not flex and dig a crescent into the lens, and the masking tape means you are not improvising protection for the paint around the housing.
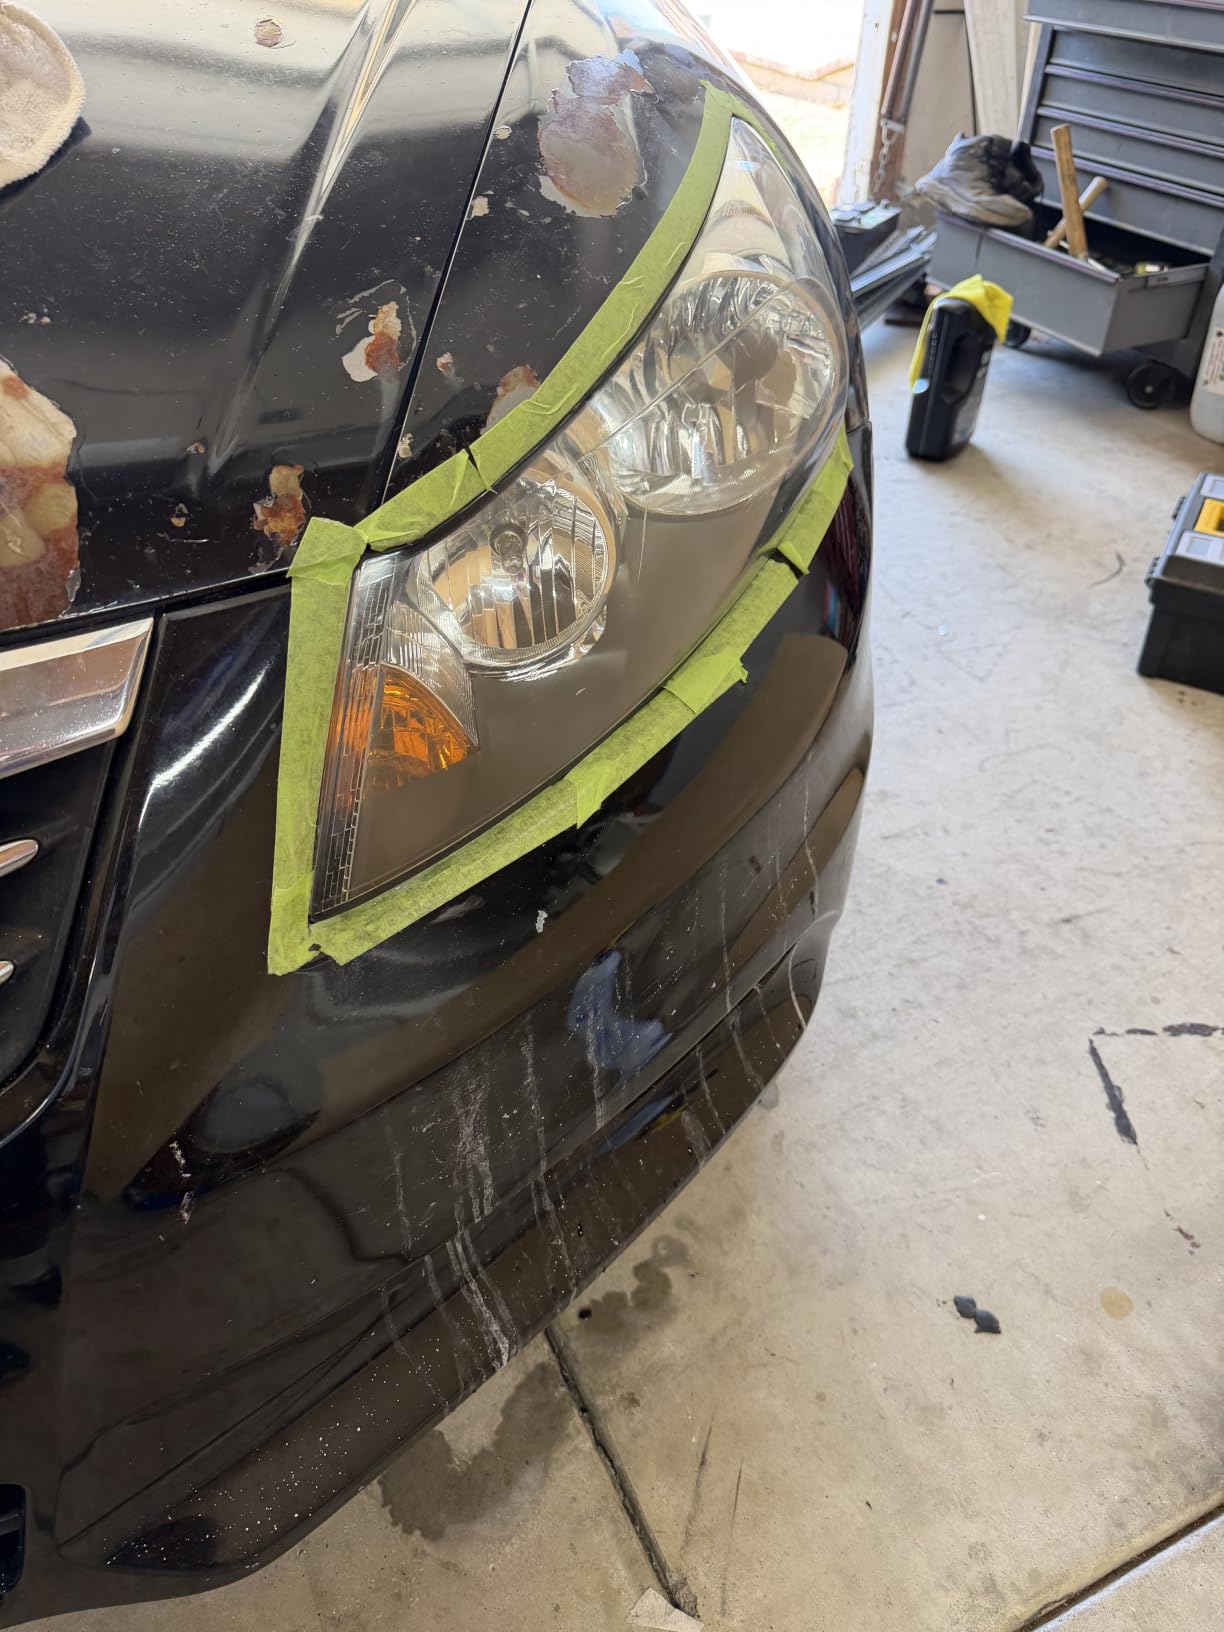
You can run it entirely by hand or attach the pad to a common household drill, and the difference in time is enormous. Hand work is the safe route on a lens you have never touched. The drill is the sane route once you know what you are doing and want the job done in an afternoon rather than a weekend.
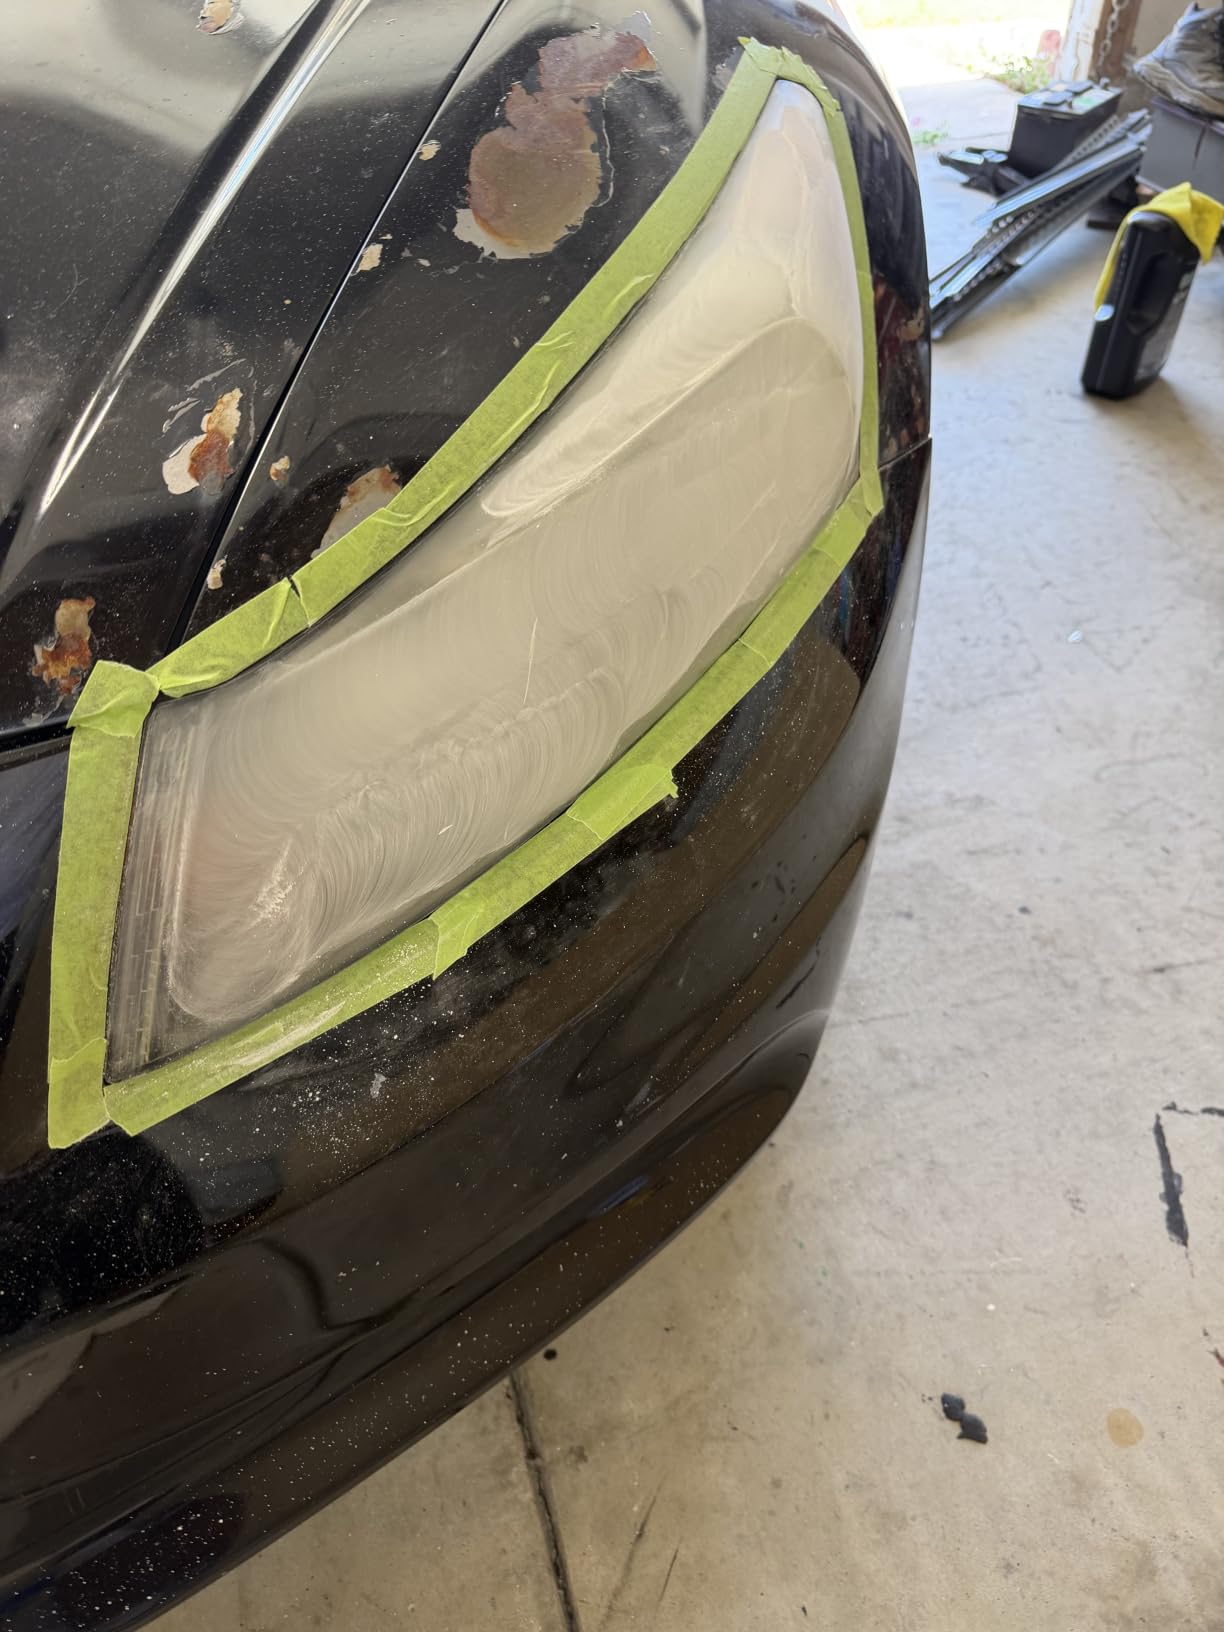
The finish is where the extra steps pay off. Four white finishing discs at 800 grit followed by a 3000-grit Trizact refining disc is a proper refinement ladder, and it is why the result reads as clear rather than merely less cloudy. The two quick clear coat wipes finish the job in the same session.
When this is the right call
Deep oxidation, deep pitting, and lenses that have never seen a polish. If your car is a twenty-year-old vehicle that was parked outside its entire life, this is the kit most likely to produce a result that surprises you.
It is also the right pick if you have more than one car. Eleven discs across the ladder means you have real material to work through before you run dry mid-project, which is the single most common complaint we found about smaller kits.
Where it falls short
It is not a one-afternoon kit. Eleven discs, three grit families, and a clear coat step add up, and each stage wants several minutes per headlight. On a first attempt, budget more time than you think you need.
It also assumes you have masking discipline. Old cars rarely have neat trim edges, and 500 grit will chew paint quickly if a disc rides over the border. I taped a full inch beyond the lens edge on every one I worked on.
4. Meguiar’s Two Step Headlight Restoration Kit – Fastest Hand Process
- Whole job finishes in under an hour including drying
- No drill and no sanding sequence
- Enough product for roughly two or three vehicles
- Owners report noticeably brighter road illumination
- Strips the factory UV layer so it needs redoing about annually
- Spray technique is unforgiving and over-application leaves a filmy haze
- Single buffing pad wears out on badly clouded lenses
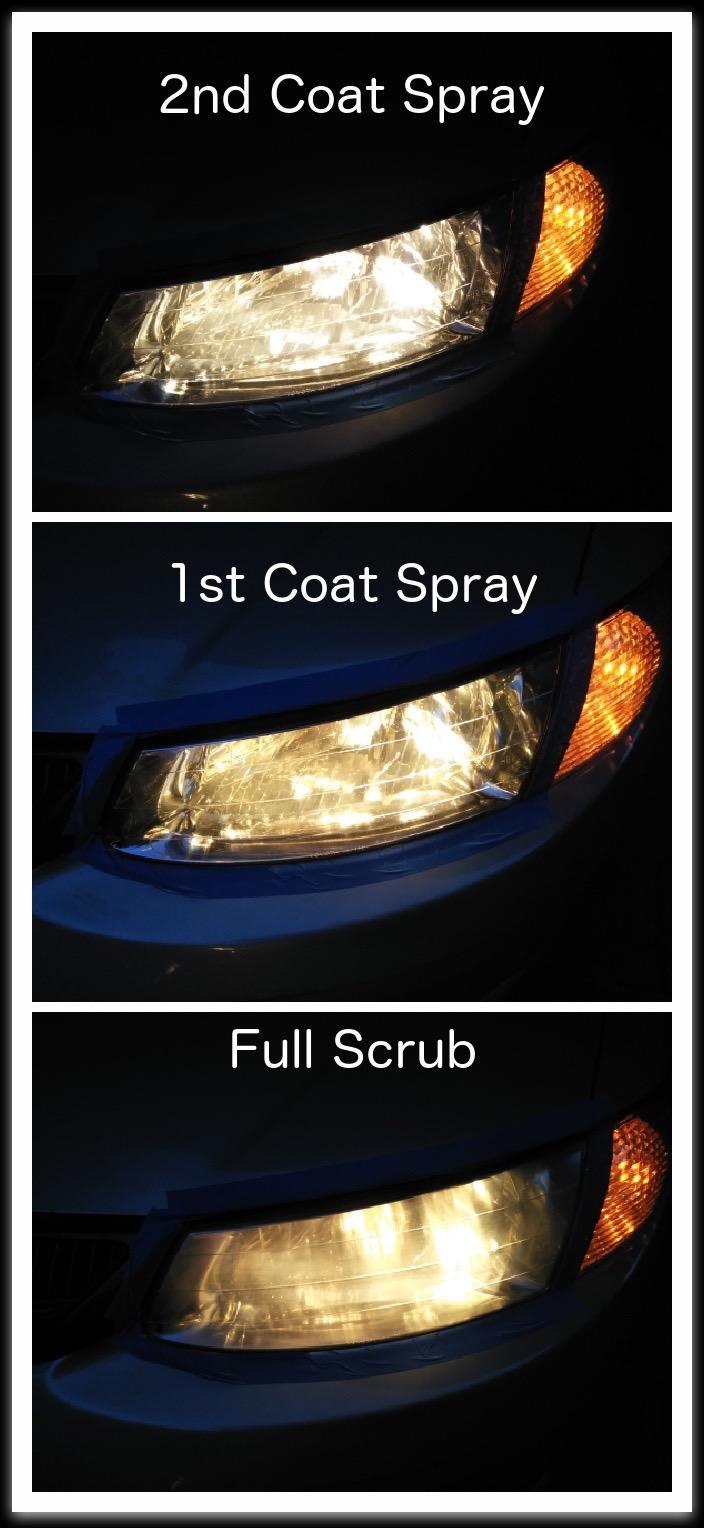
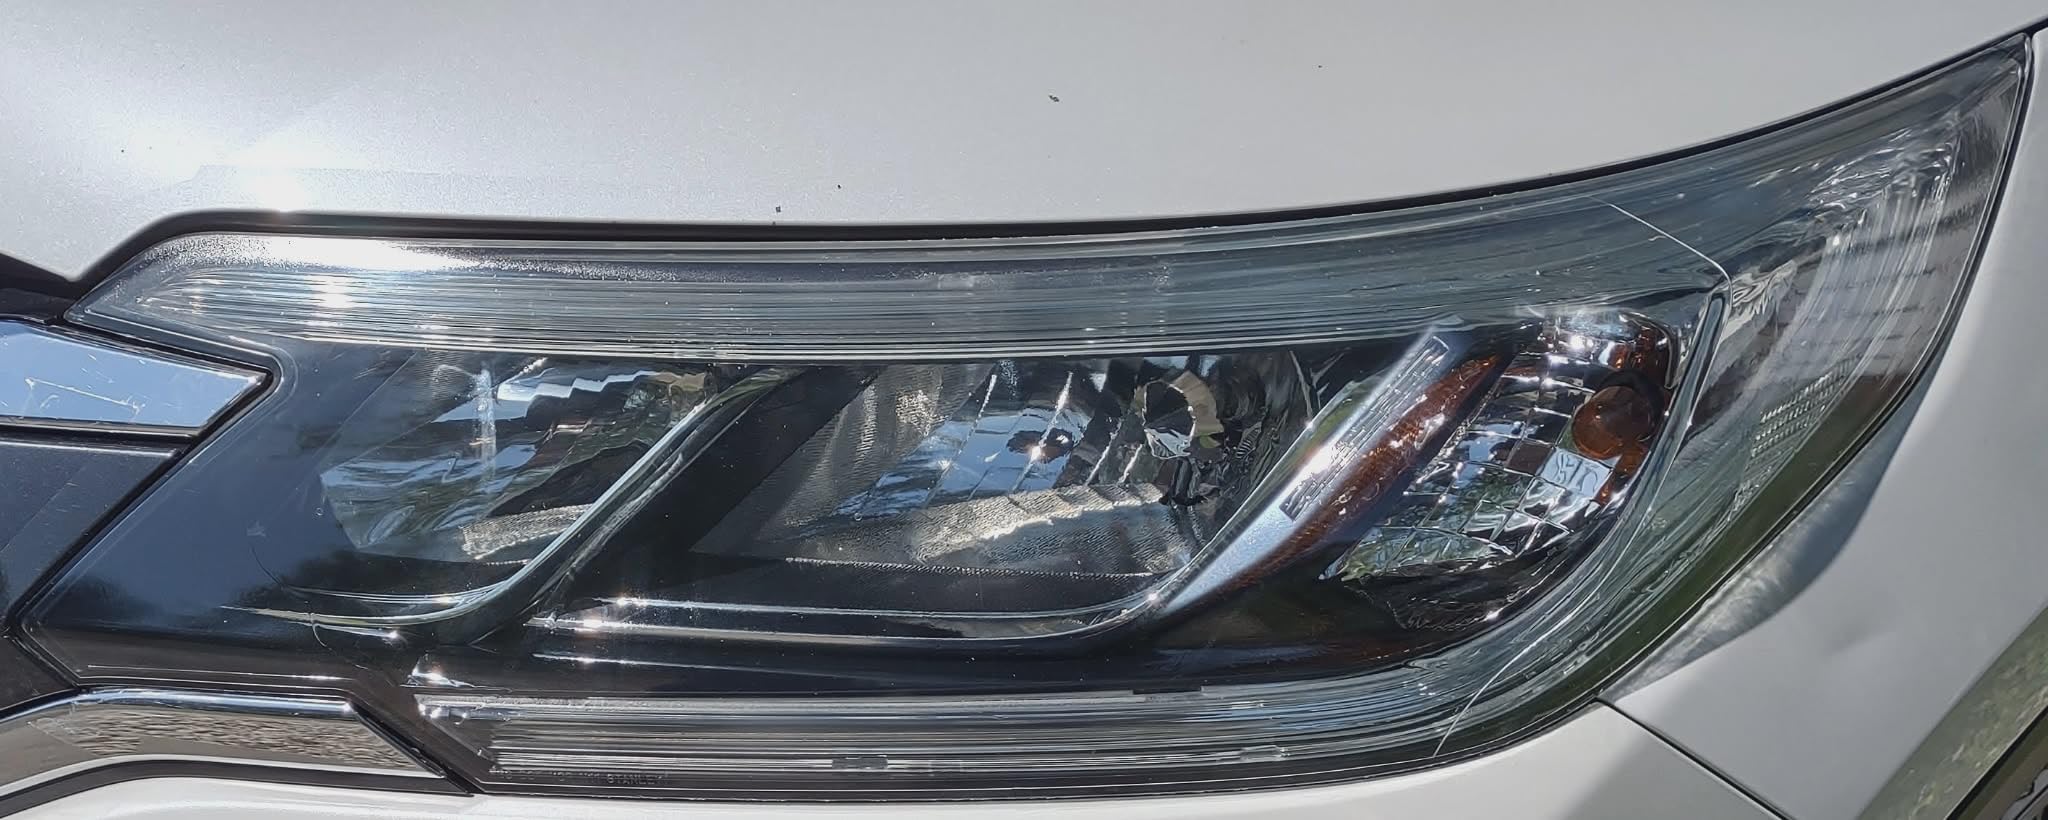
Meguiar’s built this for someone who wants clear headlights back tonight, not this weekend. The abrasive pad with cleaning solution is step one, the spray coating is step two, and there is no drill, no masking of a grit sequence, and nothing to learn. I finished a pair in under an hour with drying time included.
The spray coating is the clever part. After the abrasive pad does its work it leaves fine scratches, and this coating fills them optically so the lens reads as clear rather than scratched. Users on r/mazda3 called it absolutely worth it, and that sentiment shows up repeatedly in the 11,519 reviews averaging 4.4.
There is enough compound and sealant in the box for two to three vehicles worth of treatments, which makes it the best-value option if you maintain several cars or want an annual refresh kit. A lot of owners use it once, then keep the bottle for the yearly touch-up.
It is also the least risky kit here for surrounding trim. Nothing abrasive spins, nothing throws compound, and the whole process happens at arm’s length with a pad. On a car where the lens edges are old and the paint is thin, that simplicity has real value.
What it is genuinely good at
Light to moderate yellowing, and annual maintenance passes. This is the kit I would use to keep an already-restored lens clear rather than to rescue a neglected one. The spray coating fills micro-scratching beautifully and the whole cycle is quick enough that you will actually repeat it.
Owners also point out a real safety benefit. Road illumination after treatment is visibly better, and on a car that gets driven at night, that is the outcome you are paying for rather than the cosmetic improvement.
Where it falls short
The abrasive treatment removes the factory UV protection, so the coating has to be reapplied roughly every year. That is a maintenance habit, not a one-time fix, and if you will not repeat it the yellowing returns.
It is also technique-sensitive in a way the wipe kits are not. Over-spraying leaves a filmy haze that is visible from the side, and under-spraying leaves the scratches exposed. Go light, let it haze, then buff. And on a deeply pitted lens, one small buffing pad will not cut it, which is why a pro detailer on AutoGeek Online says most real cars require sanding.
5. Mothers NuLens Headlight Renewal Kit 07251 – Polish and Protect in One Step
- Single-step design is fast on moderate oxidation
- Buffs out hairline scratches while sealing
- Followers get dramatic results on bad lenses with the full grit sequence
- 8 fl oz bottle has restored multiple vehicles for owners
- Instructions are poorly written and easy to do out of sequence
- Sanding discs run short especially at 1500 and 3000 grit
- High drill speed can burn plastic or sling compound onto paint
- No UV protectant wipes included
This is the most polarised kit in our group. It has 10,568 reviews and a 4.2 average, which on the surface looks middling next to rivals sitting at 4.6, but the spread explains itself: 62 percent five-star against a 10 percent one-star share. Enthusiasts who follow the full grit sequence get dramatic results, and everyone else is disappointed.
The polish itself is the draw. PowerPlastic 4Lights is a genuine one-step system that removes yellowing, stains, oxidation, and haze while leaving an oxidation-inhibiting polymer layer behind, and the included foam polishing tool and sanding discs mean you are not buying a second kit to get started.
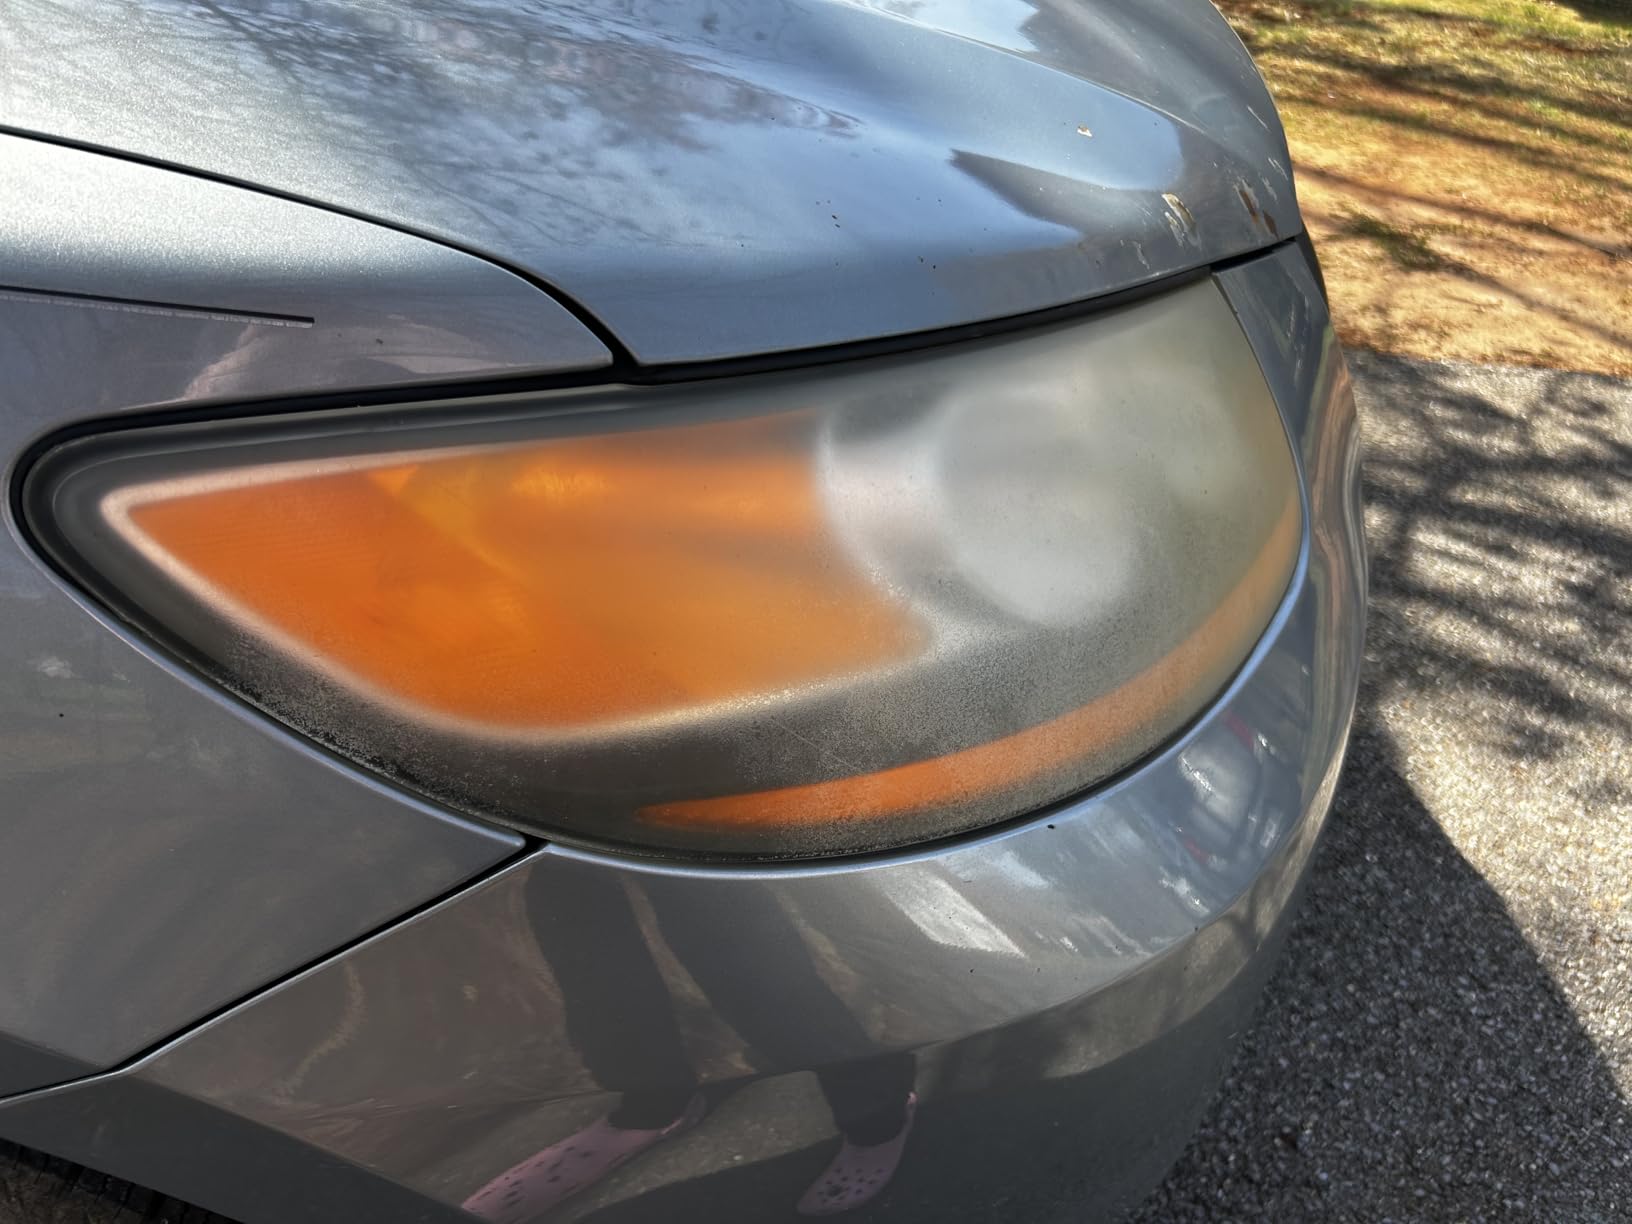
I can see the enthusiasm in the data. Reviewers on high-mileage vehicles report restoring several cars from one bottle. The buffing-out of hairline scratches is consistently called out as the best part, and the single-step format makes it the fastest full correction here when the lens is only moderately oxidized.
What I do not like is the documentation. The instructions are written poorly enough that you can genuinely perform the steps out of order, and if you do that you burn through sanding discs and end up with a worse result than you started with. The disc quantity is thin, particularly at 1500 and 3000 grit, which are exactly the two grits you need most for a bad lens.
Where it earns its spot
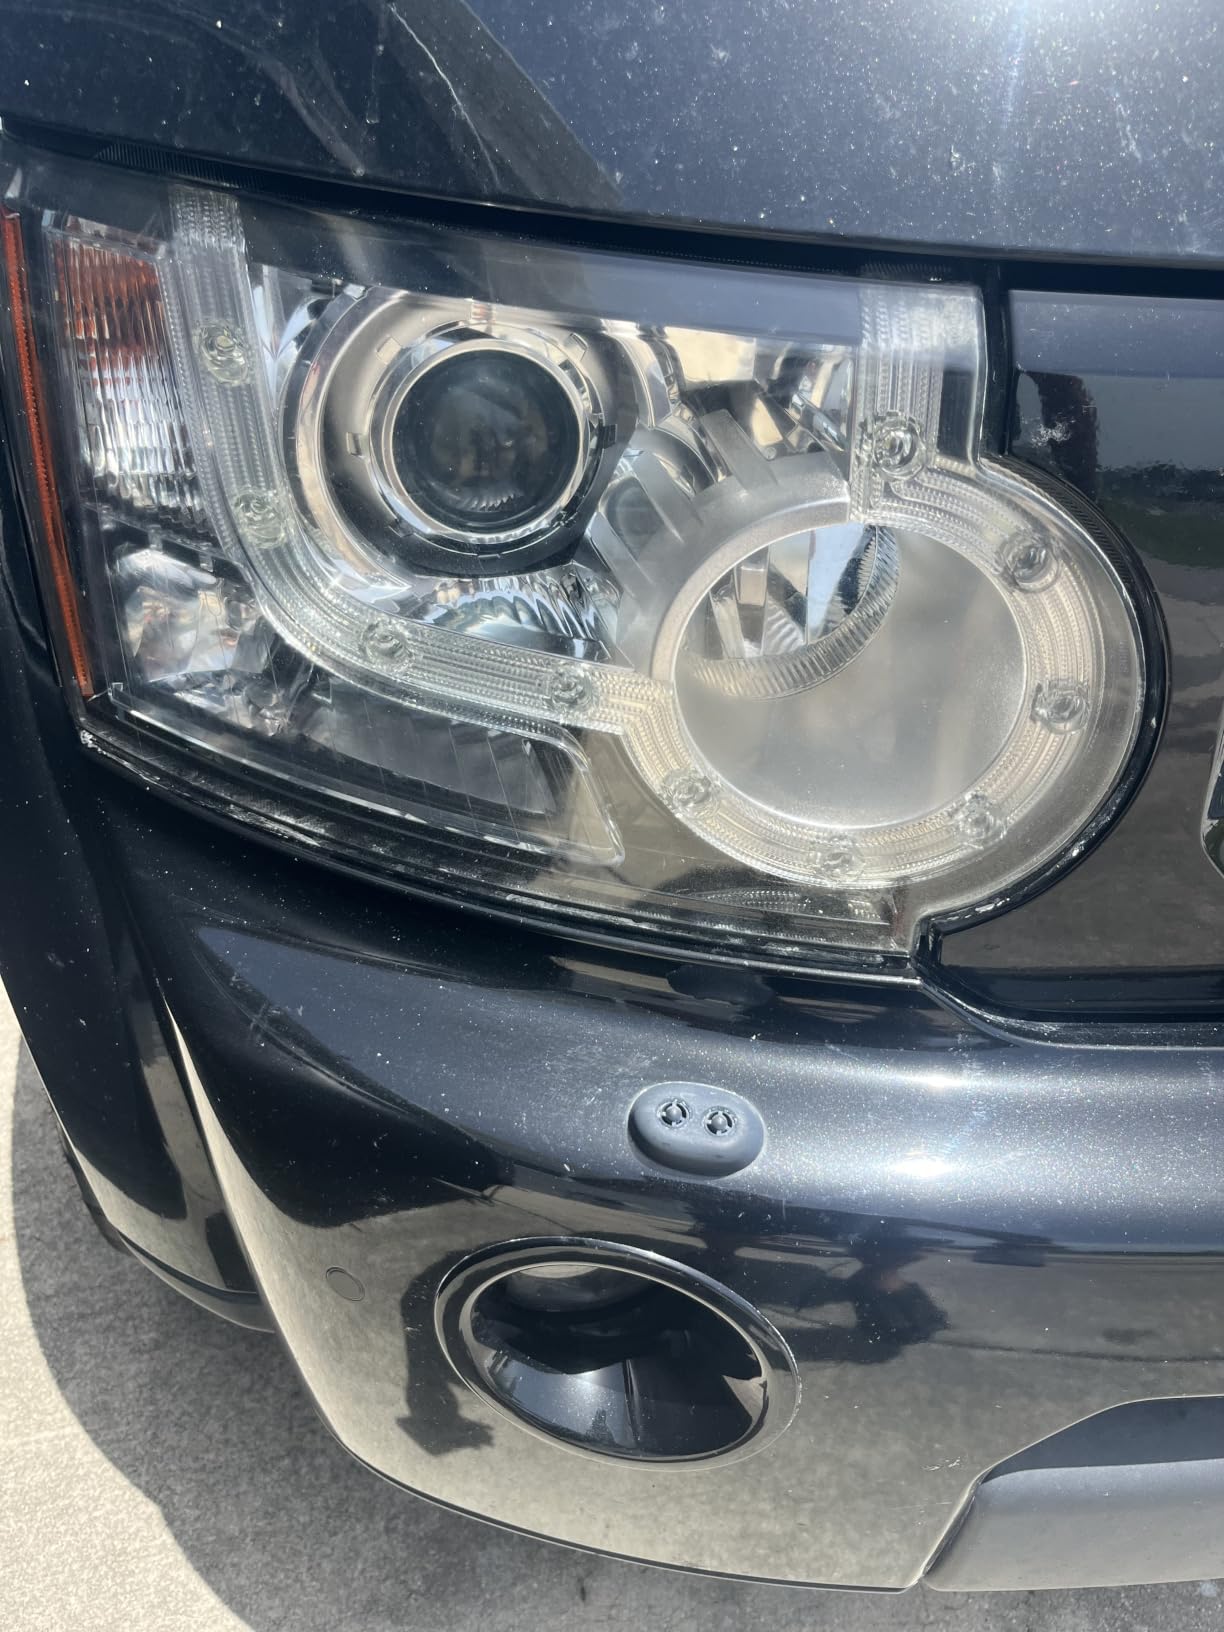
One hand, one bottle, one pass. If you want to restore headlights and buff out scratches on a lens with moderate damage without running a drill, this is faster than any kit in the roundup. The polymer protection left behind is a real advantage over a pure abrasive.
It is also the only kit here that buffs scratches as part of the restore rather than as a separate step, which matters if the lens has swirls from previous bad polishing attempts.
Where it falls short
Drill speed control is critical and the kit does not help you. Run a rotary too fast and you will burn the plastic or sling compound onto the surrounding paint, where it dries like cement. If you have not used a drill polisher before, this is not the kit to learn on.
There is also no included final UV protectant. You finish with polish and then have to source a sealer separately, which pushes the total cost of the job up and adds a step most buyers skip. Plan on waxing or adding a coating wipe before the lens goes back on the car.
6. Clear Lights Tech 3-Wipe Headlight Kit – The Maintenance Kit
Clear Lights Tech, Headlight Restoration Kit – Headlight Cleaner 3-Wipe System, Helps Remove Yellowing & Oxidation, Helps Improve Headlight Visibility, Long-Lasting UV Protection.
- Fastest and simplest format in the roundup
- Small enough to live in a glove compartment
- The protective wipe slows re-yellowing after cleaning
- Wipe-only method cannot touch deep pitting or heavy oxidation
- Lowest average rating in the group at 4.0 with 10 percent one-star
- Small wipe count limits how many lenses you can treat
This is not a restoration kit and I want to be straight about that. It is two cleaning wipes and one protective coating wipe, and that is the entire format. What it does well is maintenance: taking a lens that is already decent and pushing it back to clear in a few minutes with no tools at all.
The 4.0 average across 8,075 reviews is the lowest in our group, and the distribution explains it. Reviewers with lightly to moderately yellowed lenses are satisfied. Reviewers with badly oxidized lenses bought a three-wipe product expecting a three-step result and were disappointed, which is a fair complaint rather than a defect.
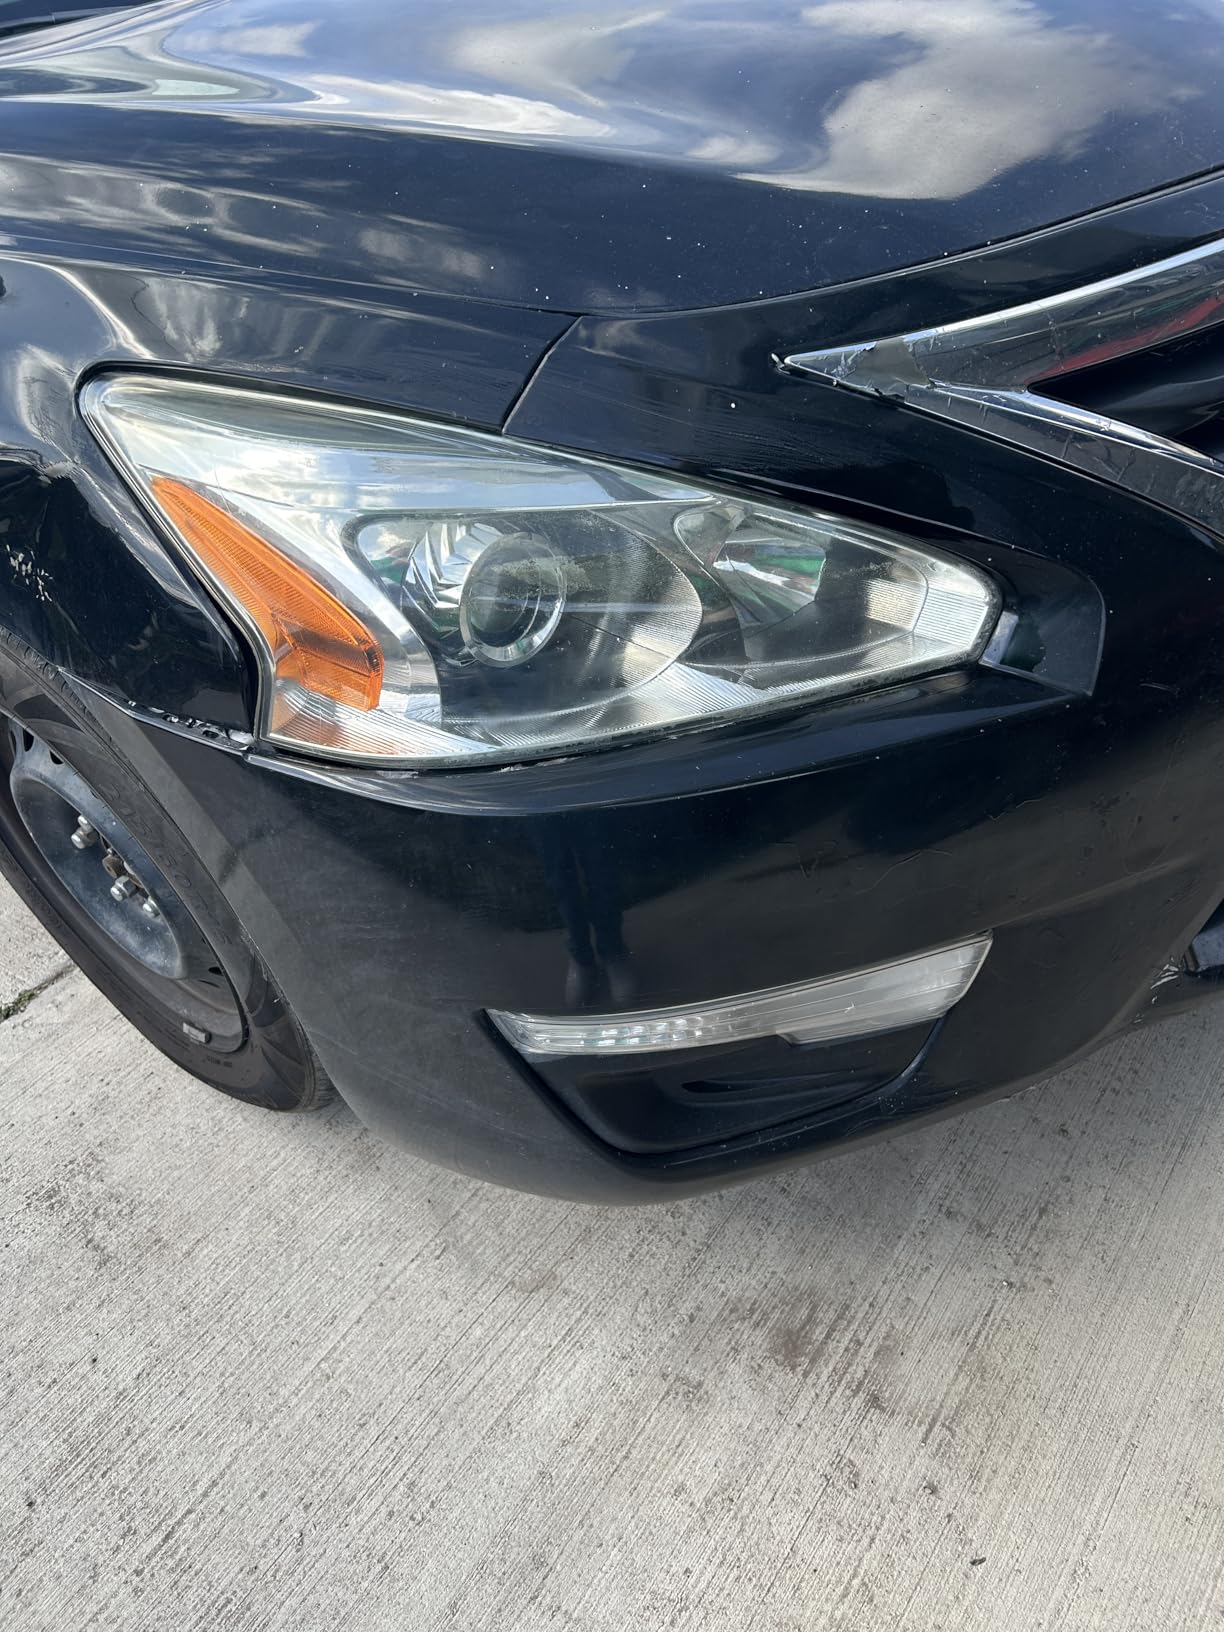
The protective coating wipe is what makes it worth keeping. After the cleaning wipes do their work, the third wipe lays down a UV-resistant layer that slows the yellowing that caused the problem in the first place. On a car that is already corrected, that maintenance pass is genuinely useful once or twice a year.
The physical size is the other quiet advantage. At 4 by 1 by 7 inches and 1.45 ounces, it fits in a glove compartment or a tool bag, and it is the only kit here I would describe as portable rather than as a garage project.
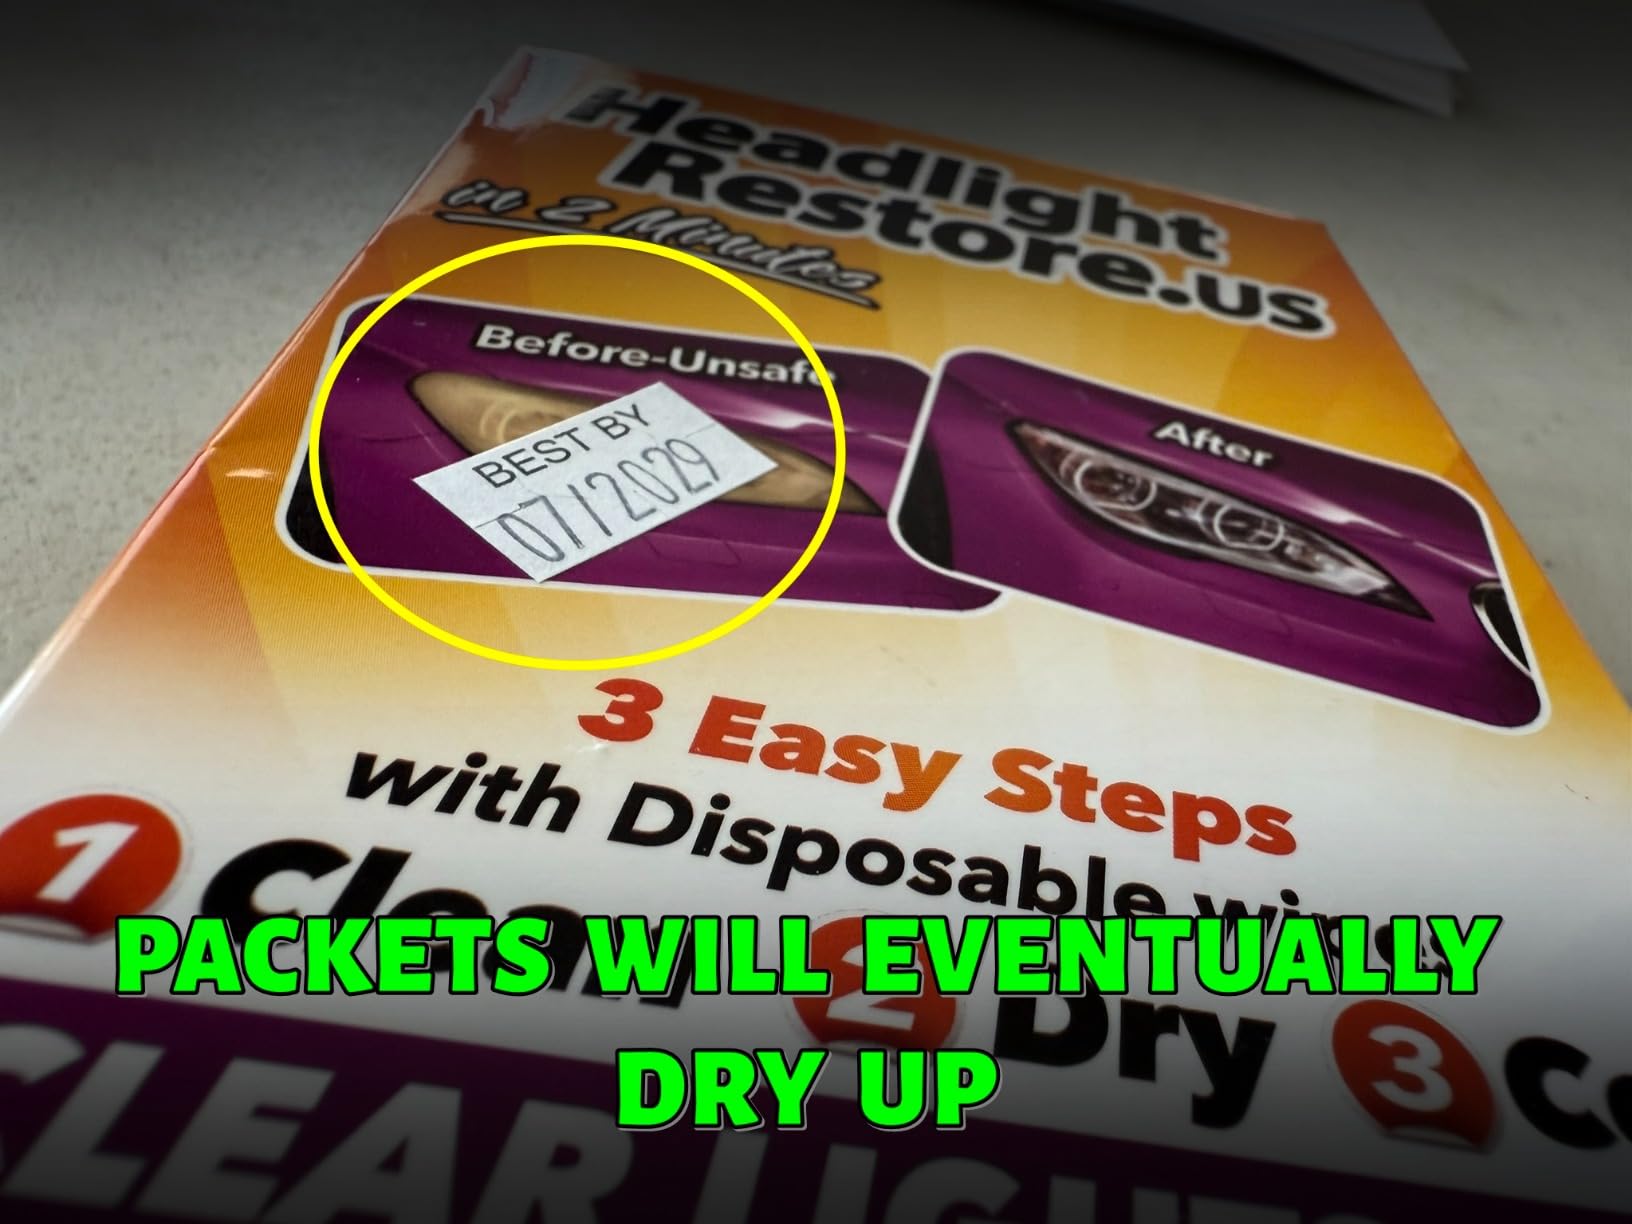
Where it actually earns its place
Touch-up on a lens you have already restored, and quick cleaning of fogged plastic on taillights and fog lamps. If your headlights are mildly hazy rather than properly yellowed, this is enough and costs a fraction of a full kit.
It is also the only kit here that suits an older car with complicated lens geometry. Fluted, ribbed, or multi-element OEM lenses are miserable to sand by hand, and a wipe needs no access angle at all.
Where it falls short
It cannot cut pitting, and it will not strip real oxidation. The AutoGeek Online consensus is that most vehicles need sanding before a result holds, and this product is the clearest example of what happens when you skip that step.
The quantity is also small. Three wipes will not cover several vehicles or a fleet, so if you have more than one car you will be reordering more often than the sticker suggests.
7. 3M Auto Restore and Protect Kit 39194 – The Budget Pick
- Least expensive kit in the roundup and still ranks third in the category
- 1000 and 3000 grit discs cover the main steps of a standard restoration
- Clear coat wipes included so protection happens in the same session
- Hand or common household drill
- Only two sanding discs means much less correction than the 39195
- Just one disposable glove in the box
- No masking tape included
This is the value answer and it is not a close second to the premium kits. It ranks number three in the category with 7,971 reviews at a 4.5, and it is the lighter sibling of the 3M Ultra, starting at 1000 grit rather than 500. That single number tells you everything about which lenses it suits.
You get a 1000-grit Trizact refining disc, a 3000-grit Trizact refining disc, a foam pad with a Hookit attachment, two quick clear coat wipes, and a single glove. That is the core of a standard restoration, and for a lens with moderate oxidation it is enough.
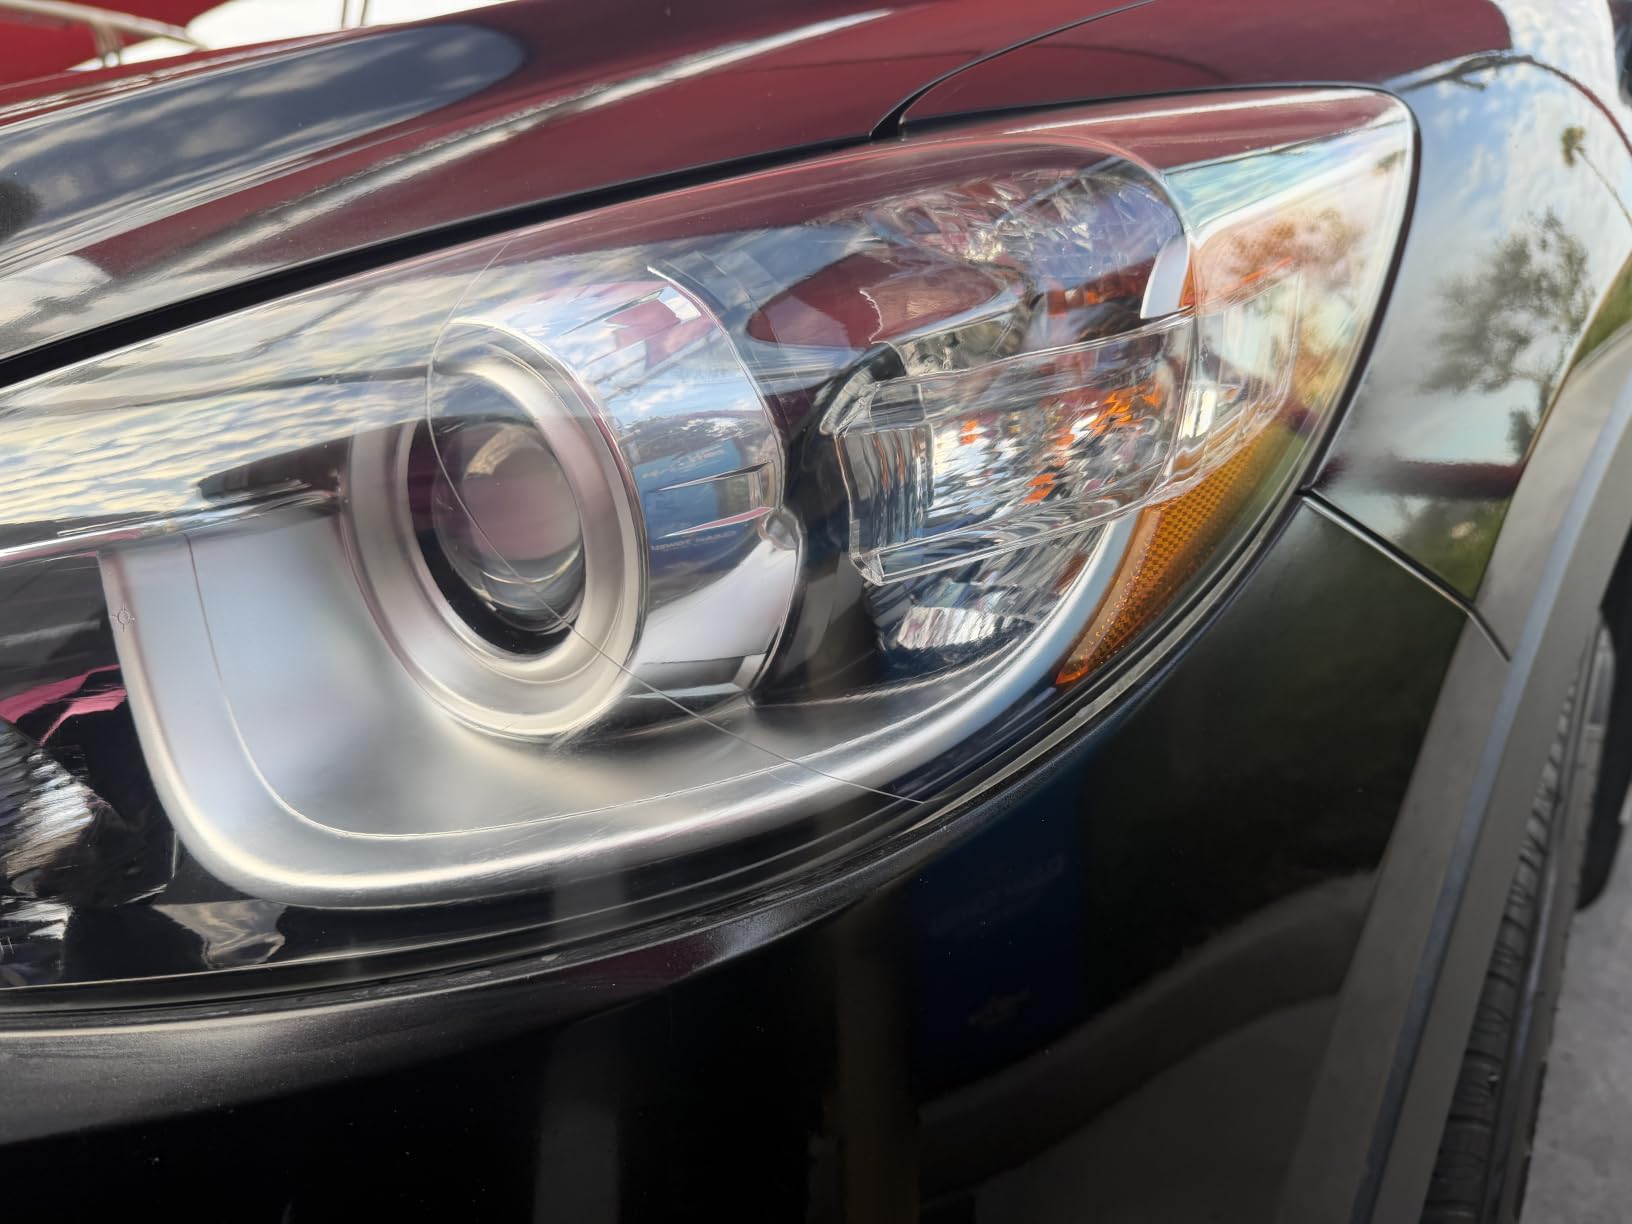
The clear coat wipes matter more than the price suggests. A lot of cheaper kits stop at abrasion and leave you unprotected, which is why results fade within months. Getting a coating step in the same box means the protection happens while you are already set up.
It runs by hand or on a common household drill, and the foam Hookit pad is a stable backer that keeps the disc flat. On a car with a simple lens design, the whole job is well under an hour with a drill and comfortably over that by hand.
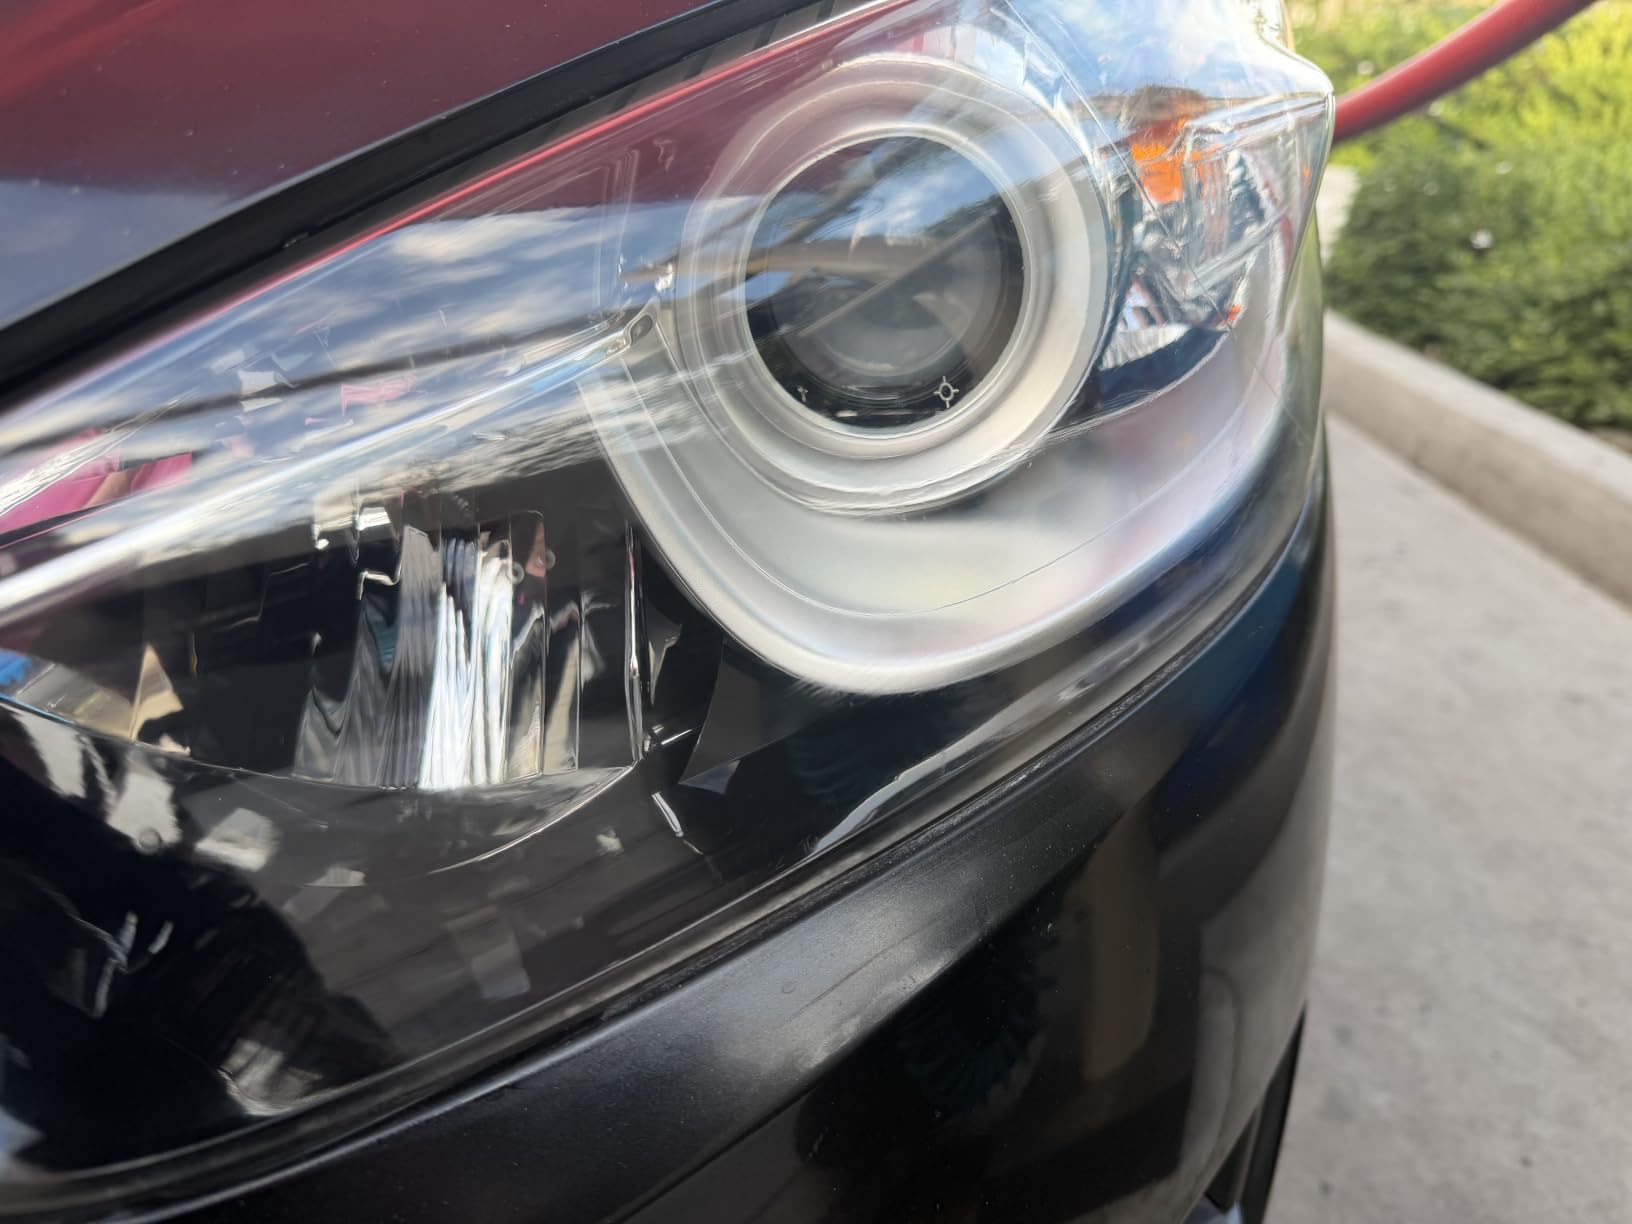
Why it beats cheaper kits
Two discs is thin, but they are the two grits that matter most for a standard job, and the 3000-grit refining disc is the finishing step most stripped-down kits omit entirely. Combined with the included coating wipes, the box covers correct steps rather than just the cheap ones.
It is also the one kit where the balance of cost and outcome is hardest to argue with. If your lens is not a worst case, spending more does not get you a meaningfully different result.
Where it falls short
Two discs means less aggressive correction, full stop. If your lens is heavily oxidized, you will exhaust the abrasive long before the lens is clear, which is exactly the r/Cartalk complaint that the coating runs out before the sanding does, just reversed.
There is no masking tape in the box, so you have to source your own protection before you start, and there is exactly one glove. Neither is fatal but both mean the true cost of this kit is not entirely in the box.
8. Turtle Wax Headlight Restoration Kit – Complete in Under 30 Minutes
- Everything needed is in one package
- Mainstream detailing brand with a long sales history
- Sealing wipe locks in clarity and defends against UV
- Manufacturer claims under 30 minutes for a full pair
- 4.1 average with 13 percent three-star and 7 percent one-star
- Fewer consumables included than the 3M kits
- Sanding approach limits how much pitting can be corrected
Turtle Wax has been selling this kit since 2009, and the format has aged well because it never tried to be more than it is. A precision sanding pad with lubricant, a headlight clarifying compound, and sealant wipes, all in one package, no power tools, and the manufacturer claims a full pair in under 30 minutes.
It ranks twelfth in the category with 7,447 reviews at a 4.1. That average is dragged down by a 13 percent three-star and 7 percent one-star share, and both clusters come from the same place: people with heavily oxidized lenses buying a moderate kit.
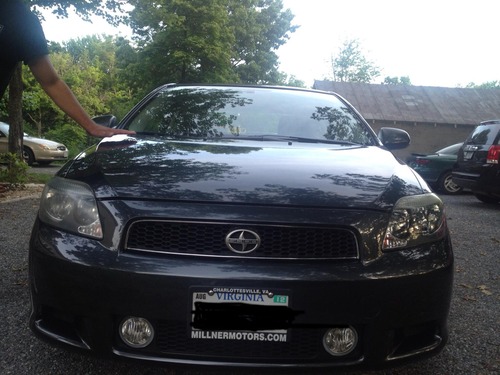
For a lens with moderate oxidation on an older vehicle, the format is genuinely efficient. The lubricant matters more than it sounds, because it keeps the precision pad from tearing the polycarbonate and it lets you work the surface without generating the kind of heat that dulls the finish.
The sealing wipe is the piece I would not skip. It locks in clarity and defends against the UV that caused the yellowing, and skipping it is the fastest way to end up redoing the job next summer. On a car that stays outdoors, that wipe is the difference between an annual job and a one-time fix.
Where it is the right pick
Moderate oxidation, a mainstream brand you can buy anywhere, and a hard budget. The compound-plus-sealant-wipe format is meaningfully different from a pure sanding kit because it corrects and protects without you sourcing a separate coating step.
It is a good first kit for a teenager or a beginner because the steps are obvious and there is nothing to break. Hand sanding at moderate pressure will not damage a lens the way a drill at high speed can.
Where it falls short
The consumable count is low compared with the 3M kits, so on two bad lenses you can run short. And like every sanding-based kit, it cannot do much about genuine pitting, which is a surface defect rather than a coating defect.
The rating spread also tells you it is not a heavy-duty product. If your lens has not been restored in fifteen years and has never seen a polish, this will improve it but it will not surprise you, and you will likely be tempted to do a second pass with a heavier kit.
9. Wipe New Headlight Restore by Rust-Oleum – The Sealing Topper
- Simplest workflow of any kit here
- Covers the step most kits skip
- Nano-polymer formula targets UV and liquid exposure
- Dries in an hour which is fast for a coating
- Not a restoration kit and does no abrasion on its own
- Must wait 24 hours before moisture exposure
- Lower category rank and smaller review base
I want to be careful with this one because it is not a competitor to the other nine. Wipe New Headlight Restore is a Rust-Oleum liquid coating, and it does no abrasion at all. You clean the lens, wet sand it, polish it, and then apply this. Skip those first stages and this product will do nothing for you.
Which is exactly why it is on the list. Several kits in this roundup finish with either no protector or a weak one, and the r/Cartalk complaint about a coating running out mid-job is really a complaint about finishing with nothing. This is the answer to that gap, and it can be paired with any of the abrasive kits above.
It ranks seventieth in the category with 5,788 reviews at a 4.2 and 60 percent five-star. Satisfaction tracks the coating itself rather than the abrasion stage, and the nano-polymer formula claims multi-year protection from UV and liquids.
How to use it properly
Clean the lens, wet sand through the progression, polish out the scratches, and only then apply the wipe-on coating. It dries in one hour, which is fast for a coating, and that quick cure is a real advantage if you want to re-enable the car the same day.
Apply it to a cool, clean lens, not one that is still hot from a drill polisher. Heat will flash the coating unevenly and leave the streaking that reviewers complain about.
Where it falls short
The 24-hour no-moisture window is the most cited drawback, and it is stricter than most coatings. Plan the job for a dry weekend, not the night before you need the car.
At 0.5 fluid ounces it is a small quantity intended to top off a restore, not to treat a whole vehicle on its own. And because it ranks seventieth in the category, the review base is thinner than anything else we tested, so treat the multi-year protection claim as a manufacturer claim rather than a verified result.
10. VIBRATITE 37PCS Headlight Restoration Kit – Most Abrasive Ladder
VIBRATITE 37PCS Headlight Restoration Kit, 3″ Drill Sanding & Polishing Kit
- Widest grit ladder we tested at 1000 through 10000 grit
- Highest piece count in the roundup at 37 items
- Waterproof discs and masking film support a proper wet-sand workflow
- Owners report near-new results on high-mileage vehicles
- Included UV protective liquid smears and hazes for some users
- Requires a household drill that is not included
- Instructions are vague and not packaged in the box
- Each grit stage takes several minutes per headlight
This is the deepest kit in the roundup by a wide margin. The grit ladder runs 1000, 2000, 5000, and 10000 across six waterproof discs, and there is no other kit here that takes you to 10000 grit. That final refining step is what makes it the only one here with a genuine answer to pitted lenses.
At 37 pieces it is also the most complete box. You get four buffing sponge pads in orange, green, and black, a quarter-inch shank backing pad, a soft interface pad, a masking film, two polishing compounds, and four UV protective liquid portions. Reviewers of high-mileage vehicles, including a 2006 car with 173,000 miles, report results close to new.
There is enough material here to restore two complete cars, which is stated on the box and appears to be true based on the disc and pad count. For anyone working through a small fleet or several older vehicles, that changes the economics completely compared with the single-pair kits.
The waterproof discs and the masking film are thoughtful inclusions. Wet sanding keeps dust down and lets you see the surface clearly, and the film makes protecting the surrounding paint a single step rather than an exercise in taping curves.
Who should buy this one
Owners of genuinely pitted lenses, and anyone restoring more than one vehicle. The grit range plus the piece count is the best raw material package we found, and for a multi-car project nothing else here comes close.
It also suits someone who already has a drill and wants a pro-style wet-sand workflow. The backing pad and interface pad are exactly what you need to run a rotary correctly, and a drill is not included so you supply your own.
Where it falls short
The UV protective liquid is the weak link. Reviewers describe it as smearing and hazing, and a number of them simply wax the finished lenses instead of using it. Test a small area before you trust it across a whole lens, because a hazy sealer undoes the clarity you just paid to create.
Documentation is the other problem. The instructions are vague and reportedly not even packaged in the box, and the process is time-consuming with several minutes per headlight at every grit stage. If you have never done a full wet-sand progression, this is a steep kit to start with.
How to Choose a Headlight Restoration Kit
Match the kit to the lens, not to the price. The single biggest mistake we saw in owner discussions is buying a three-wipe product for a badly oxidized lens or a heavy drill kit for a mildly hazy one. Start by deciding how much material the lens can actually remove, then pick the system that removes it.
Light yellowing that still shows a clear beam pattern needs a polish and a coat, not a full grit progression. Deep yellowing with visible haze at every angle needs abrasive discs. Pitting, where you can feel scratches with a fingernail under the beam, needs a proper wet-sand ladder and 10000 grit to refine. Cracked or flaking lenses are not a restoration problem at all.
That last category is the important one. A pro detailer on AutoGeek Online said it directly: a high percentage of vehicles are going to require sanding. If yours is in that group, a wipe-only kit is a waste of money no matter how good its reviews look.
Sand-style kits versus no-sand kits
Sand-style kits include discs in a grit progression and cut through real UV degradation. They take longer, they need masking discipline, and they are the only option that meaningfully improves a pitted lens. This is the 3M 39195, the 3M 39194, the Sylvania, and the VIBRATITE in our group.
No-sand kits rely on abrasives suspended in a liquid or on a coated wipe. They are faster, they carry almost no risk of damaging the lens or the surrounding paint, and they work well on light to moderate yellowing. The Meguiar’s two-step and the Clear Lights Tech wipes live here.
The honest summary is that no-sand kits are frequently recommended and frequently oversold. On an older car that has never been restored, they will make the lens better and will not make it clear, and the difference is obvious the moment you compare them side by side with a sanded lens.
Drill-powered versus hand kits
A drill attachment is close to a requirement if you have more than one pair of headlights. Experienced users on r/AutoDetailing treat it as near-mandatory, and one summarized the reason better than any product page: get a kit that goes on a drill, the results are much better and the job is far easier.
The counterargument is real. A rotary polisher runs hot, and on a brittle twenty-year-old polycarbonate lens, heat is how you cause damage instead of removing it. If you have never used one, run the abrasive stages by hand and reserve the drill for the finishing steps where the grit is fine enough that heat is not a risk.
What most kits do not include
Masking tape is missing from several kits in this roundup, including the 3M 39194. You need it. 500 grit will strip paint in seconds, and on an older car the trim around the lens is often the only paint keeping the headlight assembly attached visually.
You will also want microfiber cloths, a bucket for wet sanding, and either 100 percent cotton or clean non-scratch towels for the coating. A coarse synthetic towel is the fastest way to put micro-scratches into a lens you just spent an hour correcting.
Does WD-40 clean oxidized headlights?
No. WD-40 will make a yellowed lens look marginally better for a few days because the oil wets the surface and evens out the light, and some people use it as a temporary shine. It does not remove oxidation, it does not block the UV that caused it, and it will not survive a car wash or a week of rain.
Treating WD-40 as a restoration step is the most common DIY misconception we found. If you want a cheap interim improvement, a plastic polish from an auto parts store will genuinely remove light yellowing, and it is worth more than a can of WD-40 for the same money. For a durable result, the answer is an abrasive step plus a real UV sealer.
How to Restore Your Own Headlights, Step by Step
Work in shade on a surface you can get wet and dirty, and let the lens cool completely before you start. A lens warmed by direct sun will behave differently than one at ambient temperature, and heat is what causes drill work to burn plastic.
First, wash the lens with car shampoo and dry it. Mask the surrounding paint generously with tape, at least an inch beyond the lens edge, and pull the tape down as you go so it cannot lift the clear coat when you peel it off. If your car is missing its headlight covers, tape is doing more work than usual here.
Second, move through the grit progression in order and never skip a step. A typical sequence is 1000, 2000, 3000, and for pitted lenses up to 5000 and 10000. Wet sand with plenty of water, work in small circles, and keep the disc moving constantly.
Third, how do you know when to stop sanding? Run your bare hand across the lens with the light behind you. When you cannot feel any grit and the haze is even rather than patchy, you are done. Over-sanding is the most permanent mistake you can make here, because micro-scratching below the oxidized layer will still scatter light once you seal it.
Fourth, polish. The compound stage removes the micro-scratches left by the finest grit, and this is the step people rush. Take the full product instruction and give each headlight the full time.
Fifth, seal. Apply the UV protectant or ceramic coating in thin, even layers, allow it to haze and buff as directed, and give it the cure time the product specifies. Some sealers dry in an hour, some ask for 24 hours before moisture. Do not skip this to save a day, because the sealer is what keeps the lens clear and it will not survive rain if you rush it.
Finally, unmask slowly, pull the tape at a low angle rather than straight back, and check the perimeter for compound you may have pushed onto the paint. The whole job runs 45 minutes to two hours per pair depending on the grit progression and whether you use a drill.
How Long Does a Restored Headlight Stay Clear?
It depends almost entirely on the sealer and the climate, and the honest answer is that most people under-protect. Oxidation is UV damage, so a lens that gets no UV blocking after a restore starts the clock again immediately. That is the entire reason two-step kits with a coating outperform single-wipe kits in durability, even when the abrasive result looks identical.
The Meguiar’s coating is the only product here with a stated figure, claiming up to 12 months of re-oxidation protection. Reviewers who use it as an annual maintenance pass, rather than a one-time fix, report that cycle holding. Treat 12 months as the realistic floor for a maintained lens in a moderate climate, and assume considerably less in sun-heavy conditions.
Ceramic sealers outperform wax in our experience. The CERAKOTE coating chemically bonds to the lens rather than sitting on top, and one owner reported no re-clouding at all after three months on a heavily oxidized lens. Wax works, but it needs refreshing far more often and it is the first thing to fail in heat.
Where a car lives changes the clock more than the brand of kit does. A vehicle stored outdoors in a desert or coastal climate will re-yellow faster than the same car in a garage, and no coating fully solves two decades of accumulated UV. A car driven daily also picks up winter salt and road grime that abrade a fresh surface.
Five things extend the result: hand-wash only with a non-scratch mitt, keep wax or ceramic topper on the lens twice a year, dry with 100 percent cotton rather than a rough towel, park under cover when possible, and touch up with a maintenance wipe the moment you notice early haze instead of letting it set.
When Restoration Is the Wrong Call
Deep pitting has a limit that no kit price moves. If scratches are visible to the eye under a beam rather than only to a fingertip, a restore can improve it substantially but it will never make it factory clear. At that point you are choosing between a permanently improved lens and a new assembly.
Cracked and flaking lenses are a hard stop. Flaky OEM coatings on older cars are the specific trap that catches people, because you cannot sand a peeling coating off cleanly and the result is a patchy lens that looks worse than the original haze. If the coating peels at the edge of the housing, replace the assembly.
Glass lenses need a different approach entirely. Detailers on r/AutoDetailing note that glass headlights generally do not pit the way polycarbonate does, which means the abrasive steps that work on plastic are usually unnecessary and risk scratching a surface that will not polish out the same way.
A shop will charge a service fee that runs into triple digits for the same job, and that is the number most people compare against. A detailer’s advantage is not really skill, it is a controlled environment, consistent temperature, and a coating that cures properly. A DIY kit gets you most of the way there for a fraction of the cost, and the gap only justifies a shop on a car you are not going to work on yourself.
Our rule of thumb: if the lens is intact and the damage is surface-level, restore it. If the lens is cracked, flaking, or deeply pitted, a replacement assembly is the honest answer, and no kit on this list will change that.
Frequently Asked Questions
Which headlight restoration kit is the most effective?
The most effective kit for most older cars is the CERAKOTE Ceramic Headlight Restoration Kit, which combines eight oxidation-removing wipes, a sanding stage, and a ceramic coating wipe with no power tools required. For severely oxidized or pitted lenses, the 3M Ultra 39195 goes deeper because it starts at 500 grit rather than 1000.
Do any headlight restoration kits really work?
They do work, but the results depend entirely on matching the kit to the lens. Abrasive kits with a proper grit progression remove real UV oxidation, while no-sand and wipe-only kits handle light to moderate yellowing and will disappoint on a lens that has never been restored. Experienced detailers say most real vehicles need sanding before a result holds.
What is the best headlight restoration kit according to consumer reports?
Based on aggregate owner ratings in this category, the CERAKOTE Ceramic Headlight Restoration Kit leads with a 4.6 average across more than 74,000 reviews, followed by the SYLVANIA kit and the 3M Ultra 39195, both also averaging 4.6. The 3M 39194 at 4.5 is the strongest value option, and the 3M, Meguiar’s, Turtle Wax, and Cerakote names are the most frequently cited in owner discussions.
Does WD-40 clean oxidized headlights?
No. WD-40 makes a yellowed lens look marginally better for a few days because the oil wets the surface, but it does not remove oxidation and does not block the UV that caused it. Rain and car washes remove it quickly. A plastic polish from an auto parts store will actually remove light yellowing, and a full restore needs an abrasive step plus a real UV sealer.
What is the highest rated headlight restoration kit?
The highest rated kits in this roundup all sit at a 4.6 average: the CERAKOTE Ceramic 10 Wipe Kit with 74,145 reviews, the SYLVANIA Headlight Restoration Kit with 25,134 reviews, and the 3M Ultra 39195 with 16,476 reviews. The 3M Restore and Protect 39194 follows at 4.5 with 7,971 reviews and is the best-rated option at the budget end.
How long does a restored headlight last?
It depends on the sealer and the climate. The Meguiar’s coating is the only product in our group with a stated figure, claiming up to 12 months of re-oxidation protection, and that holds when you reapply it as annual maintenance. Ceramic coatings bond chemically and typically outlast wax. Cars stored outdoors in sun-heavy climates re-yellow faster than garaged cars regardless of which kit you use.
Should I restore or replace my headlights?
Restore if the lens is intact and the damage is surface-level yellowing or light haze. Replace the assembly if the lens is cracked, if the OEM coating is flaking and cannot be sanded off cleanly, or if the pitting is visible to the eye under a beam rather than only to a fingertip, because no kit removes that. Professional restoration is typically priced in the triple digits for the same job.
Is a no-sand headlight restoration kit worth it?
It is worth it for light to moderate yellowing and for annual maintenance passes, and the Meguiar’s two-step is the best example since its spray coating fills the fine scratches left by the abrasive pad. It is not worth it on a badly oxidized older lens that has never been restored, because no-sand kits cannot remove deep oxidation and will leave a hazy, streaky finish.
The Verdict: Which Headlight Restoration Kit to Buy
The CERAKOTE Ceramic Headlight Restoration Kit is the one to buy. A 4.6 average across more than 74,000 reviews, a full three-step system in one box, and no power tools means it works on a first attempt and cannot burn a lens. It is the safest and best-evidenced choice for the majority of older cars.
Buy the 3M Ultra 39195 instead if your lenses are severely oxidized or pitted and you have a drill and time to do it properly. Buy the 3M 39194 if moderate oxidation and a tight budget are the situation. Skip every one of these if your lens is cracked or the OEM coating is flaking, because no headlight restoration kit fixes either, and a replacement assembly is cheaper than you think compared with sanding a result you will not like.
Whichever kit you choose, the sealer step is what decides how long it lasts. Skip the coating and you will be doing it again next summer, and that single wipe is the cheapest insurance in the whole job. If you are also chasing more light once the lens is clear, our LED headlight bulb picks cover the other half of the job.