
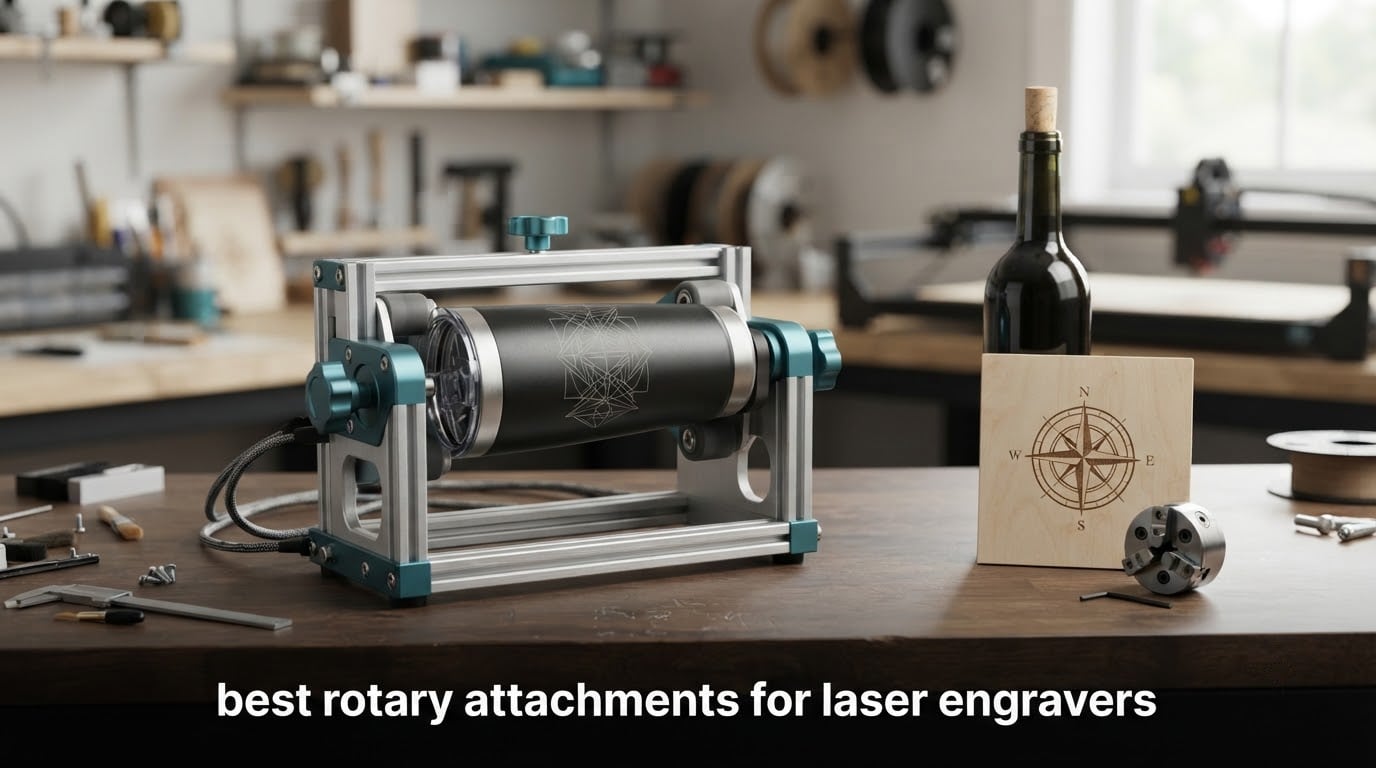
Last updated for 2026. We went through eight rotary attachments for laser engravers side by side, checking diameter ranges, motor classes, connector setups, software support and what owners actually say after a few hundred jobs. If you are still picking a machine first, start with our laser engraver buying guide, then come back here to match the attachment to it.
A rotary attachment is a motorised spindle that clamps onto your engraver bed and spins an object under a fixed laser head. The control software is told the object’s diameter, and the flat artwork is wrapped around the curve as the part turns, so a tumbler that only showed its lid before now takes a full 360-degree design.
That single upgrade turns a flat-bed machine into a cylinder engraver. It is the difference between marking the top of a wine bottle and wrapping the whole thing, and between a hobby that lives in flat sheet stock and a small product line of drinkware, bottles and rings.
Not everyone needs one. If you cut acrylic and plywood all day and only ever want a monogram on a mug once a year, the money buys better material or a better lens. If you also use rotary tools for alignment work rather than engraving, our rotary laser level roundup covers that side of the shelf. The shortlist below covers the situations where the math works.
Table of Contents
Top 3 Picks for Laser Engraver Rotary Attachments in 2026
These three cover the most common situations: the best all-round roller, the most versatile multi-mode module, and the easiest first purchase for a mixed-brand workshop.

ORTUR YRR Rotary Roller
- 7-step diameter
- 8mm to 110mm
- LaserGRBL and LightBurn
- 723 reviews at 4.4 stars

xTool RA2 Pro 4-in-1
- Roller
- chuck
- sphere and ring modes
- Up to 360 degrees per second
- Works with xTool S1
- F1
- P2 and more

Longer Rotary Roller Series
- Two wiring harnesses included
- Adjustable height range
- Compatible with 99 percent of engravers
At-a-Glance: All 8 Best Rotary Attachments for Laser Engravers (October 2026)
Every module listed below is a Y-axis rotary unless noted, which means the laser head stays put and the object turns beneath it. The type column tells you whether the part spins on friction rollers or is gripped by a jaw chuck.
| Product | Specifications | Action |
|---|---|---|
| ORTUR YRR Rotary Roller |
|
Check Latest Price |
| xTool RA2 Pro 4-in-1 Rotary |
|
Check Latest Price |
| Longer Rotary Roller Series |
|
Check Latest Price |
 ORTUR YRC1.0 Rotary Chuck ORTUR YRC1.0 Rotary Chuck |
|
Check Latest Price |
 Algolaser RR2 Rotary Roller Algolaser RR2 Rotary Roller |
|
Check Latest Price |
 Creality Laser Rotary Roller Creality Laser Rotary Roller |
|
Check Latest Price |
 ACMER M4 Rotary Roller ACMER M4 Rotary Roller |
|
Check Latest Price |
 OMTech Rotary Axis with 3-Jaw Chuck OMTech Rotary Axis with 3-Jaw Chuck |
|
Check Latest Price |
1. ORTUR YRR Rotary Roller: The Most-Used Rotary on the Market
- Widest-reviewed module here at 723 reviews
- 7-step adjustment covers pens
- pipes and cans
- Works with LightBurn and LaserGRBL
- Cross-brand fit via a two-wire swap
- Roller grip is weak on irregular shapes
- Wire swap needs patience on third-party machines
- 8mm floor will not hold very thin shafts
The ORTUR YRR is the roller I recommend to most people reading this. It has 723 reviews at a 4.4 average, and that volume matters on a category where cheap units fail quietly. Seventy-two percent of those reviews are five star, and the complaints cluster in one place: grip.
The seven-step diameter adjustment runs from 8mm up to 110mm, which is a genuinely useful spread. Round wood, cups, bottles, pipes, bowls, cans, tubes and guitars all fall inside it, and the module weighs 2.4 pounds, so it does not fight you when you move it between machines.
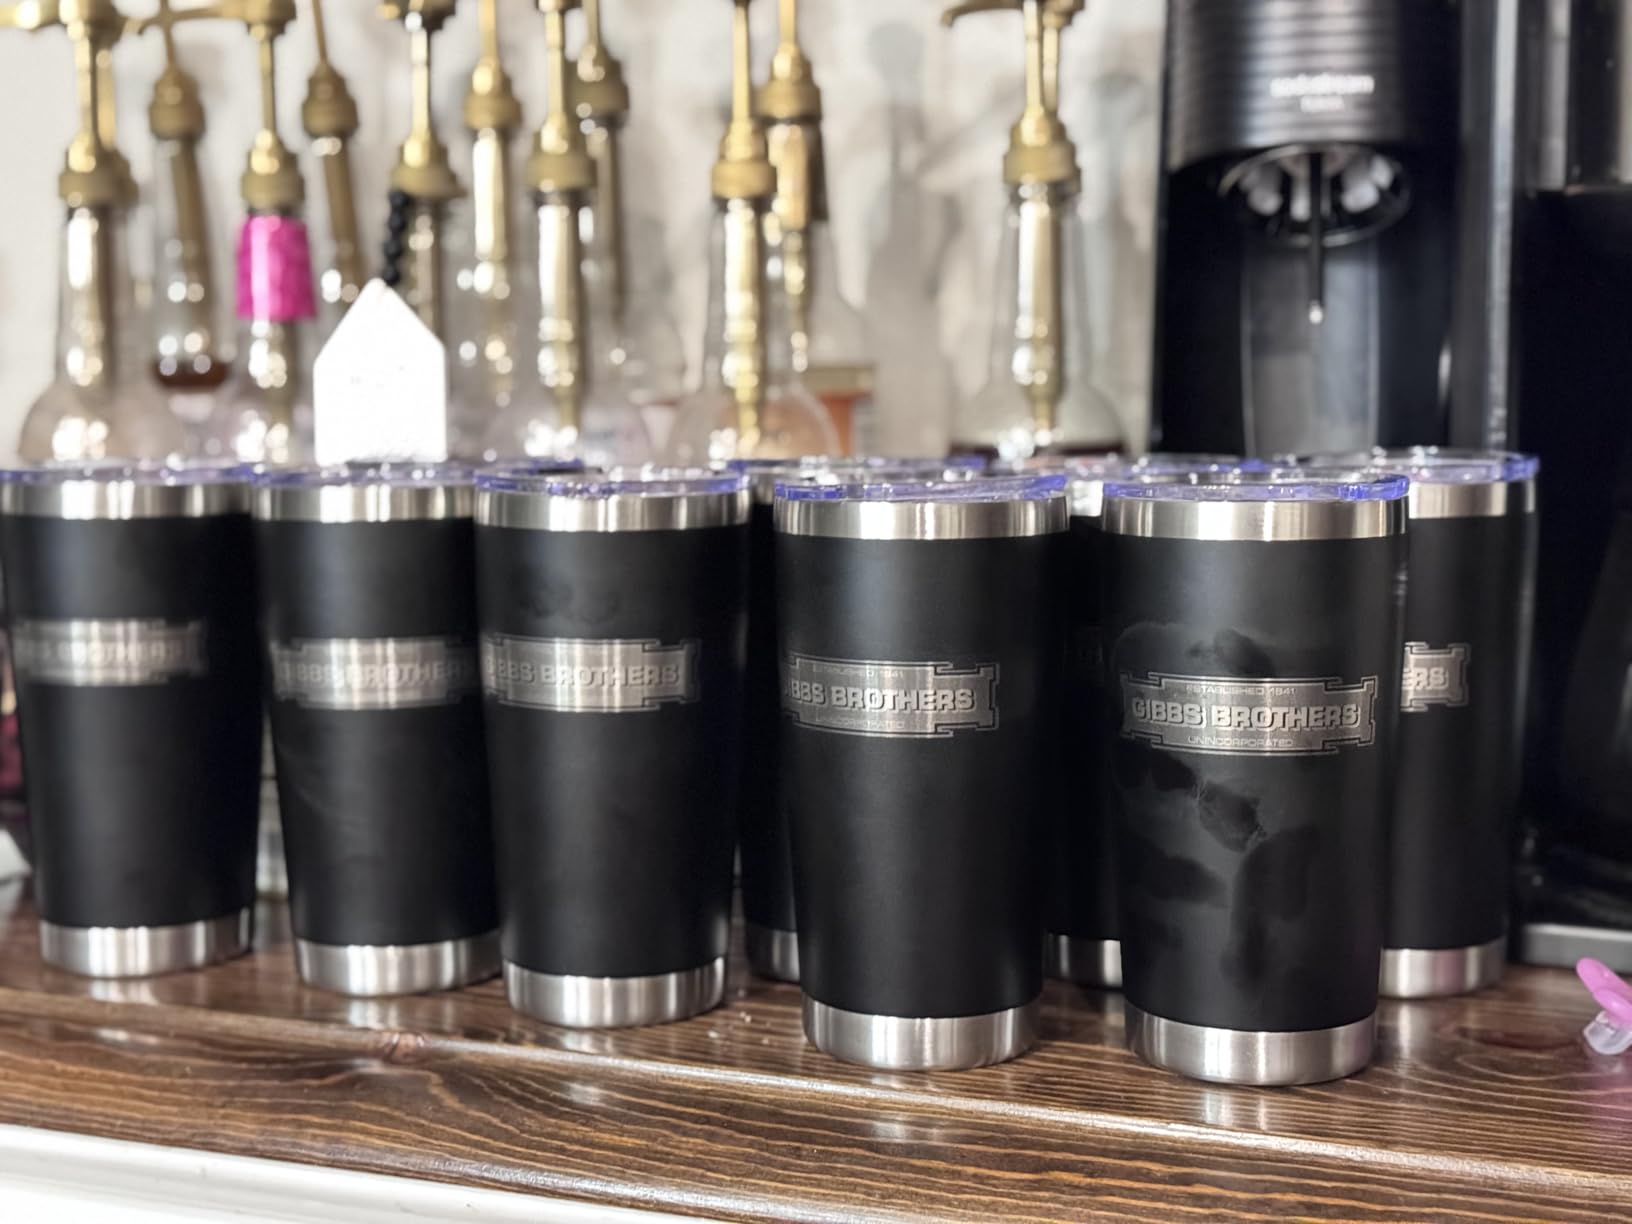
Setup is the part that wins repeat buyers. It links to LaserGRBL or LightBurn, runs on Windows, Mac or Linux, and ORTUR explicitly supports other brands by swapping the blue and green wires at one end of the cable. Reviewers report that the wire swap takes a little patience the first time and is painless after that.
The 8mm lower limit is the boundary to know about. Anything thinner than a slim pen will not sit in the roller gap, and for very thin shafts you want a jaw chuck module such as the ORTUR YRC1.0 or the xTool RA2 Pro, which grips from the centre instead of relying on friction.
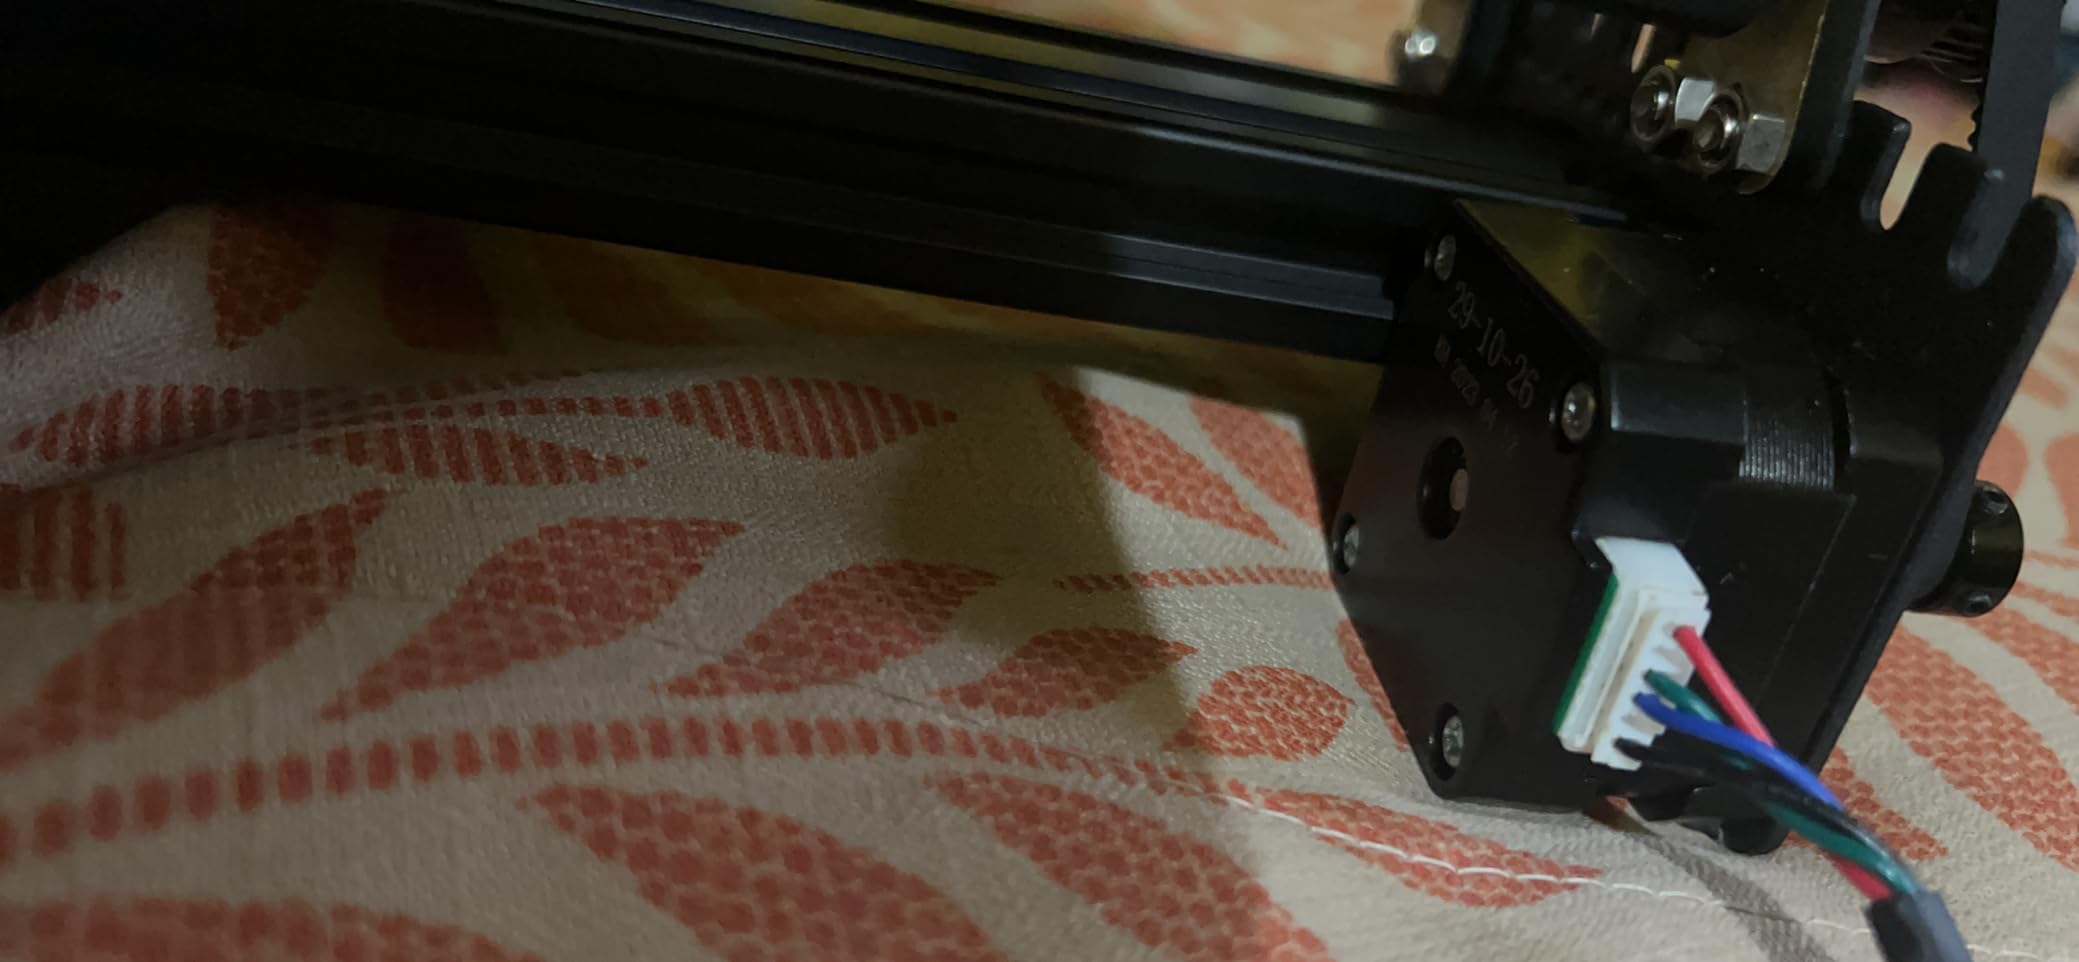
What the ORTUR YRR does well
It covers the middle of the size range better than most: cans, tumbler bodies, bottles, rolling pins and small-diameter wood all land in the 8mm to 110mm window without swapping adapters. Buyers working through mixed production runs say the seven settings are enough that they rarely change anything between jobs.
Value is the other strength. It sits at the low end of the price spectrum while carrying the largest review base in this roundup, and the sales rank in Jewelry Making Engraving Machines and Tools reflects how often it turns up in real setups.
Where the ORTUR YRR falls short
It is a roller, so grip is the limiting factor. Reviewers consistently note that a plain roller holds less securely on irregular or tapered pieces than a jaw chuck, and that a tapered or slightly greasy object can drift under sustained rotation.
There is also no sphere or ring mode here. Baseballs, ornaments and jewellery rings are out of scope, and if those are part of your product line you should look at a multi-mode module instead of forcing the job.
2. xTool RA2 Pro 4-in-1 Rotary: Roller, Chuck, Sphere and Ring in One Unit
- Four working modes in one module
- Highest speed and finest motor angle listed here
- Soft-pad chuck jaws grip without slipping
- Pre-assembled plug-and-play design
- Too short for full-height mugs at default height
- Chuck jaws sit low for very large cylinders
- Adjustment ranges are tighter in practice than advertised
The xTool RA2 Pro carries the highest average rating in this roundup at 4.6 across 396 reviews, with 82 percent five star. It is also the only module here that handles four object families at once: roller, jaw chuck, sphere and ring.
Speed is the headline number. It rotates up to 360 degrees per second with a minimum stepper motor angle of 0.45 degrees, and the frame is anodized aluminum alloy with a corrosion-proof coating. The soft-pad covered chuck jaws are the part owners praise most, because they grip different diameters without the object shifting mid-job.
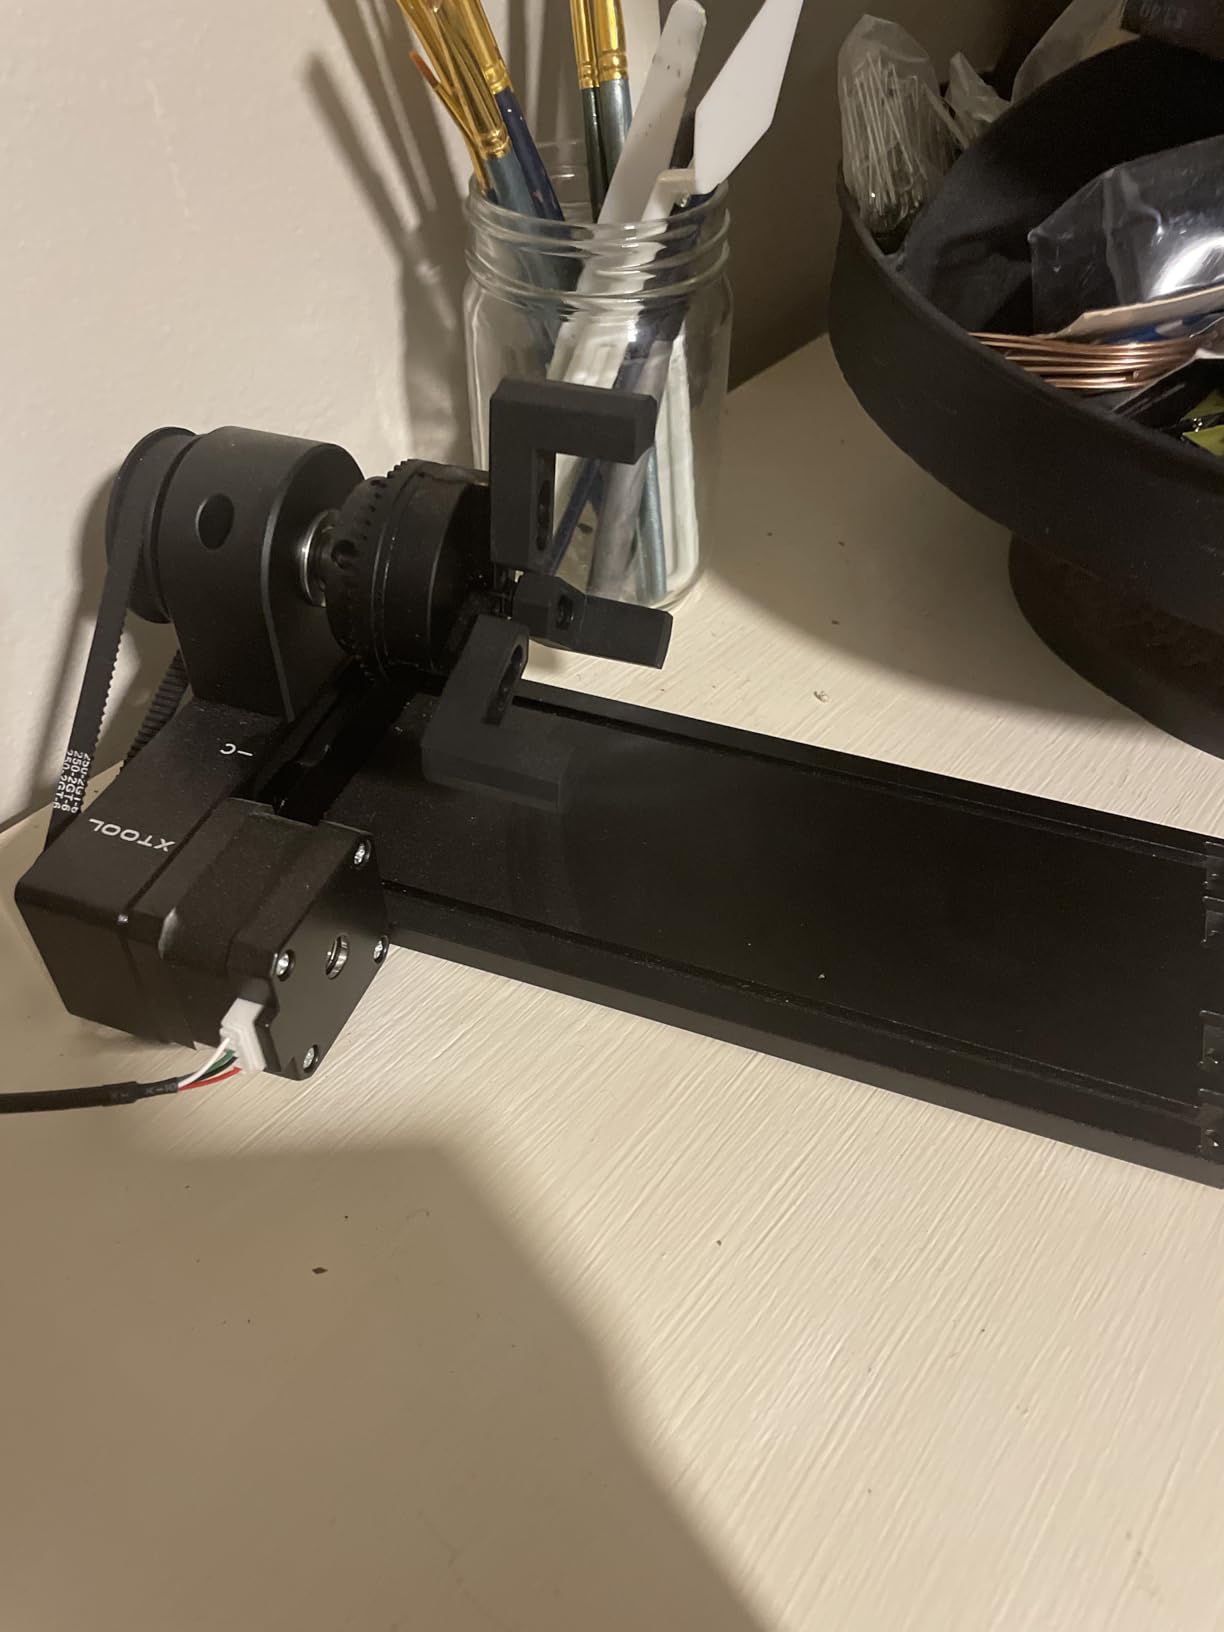
Fit is broad for an xTool-branded part. It is listed for the xTool S1, F1, F1 Ultra, P2, D1 Pro and M1 Ultra, and the product notes say it works with most laser engravers on the market when paired with the riser. Software support covers Laserbox Basic, LaserGRBL and LightBurn.
Owners frequently describe setup as the least fussy of the multi-mode options. The unit arrives pre-assembled, you set the module height and chuck diameter, plug it in, and the job runs. That matters more than it sounds when you are doing full-wrap tumbler jobs back to back.
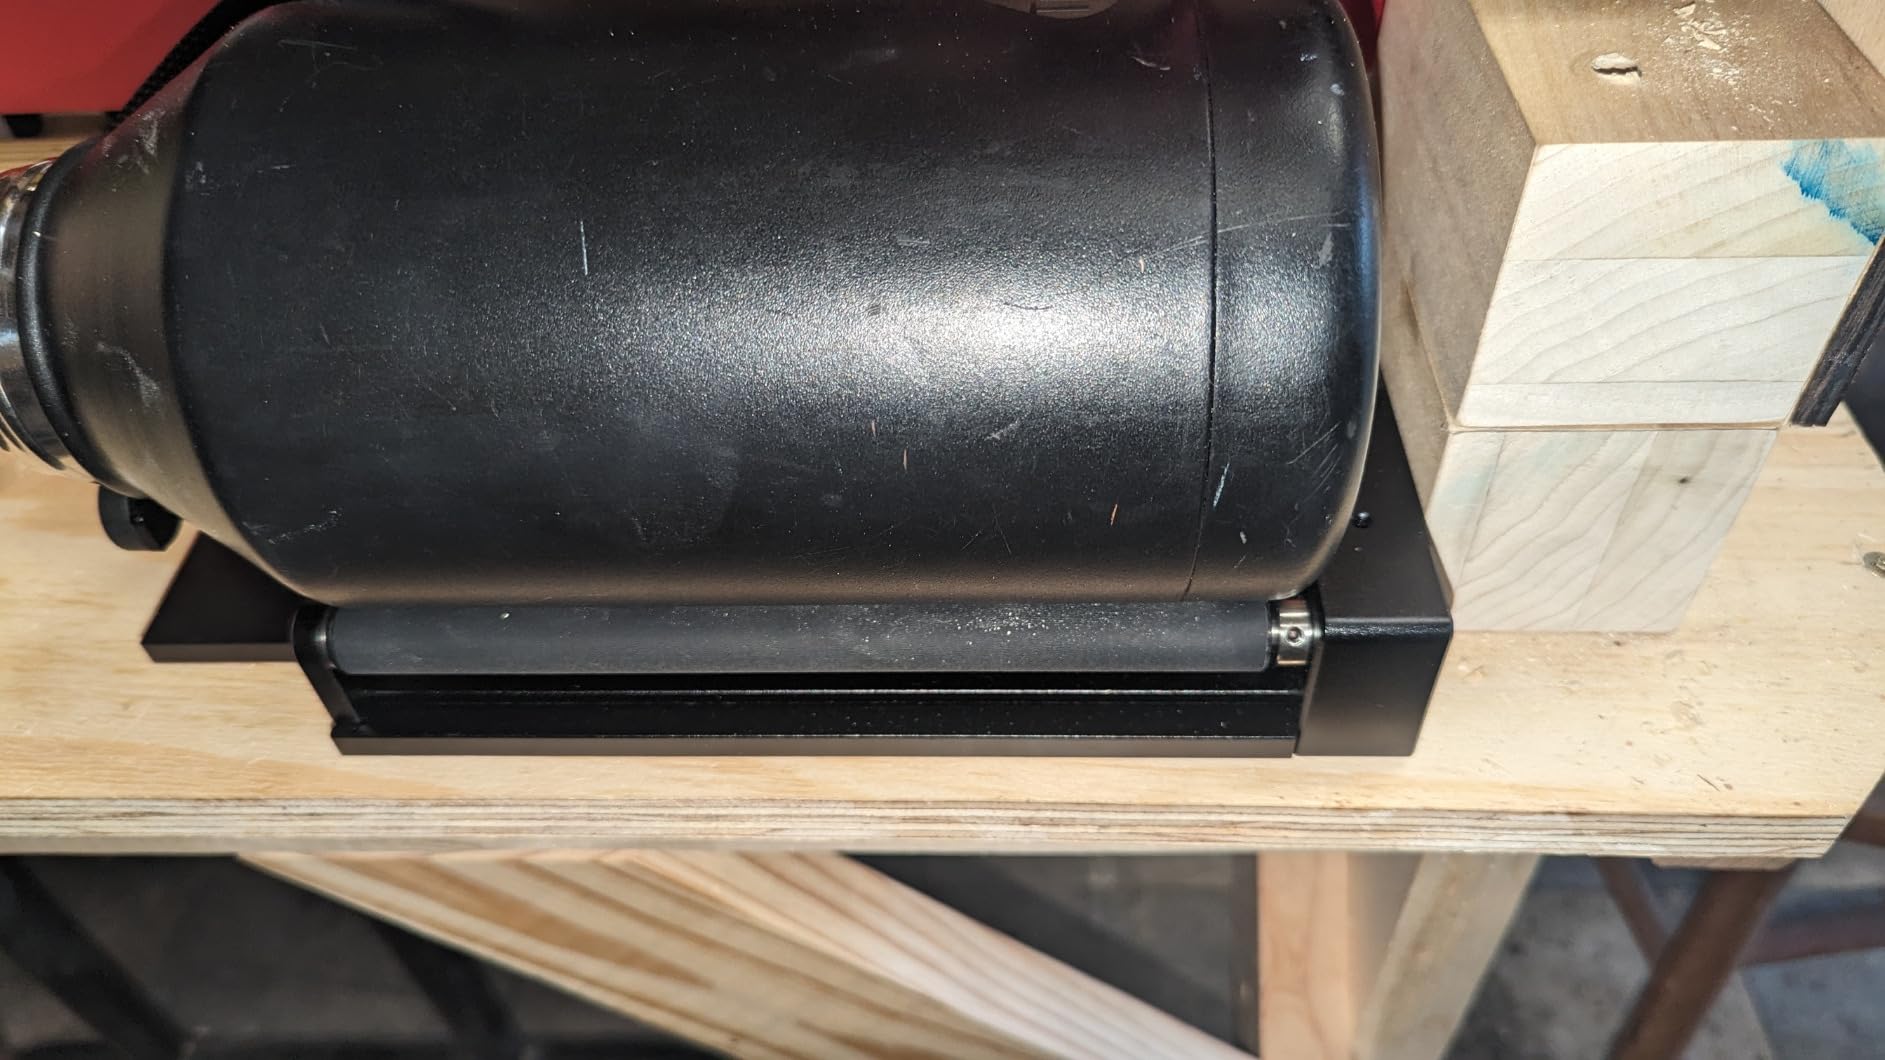
Best use cases for the xTool RA2 Pro
It is the natural pick when your product line mixes object shapes. Tumblers and bottles go on the roller, rings and pens clamp into the chuck, ornaments mount as spheres, and band sizes use the ring stud, so you are not buying three attachments to cover one shop.
For xTool owners the choice is close to automatic. The listed machine range is long, the software support is first-party, and forum buyers with an xTool F1 report that the pairing removes the connector guesswork that plagues generic modules.
Where it will disappoint you
Vertical clearance is the recurring limitation. At the default module height it is too short for a full-height handled mug, and the chuck jaws sit low, which caps the diameter of the largest cylinders. Plan for a riser if your work is tall drinkware, and check the riser is included before you count on it.
Reviewers also note that some of the advertised adjustment ranges feel tighter in practice than the spec sheet suggests. Treat the published figures as ceilings rather than everyday working ranges.
3. Longer Rotary Roller Series: Easiest Fit for a Mixed-Brand Workshop
- White and black harness covers almost any GRBL machine
- Adjustable height handles trinkets to tall vases
- Stable frame keeps positioning clean
- Includes its own mounting bracket
- Roller grip is weak on tapered pieces
- Choosing between the two harnesses confuses first-time buyers
- No chuck mode for rings or shafts
The Longer Rotary Roller Series solves a problem most listings create: uncertainty about which harness your machine needs. It ships with two wirings, a white connect head for the Longer RAY5, the Laser B1 series and roughly 80 percent of engravers, and a black connect head for the remaining 20 percent.
That single design choice removes the most common return trigger in this category. Instead of guessing at a connector and hoping, you try one and move to the other, and the product is rated as compatible with 99 percent of laser engravers using the GRBL controller.
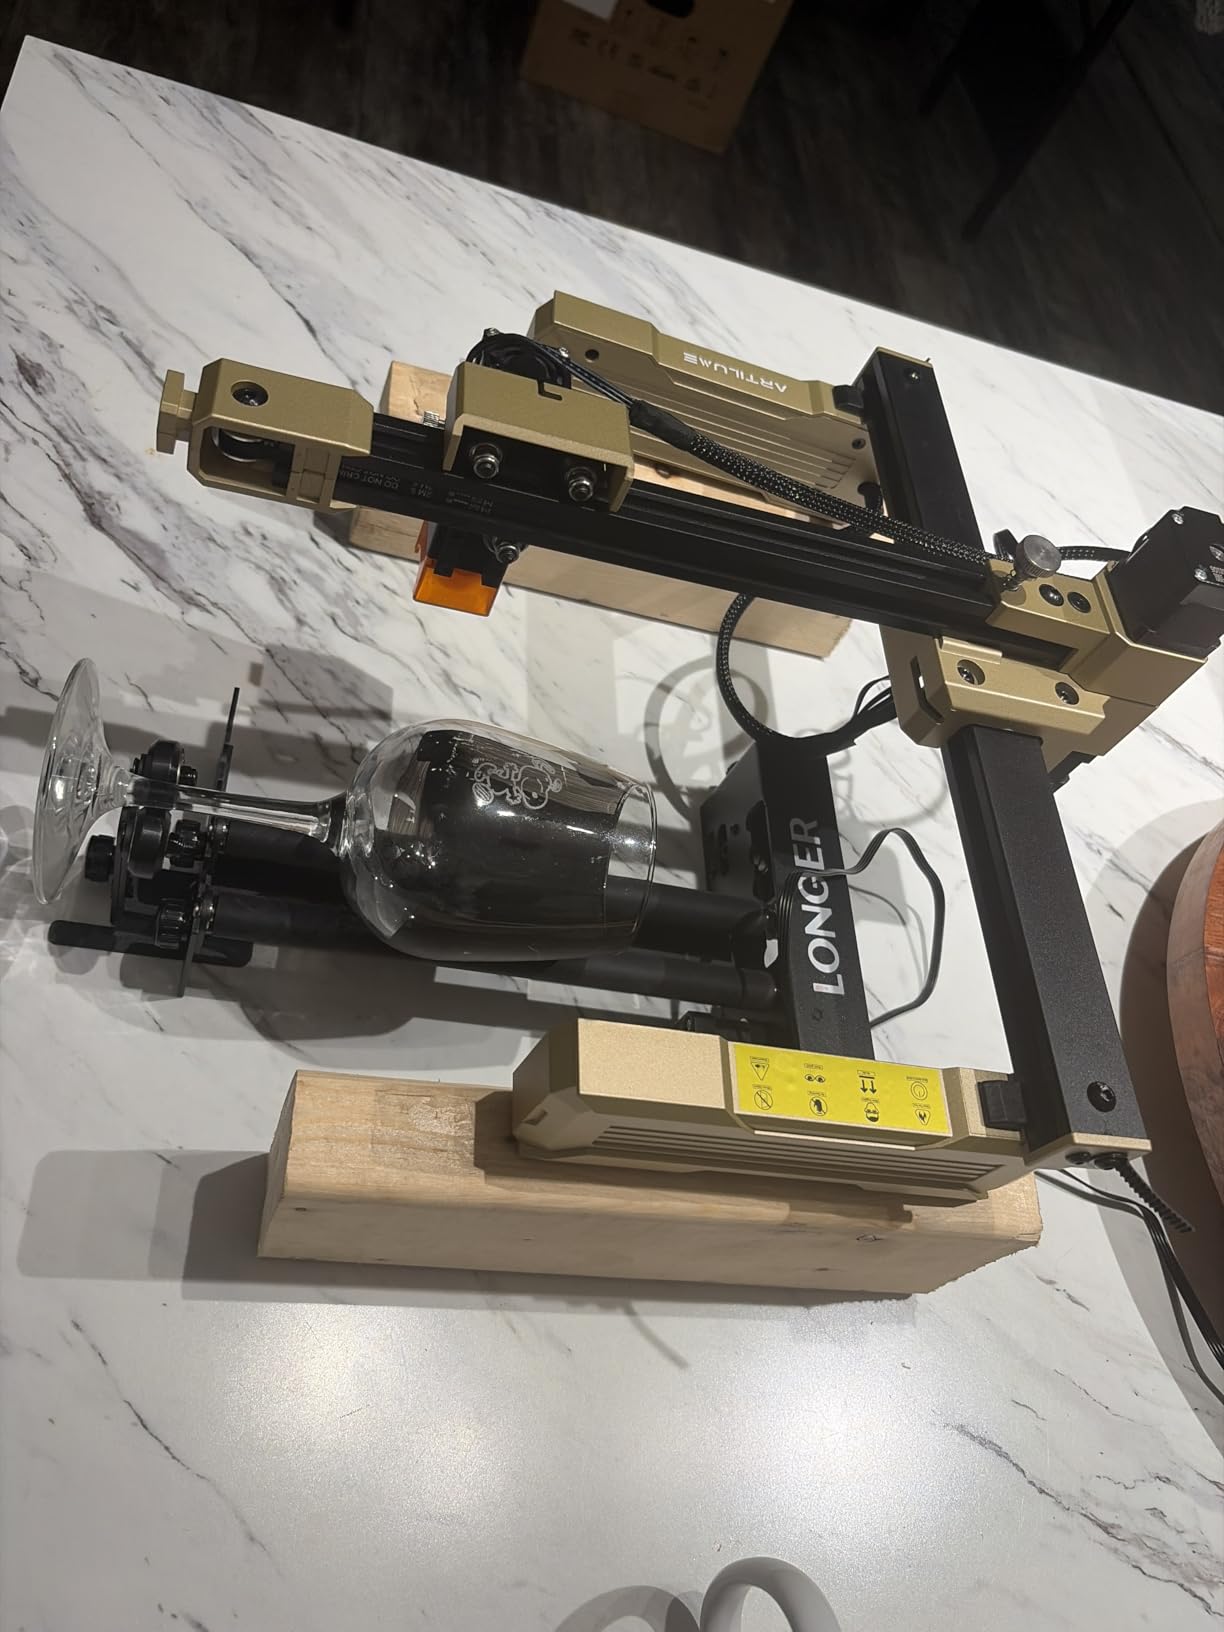
It holds a 4.4 average across 222 reviews with 74 percent five star, and the sales rank inside this roundup’s product group reflects that. The adjustable height range is the other thing owners mention most, since it stretches from small trinkets to tall vases without a separate riser.
The support and positioning system is what separates its output from a cheap roller. Reviewers credit the frame with steadier placement and cleaner lines on curved surfaces, which is the difference between a readable engraving and a smeared one on a wine glass.

Why this roller suits a first rotary purchase
If you own a Longer RAY5, a Laser B1 or one of the many GRBL machines with a Y-axis port, this is the lowest-friction path to your first cylinder job. The bracket is included, the harness question is answered in the box, and LightBurn or LaserGRBL are both supported.
It is also the one to pick if your objects are mostly straight-sided and moderate in size. Cans, bottles, cups, rolling pins and tall cylinders all sit comfortably in an adjustable-height roller frame.
Where buyers report trouble
The friction grip is the familiar roller limitation, and reviewers are direct about it: tapered and irregular objects hold less securely than they would in a jaw chuck. If your product line leans on cones, stems or off-centre work, step up to a chuck module.
Some first-time buyers also find the choice between the two wiring harnesses confusing on day one. It is a five-minute job once you know which machine you have, but it is worth reading the guide before you start.
4. ORTUR YRC1.0 Rotary Chuck: The Widest Diameter Range on a Chuck
- Chuck
- ring and sphere modes in one frame
- Very wide 1mm to 120mm chuck range
- All-in-one frame stays stable at high rotation
- Four-step install with a chuck key included
- One jaw size per setup slows mixed production
- Non-ORTUR machines need wiring and software checks
- 1.69 kg frame needs a solid bench
The ORTUR YRC1.0 is the pick when precision gripping matters more than raw speed of setup. It is a jaw chuck rather than a roller, so the object is centred between the chuck and the tailstock and held by the jaws instead of balanced on friction.
Its range is unusually broad: 1mm to 120mm on the chuck, 25mm to 150mm for spheres and 11mm to 100mm for rings. With 180 degrees of angle adjustment and 360-degree rotation at up to 360 degrees per second, it covers pens, rings, bands, bottles and tumblers from one module.
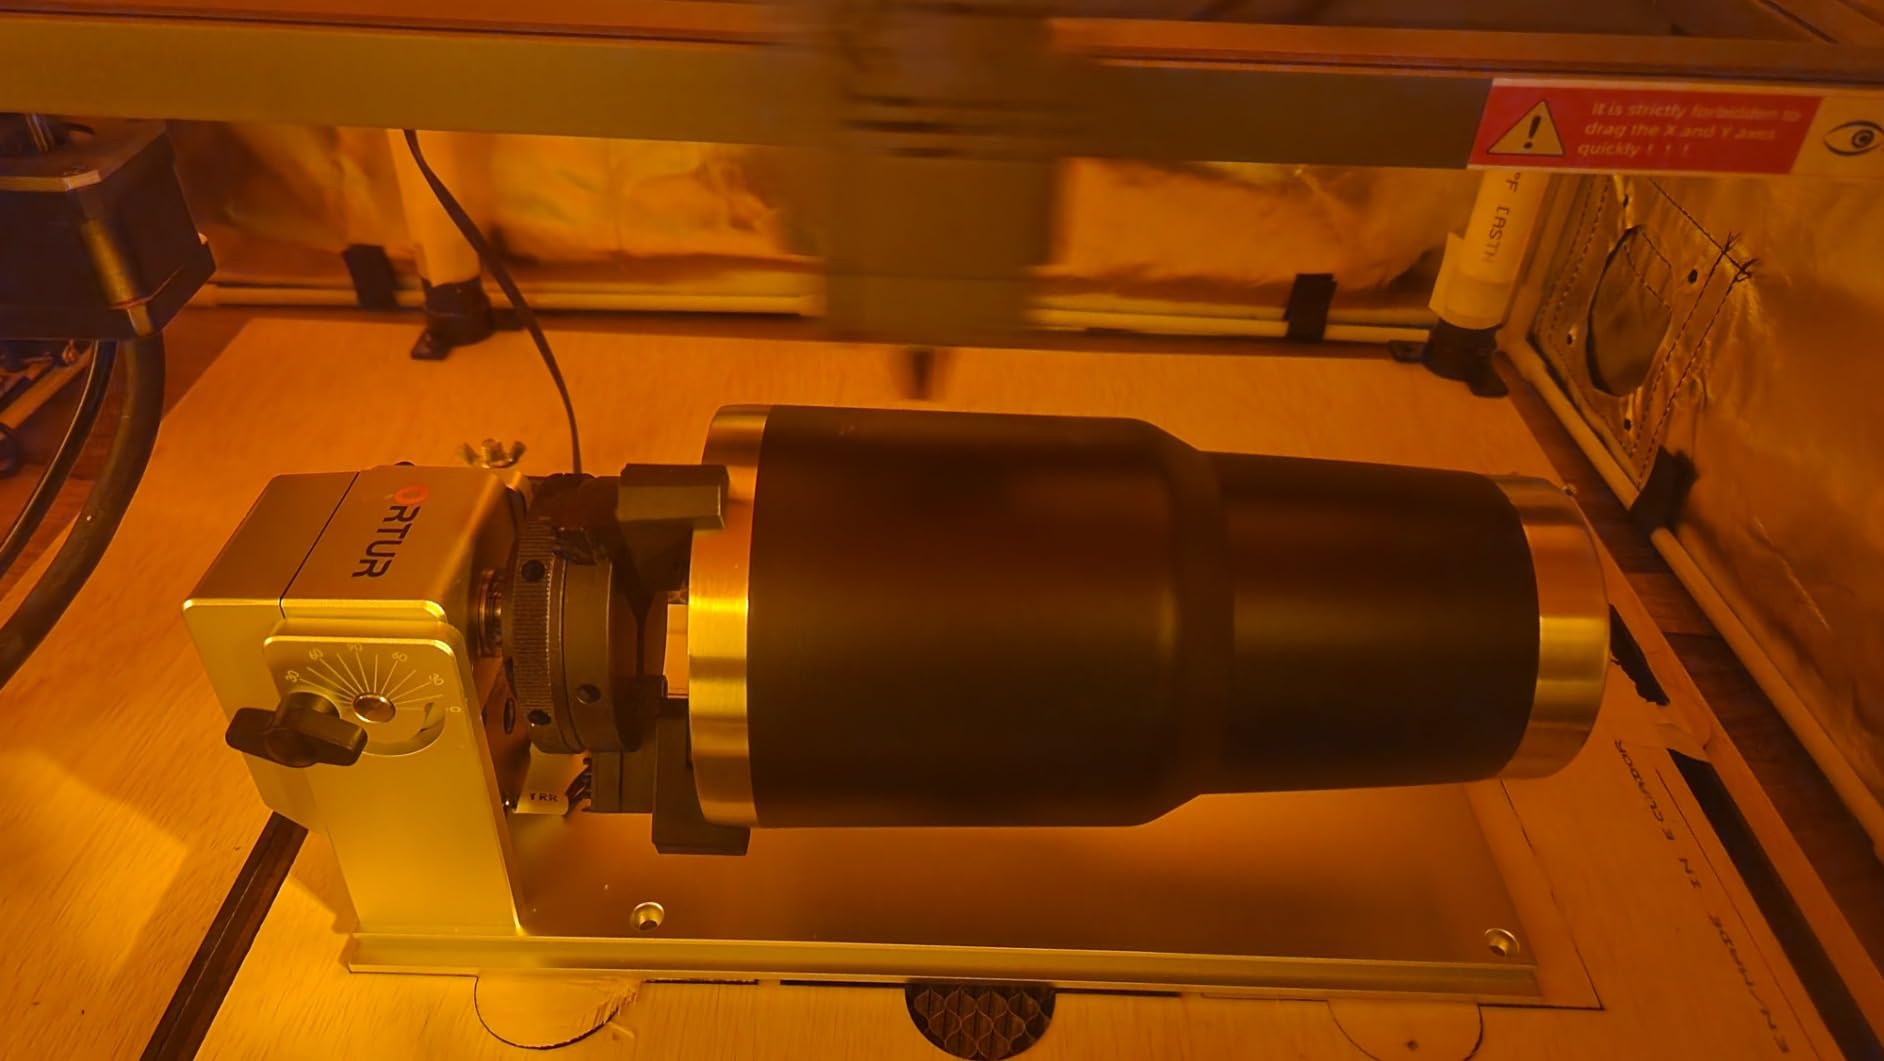
Construction is aluminum with a corrosion-resistant finish, a 1/2-20 UNC thread, and a 1.69 kg weight that tells you this is a bench-mounted module rather than a portable one. Installation is described in four steps: expand or shrink the chuck, install the jaw, assemble the tailstock, adjust the chuck angle.
Software support is Laser Explorer, LaserGRBL and LightBurn across Windows, Mac and Linux, and the manufacturer states wide compatibility with all ORTUR engravers and most laser engravers on the market.
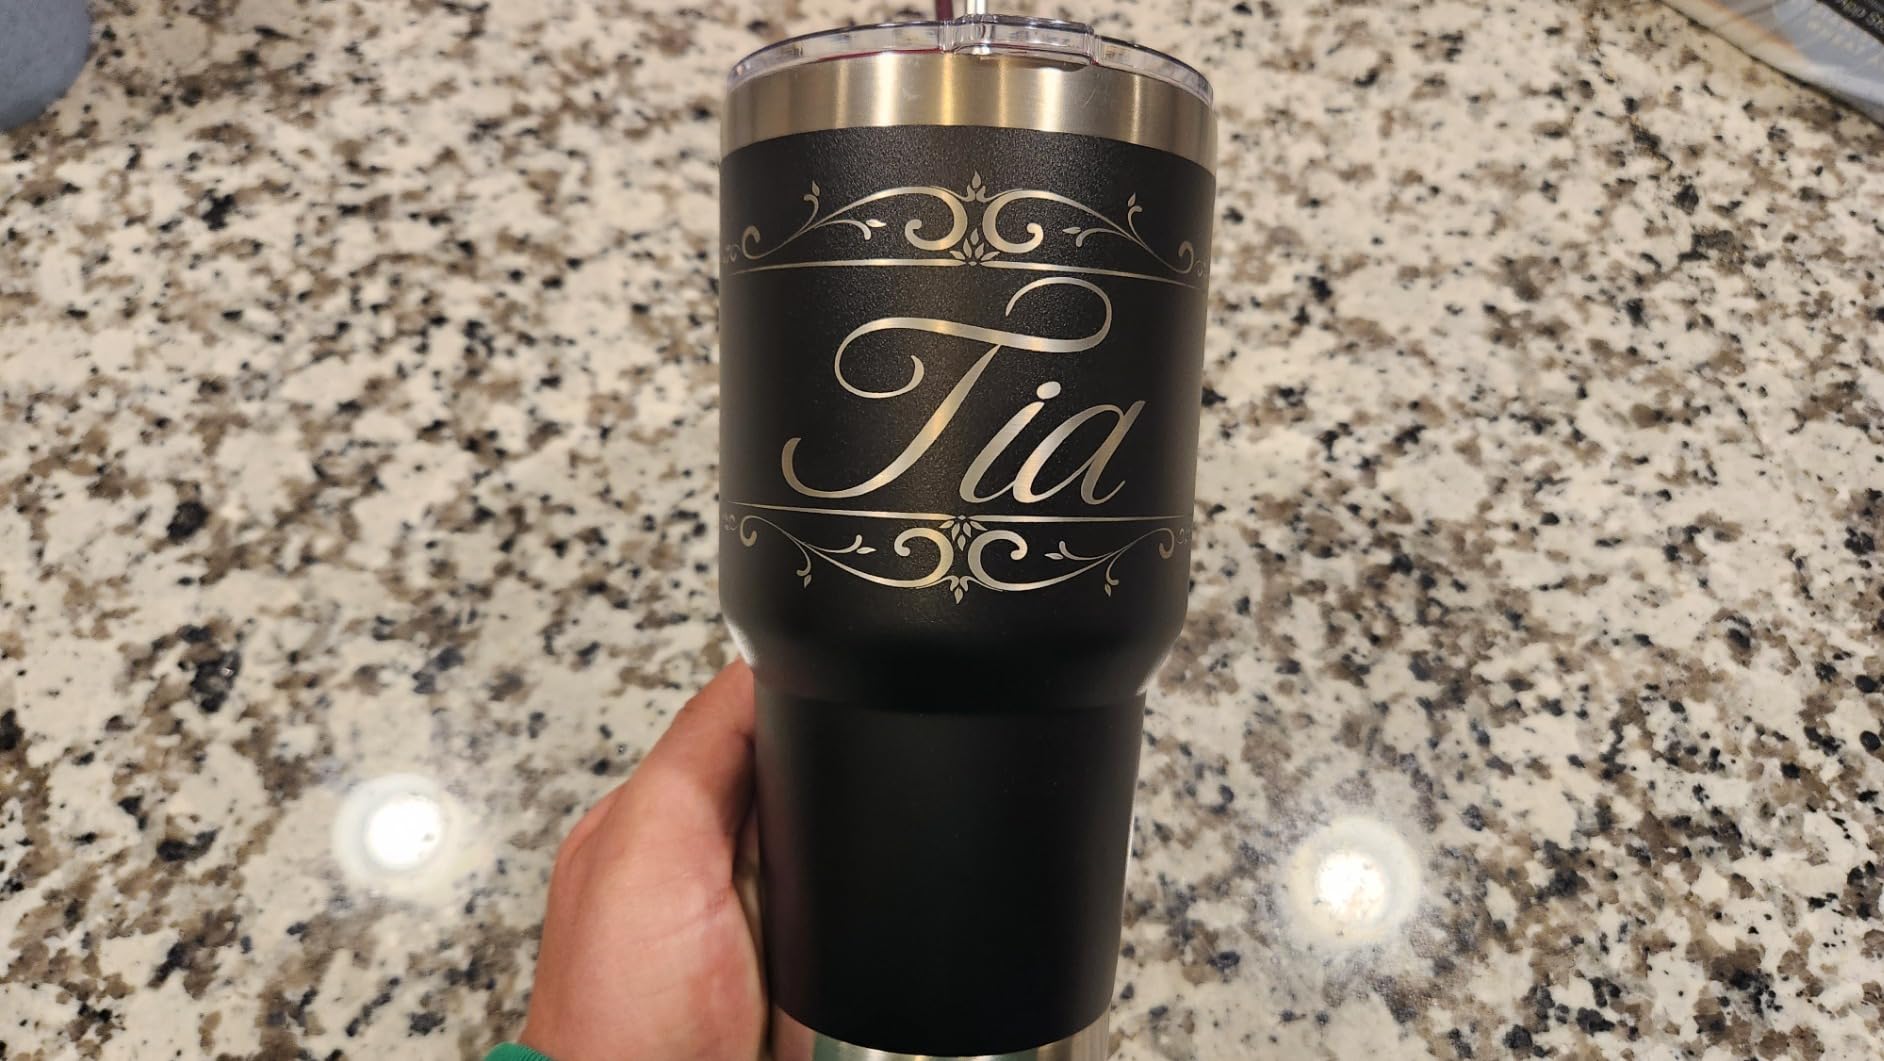
Where a jaw chuck earns its price
Grip is the whole argument. A chuck holds a long, heavy or slightly off-centre object that a roller would let drift, and it is the right tool for thin shafts and rings where the friction surface has nothing to bite into. Reviewers also like the inclusion of the chuck key, since a three-jaw chuck that cannot be adjusted is a frustrating object.
The all-in-one frame is the second reason. Buyers report that the single structure holds its precision at high rotation speeds, which is where cheaper multi-part assemblies start to wobble and produce uneven line weight.
Where it slows you down
A jaw chuck holds one diameter per setup, so every new object size means scrolling or remounting the jaw on different holes. In a mixed workflow with several sizes per day, that manual step is real time, and reviewers flag it as the recurring trade-off.
If your machine is not an ORTUR, expect to confirm the wiring and software parameters yourself before the first job. It is not a plug-and-play experience the way the xTool or Algolaser modules are.
5. Algolaser RR2 Rotary Roller: Nothing to Configure in Software
- No software configuration needed
- Works with LightBurn
- LaserGRBL and AlgoLaser APP
- Largest 7-step diameter range of the rollers listed
- Pre-assembled with two screw adjustments
- Only 32 reviews
- so long-term data is thin
- Roller-only design cannot hold rings or spheres
- 150mm range is theoretical at the top step
Most rotaries need a parameter change before the software will treat rotation as a cylindrical job. The Algolaser RR2 removes that step: the roller surface speed matches the original Y-axis speed, so it engraves on any GRBL-controller machine with no additional drivers and no console edits.
That makes it the fastest path from unboxing to a finished piece in this roundup. The unit is pre-assembled and needs two screw adjustments, and it is listed as compatible with LightBurn, LaserGRBL and the AlgoLaser app.
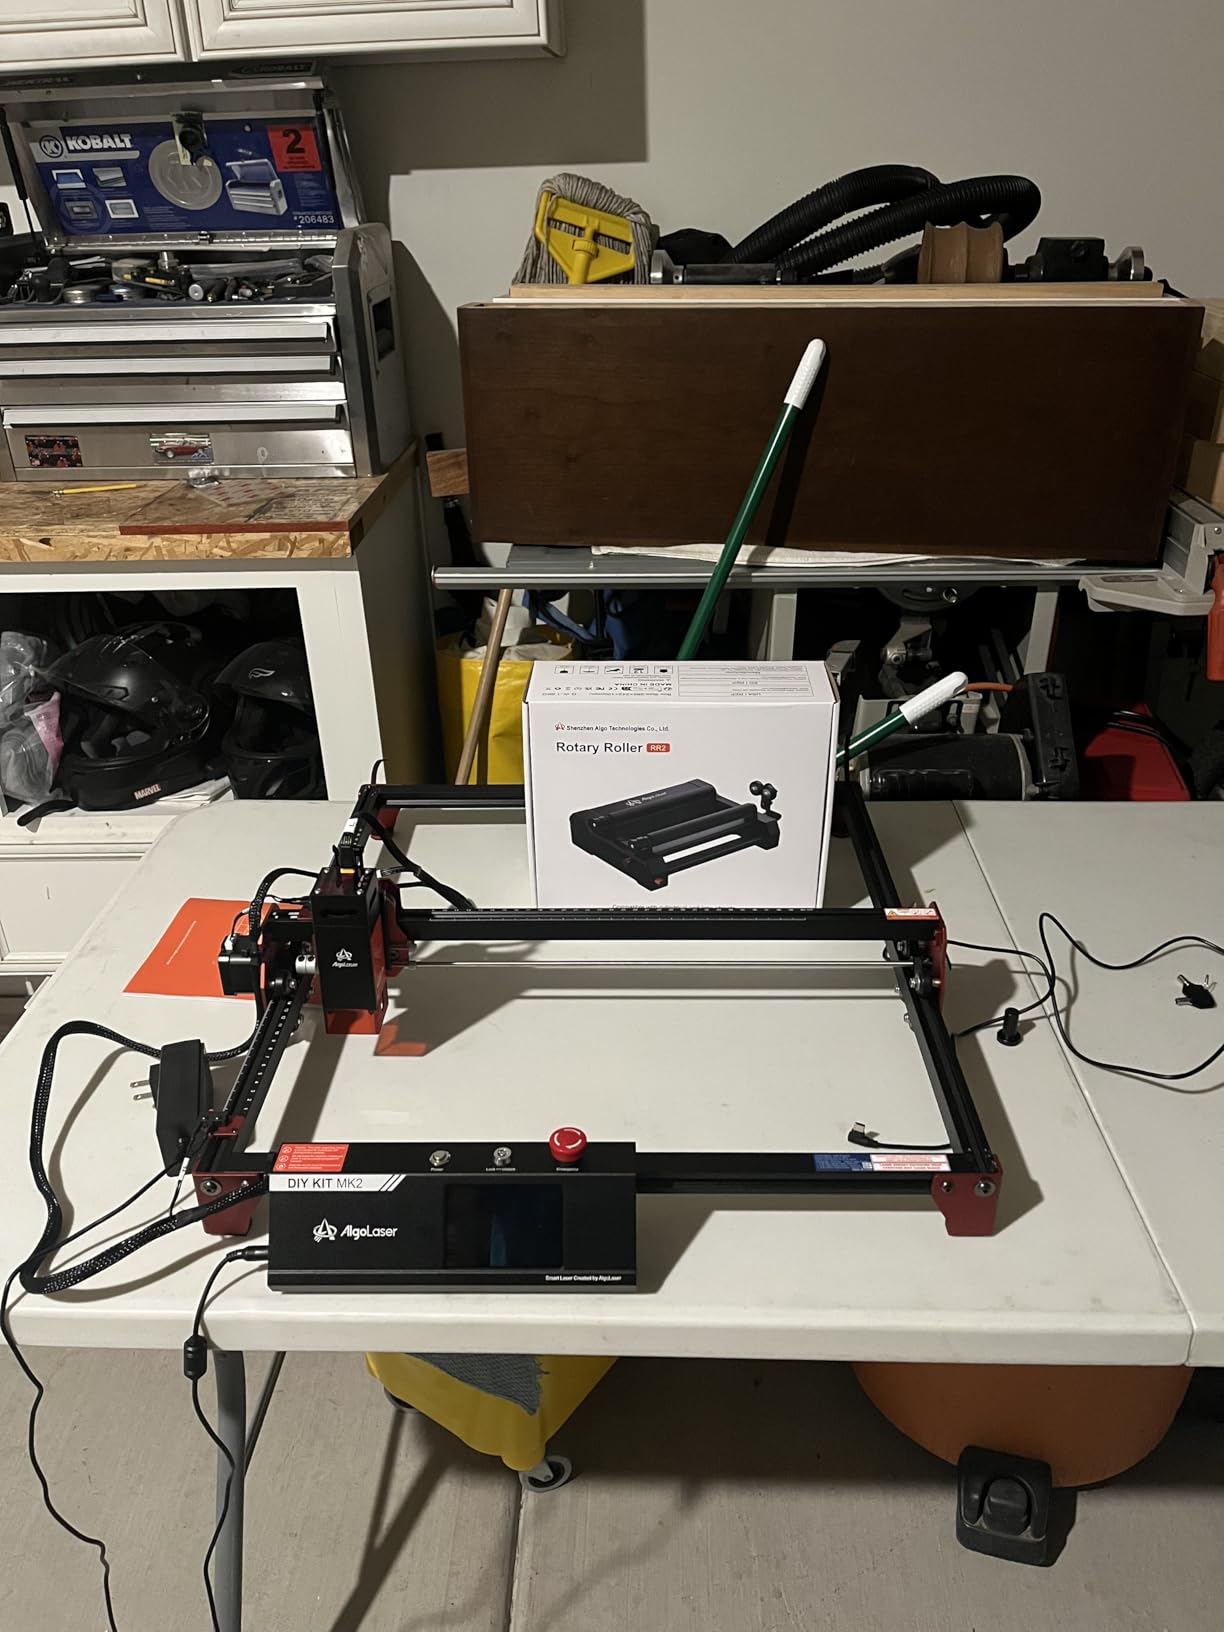
Under the cover it uses a precision 42 hybrid stepper motor, and reviewers credit it with clean detail and no missing lines on curved surfaces. The seven-step diameter adjustment expands the engraving area up to 150mm, the widest roller figure in this list, and it suits logs, cups, bottles, tubes, bowls, guitars, drums, cans and pens.
The honest limit is the sample size. Thirty-two reviews at a 4.5 average with 78 percent five star and no two-star ratings is a good signal, but it is a much thinner one than the 723-review record behind the ORTUR roller.
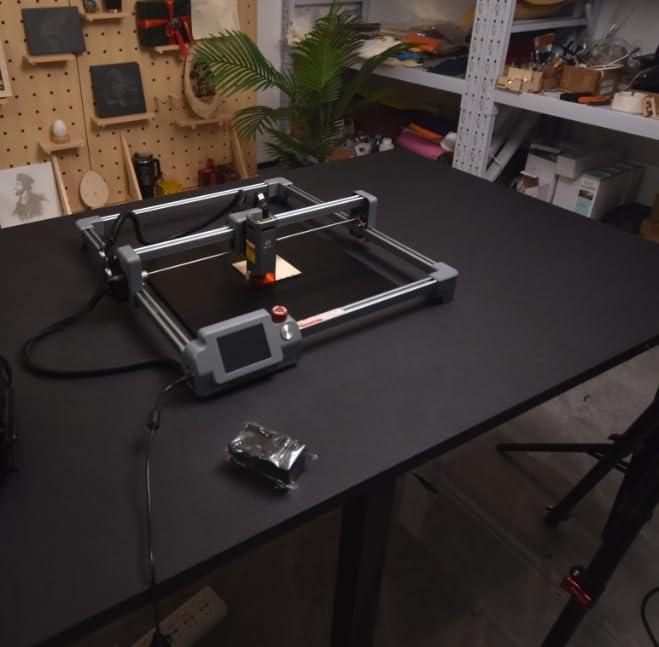
Best for owners who hate setup menus
If you would rather open your design file and cut it than learn a console command, this is the module to buy. Matching the native Y-axis speed means the software treats the pass exactly like a normal Y move, which also means fewer things to go wrong when you change machines.
It is a good match for makers who work in wood: rolling pins, dowels, rolling-pin gifts, cups and light-coloured acrylic all sit happily in a friction roller, and the wider top step helps with larger diameter wood pieces.
Where it will not help you
There is no jaw chuck, so ring engraving and sphere work are simply out of scope. If jewellery is part of your range, the ORTUR YRC1.0 or the xTool RA2 Pro cover those modes and this one does not.
Treat the 150mm top step as a ceiling. The number is the widest of the roller modules here, but the usable range at the largest setting depends on how straight and clean your rollers are, so measure your largest object before you commit.
6. Creality Laser Rotary Roller: The Match for Falcon and Falcon2 Owners
- Widest low-end reach of the budget rollers at 5mm
- Lifting bracket centres slim bottles and goblets
- Even rotation reported across curved work
- First-party accessory for Falcon and Falcon2
- Rollers are hard to spread evenly and can bind
- Y-axis acceleration defaults can make parts spin
- Risers and machine feet are not included
If your machine is a Creality Falcon or Falcon2, this is the accessory designed for it. The seven gear options cover 5mm to 120mm, and the 5mm lower end is the tightest of the roller modules in this list, which matters for pens and slim wooden pieces.
The lifting bracket is the detail worth knowing. It holds conical and slender objects steady, so wine bottles and goblets can be centred rather than hanging off one roller, and that alone removes a common source of skewed output on tapered work.
There is a setup condition to plan around. The module needs a GRBL parameter change, with $101 set to 60.375 in the console and the machine restarted, before LaserGRBL or LightBurn will drive it. Riser hardware is sold separately if you need more engraving height.
Reviewers are split in a useful way. The 4.4 average across 74 reviews comes with 73 percent five star, but also a 13 percent three-star band, higher than most rivals here, and those middling reviews are about mechanics rather than output quality.
What Creality owners get right
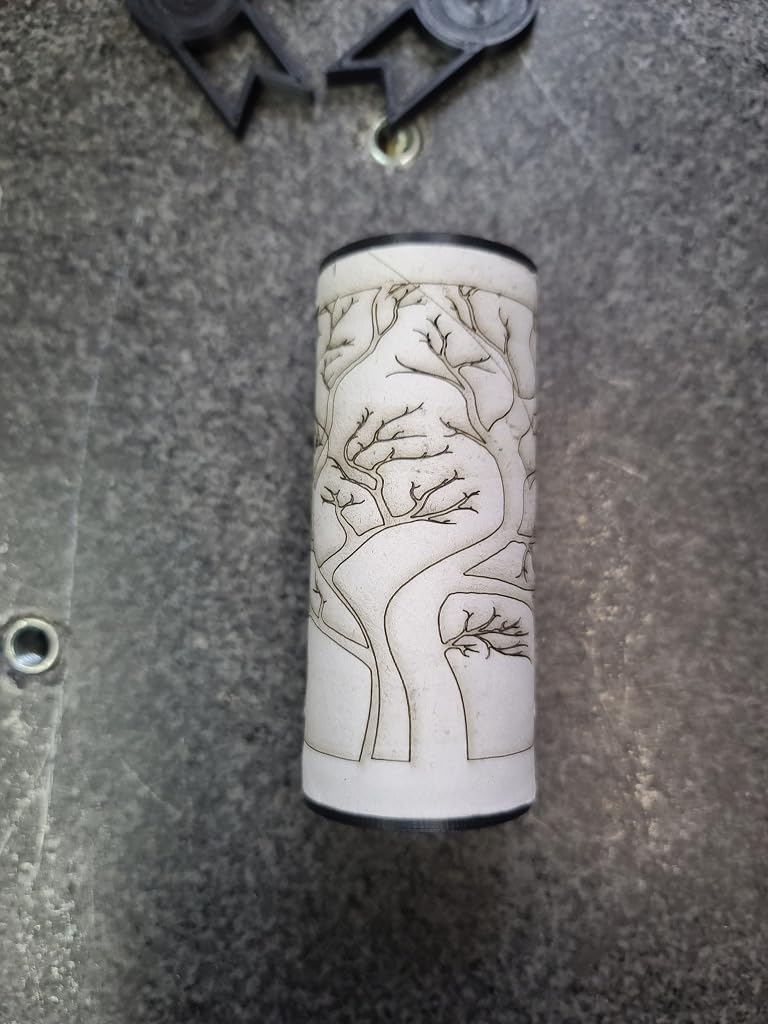
Rotation is reported as even and clean, and the result on cans, bottles and tumblers looks consistent. Support is handled by Creality with a 24-hour response target, which is worth more than a longer specification sheet when something is not behaving.
At 2.42 pounds it is one of the lighter modules listed, so it is easy to move between a Falcon and a Falcon2 rather than dedicating one machine to rotary work.
Where owners get frustrated
The mechanical complaints are specific. The rollers are hard to spread and adjust smoothly, and if you do not move both sides evenly they can bind. Several reviewers also report that the default Y-axis acceleration is too aggressive and can make the workpiece spin or slip mid-job.
Plan for a tuning session rather than a plug-in-and-go first run, and budget for risers if your objects are tall, because the extra parts are not in the box.
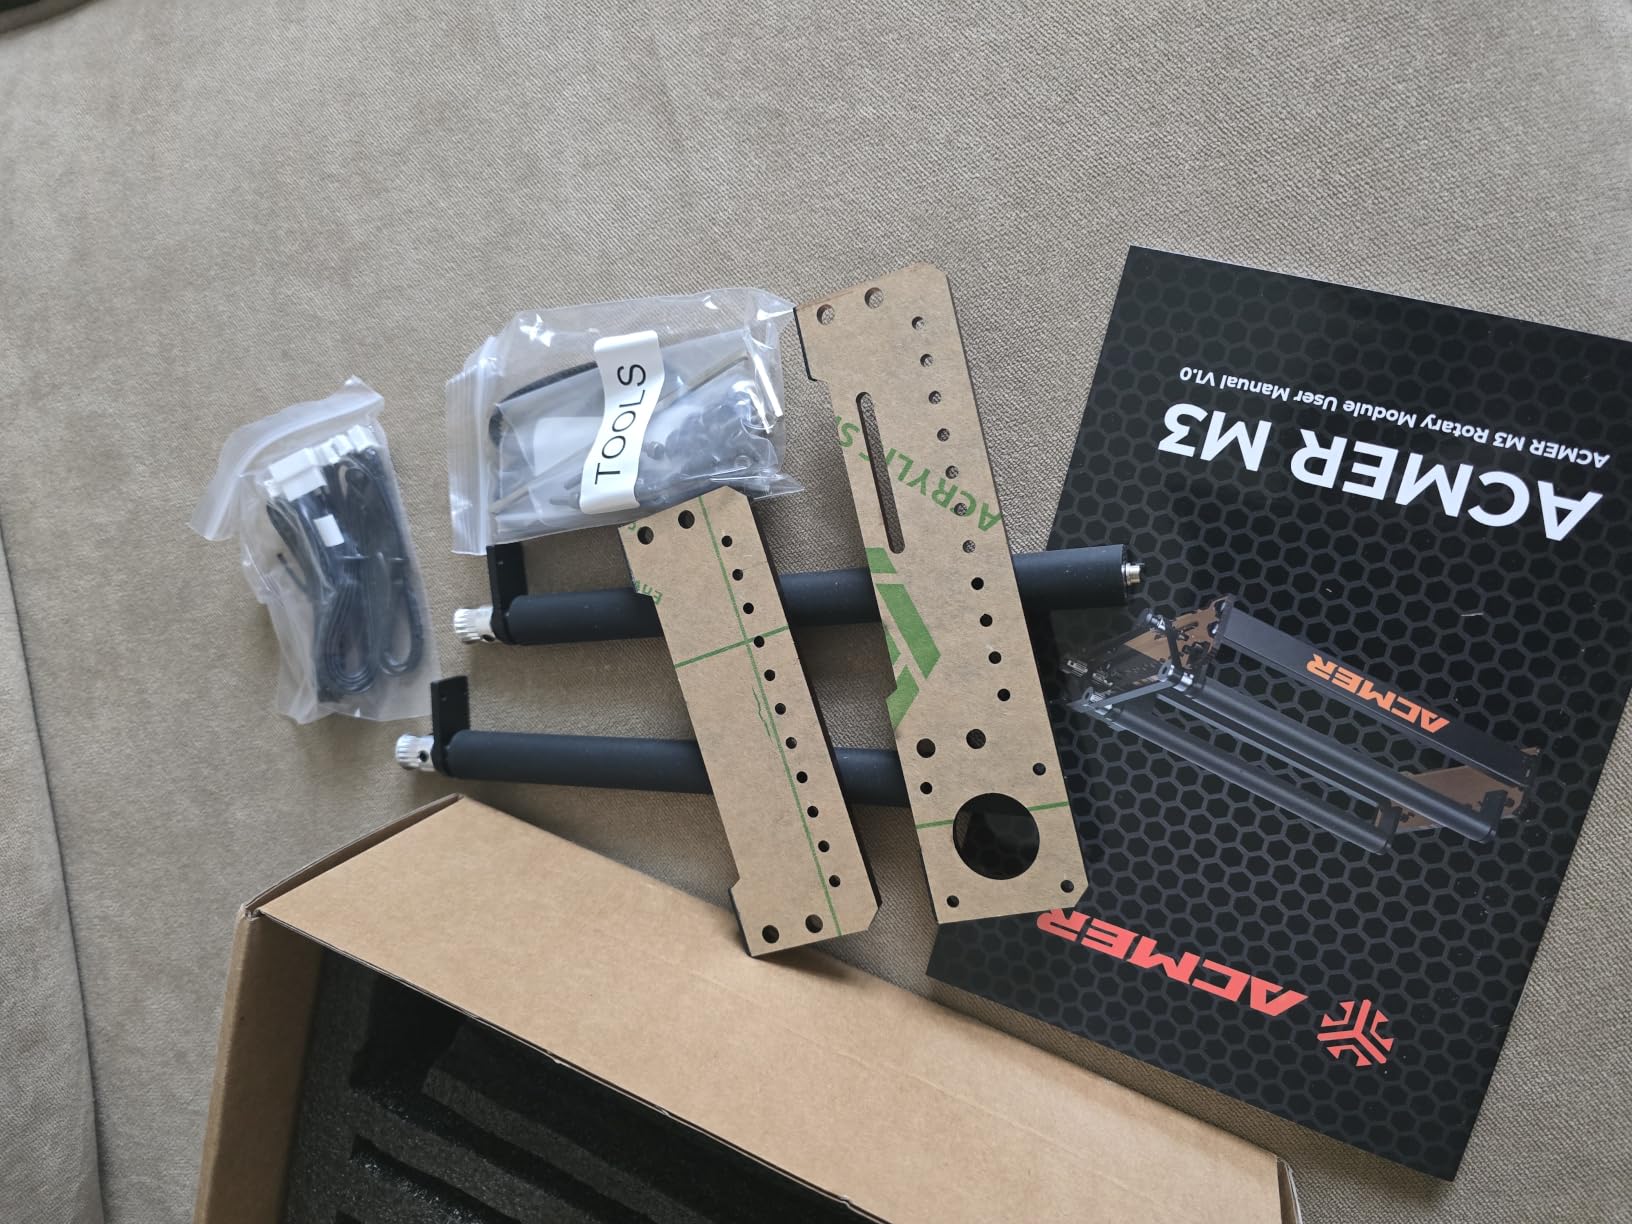
7. ACMER M4 Rotary Roller: Widest Engraving Space on a Budget Roller
- Widest adjustable space listed at 3mm to 150mm
- High-friction rubber rollers hold heavy cylinders
- Arrives fully assembled
- Works with Acmertool
- LightBurn and LaserGRBL
- Lowest average rating here at 4.2
- Roller precision falls off on very small rings
- Speed and power settings need tuning for clean results
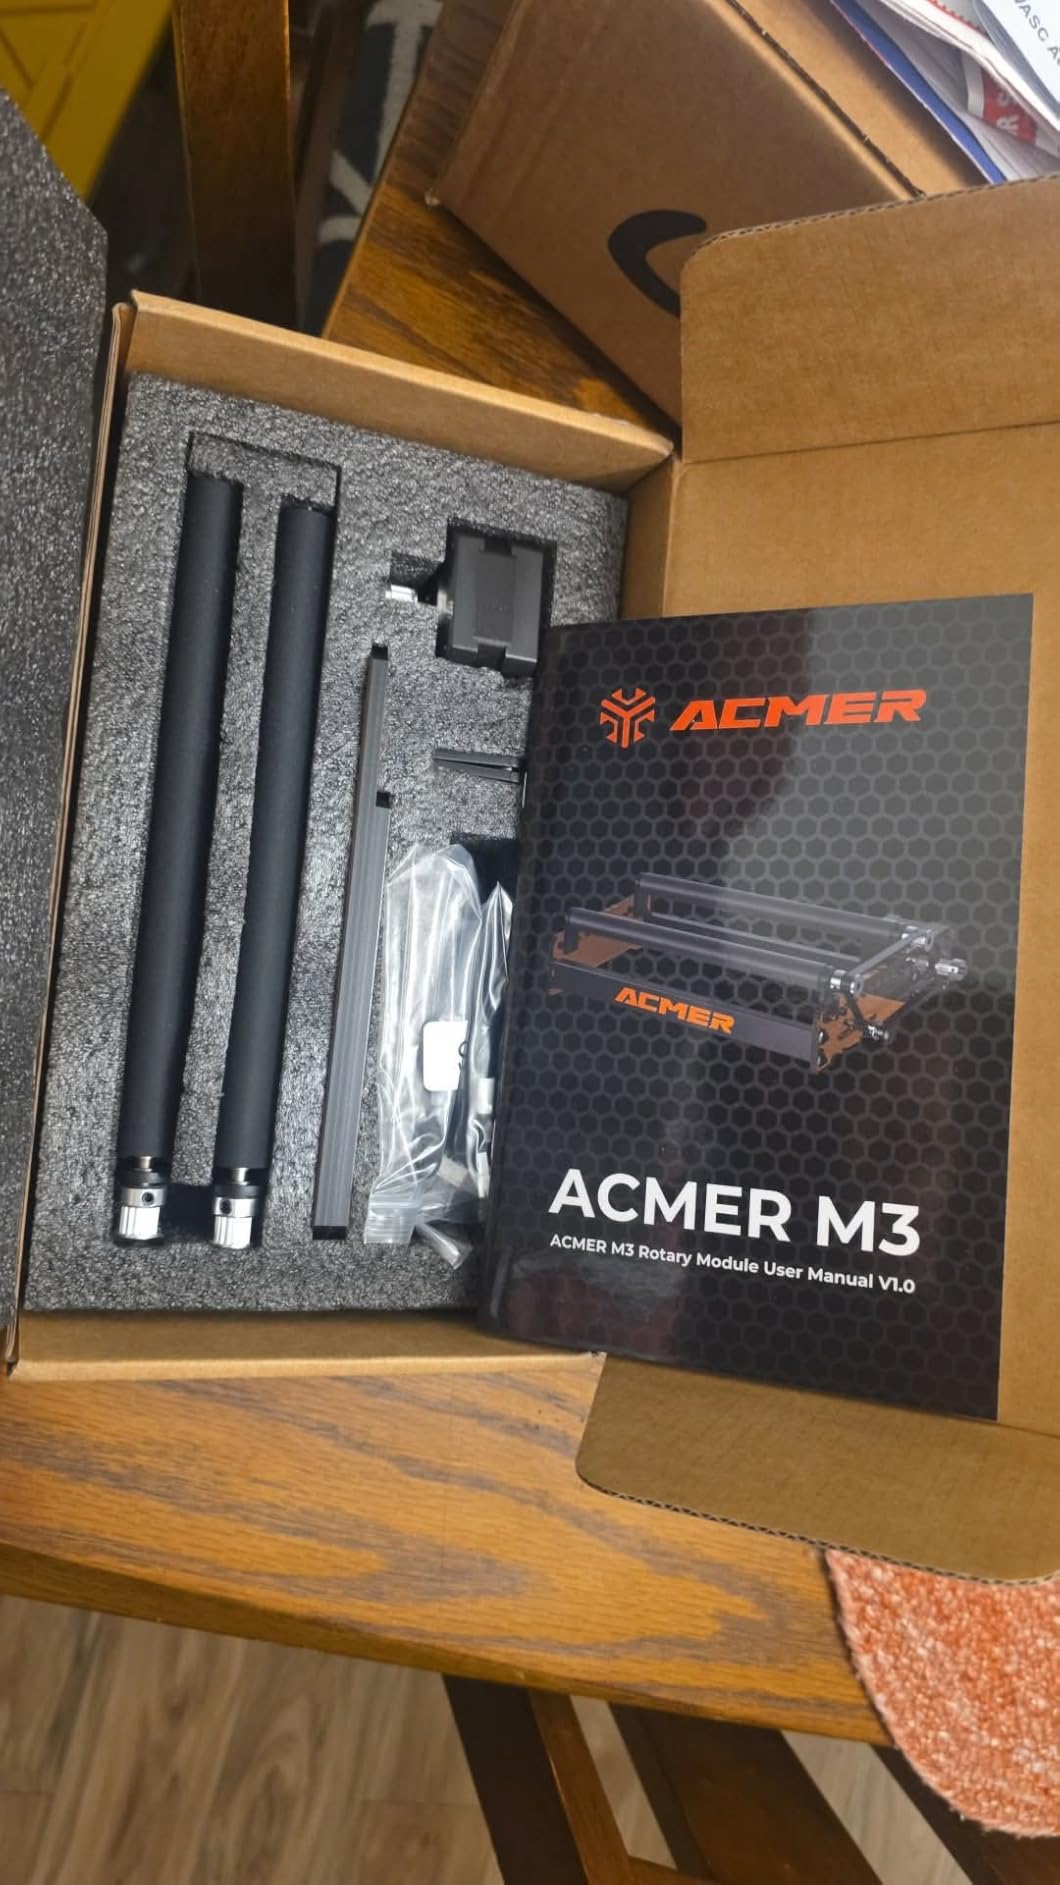
The ACMER M4 covers the widest span on the list: a 3mm to 150mm adjustable engraving space, so it handles the smallest rings and the largest tumblers on the same unit. The frame is rigid aluminum with high-friction rubber rollers, and that combination is aimed at heavy, long cylinders.
It arrives 100 percent pre-assembled and plugs into the Y-axis port, so there is no build step. Software support is Acmertool, LightBurn and LaserGRBL, and it is listed as compatible with ACMER S2, P1, P2 and P3 plus most diode engravers.
It carries the lowest average rating here at 4.2 from 46 reviews, with 67 percent five star and a 7 percent one-star share. That distribution is worth reading honestly rather than skimming: the span is the draw, and the softer scores come from users who needed a chuck or who never tuned the speed.
Wider is not always better, either. A 150mm gap on a short bed can feel loose on a small ring, which is exactly where a jaw chuck pulls ahead in precision.
Best for heavy tumblers and large bottles
Rubber rollers on a rigid frame are a sensible pairing for a full gallon tumbler, because grip matters more than fine detail at that size. Reviewers specifically point to the rollers holding long, heavy cylinders without slipping, and the reduced frame flex helps on longer jobs.
It is also a practical pick for a shop that needs to move between very small and very large pieces without a second attachment, and the pre-assembled delivery means you are not at a bench with small parts on day one.
Where the rating drops
Small work is the weak spot. A roller is less precise for very small rings than a jaw chuck, and the 3mm lower figure describes the gap, not the accuracy at that gap. If rings and bands are a real part of your range, this is the wrong module.
Several users also report needing to tune software or speed settings before the output is clean. Budget ten minutes with a test piece and a ruler rather than judging it on the first attempt.
8. OMTech Rotary Axis with 3-Jaw Chuck: Built for 50W and Larger CO2 Lasers
OMTech Rotary Axis Attachment with 3-Jaw Chuck for CO2 Laser Engravers
- Chandles 50W
- 60W
- 80W
- 100W and 130W CO2 machines
- 3-jaw chuck centres workpieces rigidly
- Iron and aluminum alloy with corrosion-proof coating
- Zero one-star ratings across 42 reviews
- Will not work with desktop diode engravers
- 4-wire install and software setup take more effort
- At 9 kg it is bulky next to compact rollers
The OMTech Rotary Axis is the only CO2-specific module in this roundup, and it is built for a different workshop than the rest. It fits 50W, 60W, 80W, 100W and 130W CO2 laser engraving machines, and it will not connect to a desktop diode engraver at all.
The grip is a precision-engineered 3-jaw chuck paired with a tailstock, which centres round workpieces rigidly and keeps them steady through a full rotation. For production runs on cups, bottles, tubes, pipes and bowls, that rigidity is the entire point of the design.
It is also the most solidly built unit here. The frame is iron and aluminum alloy with a corrosion-proof coating, the drive is a 2-phase stepper motor, and the rated output is 40W. At 9 kilograms and 22.8 by 5.9 by 7.1 inches, it stays put on the bench, which is a fair trade in a workshop setting.
Best for workshop and production use
If you run CO2 machines above 50W and engrave round stock in volume, this is the attachment matched to that workflow. The chuck and tailstock combination is what holds a long workpiece true, and reviewers in this category credit the smooth, noise-free rotation that comes from a matched pair.
The rating distribution backs the durability claim. Across 42 reviews the 4.4 average comes with 69 percent five star, 15 percent four star and no one-star ratings at all, which is the most consistently positive spread in this list.
Where it does not fit
Compatibility is a hard wall rather than a caveat. If your machine is a diode engraver, a Falcon, an xTool or an xTool-class desktop unit, this module is simply the wrong category of product, regardless of how good the chuck is.
Installation also takes more work than a plug-and-play roller. The 4-wire attachment cable goes to a dedicated port on the engraver and software settings have to be configured before the first job, so budget an afternoon rather than an evening.
How to Choose a Rotary Attachment for Your Laser Engraver
Most returns in this category come down to one of four things: the grip type does not match the object, the connector does not match the machine, the diameter range is wrong, or the height is too low. Work through those in order and the choice gets much easier.
Pick the grip type before the brand
A roller is a friction surface. The object spins on rubber or metal rollers and is held by nothing more than contact, which makes it fast, cheap and ideal for straight cylinders and glass. A jaw chuck is a three-pronged grip that centres an object between the laser head and the tailstock, holding it positively from the centre.
Rule of thumb: straight, clean, medium-weight cylinders go on a roller. Rings, pens, thin shafts, heavy tumblers, golf clubs and anything tapered or irregular goes in a jaw chuck. Mixed product lines want a multi-mode module such as the xTool RA2 Pro or the ORTUR YRC1.0, which carry roller, chuck, sphere and ring adapters in one frame.
This is the mistake buyers regret most. A beautiful roller that slips a tapered bottle every time is a worse purchase than a plainer chuck that never does.
Match the connector and pin count before you buy
Most diode and CO2 desktop machines expose a Y-axis expansion port, commonly called an EXP port, and the connector pin count has to match: 2-pin, 3-pin, 4-pin and 6-pin are all in circulation. A rotary with the wrong pin count will not drive the axis, and listings frequently fail to state which one they use.
Three checks close the gap. First, confirm the brand and model list rather than trusting a claim of universal fit. Second, ask the seller for the pin count, and if they cannot tell you, treat that as a reason to pick a different product. Third, confirm which control software the module expects: LightBurn, LaserGRBL, or a vendor-only tool.
For machines outside your existing brand, the more recent modules solve this in software-friendly ways. The Longer roller ships two harnesses for exactly this reason, and the Algolaser RR2 sidesteps configuration entirely by matching the native Y-axis speed. The Creality module for the Falcon and Falcon2 is first-party, so the pin question does not arise.
Owners of a wider range of machines, including some that need a 6-pin adapter, describe this as the single biggest source of frustration in the category. Ask the question before you pay, not after.
Check diameter range and object height together
Diameter range is the number that decides whether a module fits your work. The roller modules here span 5mm to 120mm, 8mm to 110mm and up to 150mm across seven steps, while the ACMER M4 opens to 3mm and the ORTUR YRC1.0 chuck covers 1mm to 120mm with 25mm to 150mm spheres and 11mm to 100mm rings.
Height is the one people forget. A module can cover the width of a tall tumbler and still be too short to engrave it. The xTool RA2 Pro is the clearest example: owners report that the default module height will not clear a full-height handled mug, and the chuck jaws sit low for very large cylinders, so a riser is part of the realistic setup.
Measure your tallest object and your widest object before you choose, and write the numbers down. Two minutes with a caliper removes most of the guesswork in this category.
Speed, torque and motor size
Motor class decides how heavy a workpiece the unit can hold without stalling. The published figures point to a 42 hybrid stepper in the Algolaser RR2, a 2-phase stepper drive in the OMTech module, and minimum stepper angles from 0.45 degrees on the xTool RA2 Pro, which translates to finer positioning between pulses.
Torque follows weight. A lightweight roller will drift on a long or off-centre object, and forum discussion makes the same point in the other direction: low-weight rotaries grip small items well but drift on heavy or long ones. If your workload skews to full-gallon tumblers or golf clubs, prioritise a rigid frame and a chuck over raw rotation speed.
For short jobs on light cylinders, speed is the pleasant trade. The xTool module’s 360 degrees per second ceiling is a genuine advantage when you are running many small pieces in a session.
Software support and setup time
Ask what software the module needs before you buy. LightBurn and LaserGRBL cover the entire diode market here, and Laserbox Basic appears in the xTool ecosystem, but a module that requires a console parameter change or vendor-only software adds a support dependency you did not ask for.
Setup time ranges from almost nothing to an afternoon. The Algolaser RR2 matches the native Y-axis speed and skips configuration entirely, the xTool RA2 Pro arrives pre-assembled and plug-and-play, and the ACMER M4 ships fully assembled. At the other end, the Creality module needs a GRBL parameter change and the OMTech unit needs a 4-wire cable and configured software settings.
If you want to understand the machine side of the equation before you spend, our laser engraver roundup covers the controller types that these modules plug into.
One last piece of buy-versus-build maths, because the question of when a bolt-on module pays for itself comes up in every workshop. We apply the same reasoning to other add-on tooling in our guides to ATV attachments, forklift attachments and pallet fork attachments, and the answer usually depends on repeat volume rather than capability alone.
How to Set Up a Rotary Attachment in LightBurn or LaserGRBL
Every rotary in this roundup follows the same four-step sequence once it is physically mounted and centred. Do the order in this sequence, because each step assumes the previous one is finished.
Step 1: Mount and centre the unit. Fix the rotary to the bed, set the module height so the object centre sits at the laser focal plane, and centre the workpiece between the chuck and the tailstock or across the roller gap. Confirm it clears the gantry at the top of its travel.
Step 2: Enable rotary rotation. In LightBurn, open the device settings for the rotary axis and switch on rotary rotation support, then set the Y-axis rotation enabled. In LaserGRBL, the equivalent is a $101 value reflecting the wheel diameter, which is why modules that match native Y-axis speed need no change at all.
Step 3: Enter the object diameter. Measure the actual workpiece, not the nominal size, and enter that diameter in the rotary settings. This single number drives the wraparound path, and getting it wrong is the top cause of crooked or stretched text.
Step 4: Run a test pass. Do a low-power test on scrap before the real job. Check that the line weight is even from the start of the wrap to the finish, that the object is not slipping, and that the speed setting matches the surface finish you want on the material.
Before you go further, a jaw chuck is a three-pronged grip that centres an object between the laser head and the tailstock, a roller uses friction across an adjustable gap, and full-wrap engraving means the design continues past the point where the object is directly under the head. Knowing which of the three you have saves a lot of trial and error.
Why Cylinder Engravings Come Out Crooked, Blurry or Burnt
Almost every bad result traces to one of five causes. Work down the list in order, because the first two account for most cases and both are free to fix.
1. The diameter is wrong in the software. If the number you entered does not match the real workpiece, the artwork is stretched or squeezed around the curve and text looks italic or uneven. Measure with a caliper, enter the true diameter, and re-test.
2. Focus is off because the object sits above the bed plane. A cylinder’s surface is closest to the head along its centre line and falls away toward both edges. Raise the module until the focal plane meets the object’s centre, then use the focus offset for the edges rather than lowering the whole head.
3. Surface speed is too high. Rotation speed becomes engraving speed at the surface. Push it too far and the beam spends less time on any given point, so lines break up and blur; slow down and increase power slightly. Creality and ACMER owners report the opposite symptom, where acceleration settings are too aggressive and the workpiece spins or slips.
4. The object is not centred or is shifting. A chuck that is not squared to the tailstock, or a roller gap that is too wide for a small piece, produces a wobble that shows up as a doubled or ghosted edge. Re-centre and re-tighten, and use the soft pads rather than bare metal on a coated surface.
5. The blank is warped or tapered. Engraved material that is not a true cylinder cannot wrap cleanly, and a warped surface changes height across the job. Taper compensation in the software helps, but a badly warped tumbler is a material problem rather than a settings problem.
Two habits prevent most of this. Clean the rollers and the object surface before every job, since a thin layer of finish changes grip and diameter, and keep a test card for each material and diameter combination you run regularly.
Who Should Skip a Rotary Attachment
We would rather you bought nothing than bought the wrong thing, so here is the honest list of cases where a rotary is a poor investment.
You only cut flat sheet. If acrylic, plywood and leather are the whole workload, a rotary adds capability you will not use. The money is better spent on better optics, an air assist kit or a second lens.
You need one cylinder a year. A single monogram does not justify a module. Send the job out instead, or use a hand-held engraver for the occasion.
Your workload is rings and bands only. A friction roller will not hold a thin ring securely, and a 1mm-to-120mm gap describes capacity rather than accuracy. Buy a chuck module or a dedicated jewellery setup.
You own a CO2 laser above 50W and nothing else. The diode-oriented rollers here are not the right class of product for that machine, and the OMTech module is heavy bench equipment. Match the attachment to the machine class first.
You are still deciding on a machine. Buying the attachment before the engraver is how people end up with a 6-pin problem or a software mismatch. Choose the machine, confirm the Y-axis port, then buy the rotary.
On the flip side, if you already own a capable engraver, it is sitting idle between flat jobs, and you have repeat demand for tumblers, bottles or jewellery, the payback arrives quickly. A few dozen decorated pieces a month covers a mid-range module, and a dedicated tumbler or UV printer only makes sense once volume is consistently high enough to fill it.
Frequently Asked Questions
What is the best rotary attachment for a laser engraver?
For most setups the ORTUR YRR roller is the best rotary attachment for a laser engraver, with 723 reviews at 4.4 stars and a 7-step diameter range from 8mm to 110mm. Pick the xTool RA2 Pro instead if you need rings, spheres and chuck gripping in the same unit, and the Longer roller if you own a mixed-brand machine and want a harness that fits it.
What makes a good laser rotary attachment?
A good rotary attachment matches your machine’s connector and pin count, covers the diameter range of the objects you actually make, has enough motor torque for their weight, and supports the control software you already use. Multi-mode adapters add chuck, sphere and ring options to a single frame. Pre-assembly and documented software support save more time than raw rotation speed.
Which is better, xTool or LaserPecker?
For rotaries, xTool’s first-party modules lock you into a well-supported ecosystem across the S1, F1, F1 Ultra, P2 and M1 Ultra, which removes connector guesswork. LaserPecker and generic rollers cost less and work across more machines, but compatibility depends on the expansion port and the software. The decision rule: buy first-party inside one ecosystem, generic only when you are certain of the connector.
What kind of laser engraver do I need for golf clubs?
Golf clubs need a heavier machine and a positive grip. A CO2 or fiber laser of adequate power is the realistic choice, paired with a jaw chuck rotary whose diameter range covers club heads and whose frame resists the off-centre load of a long shaft. Lightweight friction rollers slip on shafts, and diode lasers struggle with bare reflective metal without a coating.
Do all laser engravers support rotary attachments?
Most do, but not all. A machine needs a Y-axis expansion port with a matching connector pin count, commonly 2-pin, 3-pin, 4-pin or 6-pin, plus control software that supports rotary rotation in LightBurn or LaserGRBL. First-party accessories from Creality, xTool and OMTech remove the guesswork for their own platforms, while universal rollers rely on you matching the harness.
Why is my tumbler engraving crooked or blurry?
Five causes account for nearly all of it: the diameter entered in the software does not match the real object, the focal plane misses the curve because the tumbler sits above the bed, surface speed is set too high, the object is not centred so it wobbles mid-job, or the blank is warped or tapered. Fix the diameter and focus first, since they cost nothing and resolve most cases.
The Best Rotary Attachment for Your Laser Engraver in 2026
The best rotary attachment for laser engraver work depends on your objects, not on the spec sheet. If you want the safest all-round choice, take the ORTUR YRR roller, which carries the largest review base here and covers 8mm to 110mm across seven steps on almost any GRBL machine.
Build the range up from there. Add a jaw chuck such as the ORTUR YRC1.0 or the xTool RA2 Pro when rings, pens, spheres or heavy tumblers enter the picture, and go for the OMTech 3-jaw module if your machines are CO2 units above 50W.
Before you buy, measure your tallest and widest object, confirm the expansion port pin count on your engraver, and check the software the module expects. Those three checks prevent nearly every return in this category, and they take less time than the troubleshooting they save.