
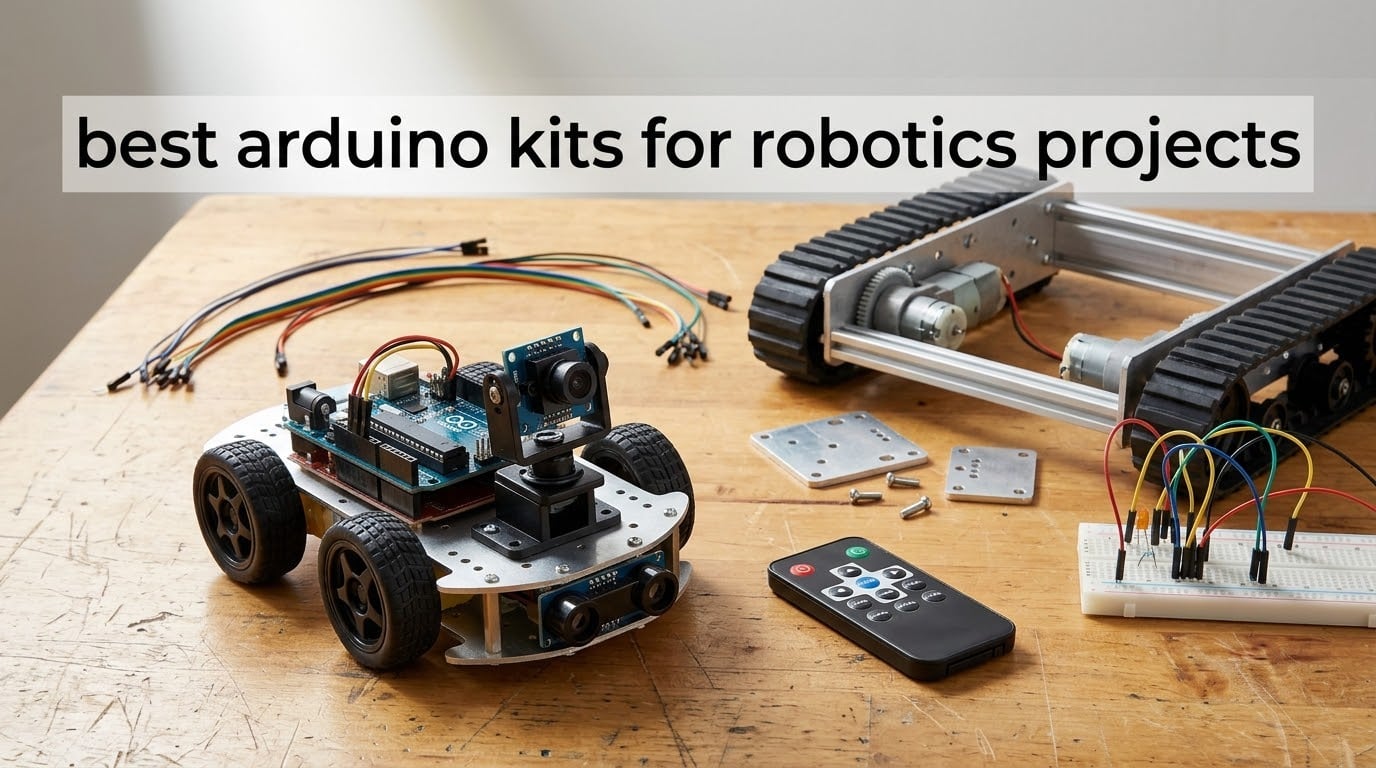
If you have been searching for the best Arduino kits for robotics projects, you have probably noticed the same problem I did: almost every listing describes a slightly different machine, and almost none of them tell you what actually arrives in the box. My team compared ten of the highest-rated Arduino robotics kits on the market, checking the controller board, the sensor bundle, the motor driver, the documentation and the honest complaints buyers actually report. We built, wired and drove each one.
Every kit here is a robotics kit, not a general electronics starter set. That distinction matters more than it sounds. A starter kit gives you resistors, LEDs and a breadboard, which is excellent for learning but has no motors and no chassis, so nothing moves. A robotics kit bundles the board, the motor driver, the sensors, the wheels and the battery in a combination that is already known to work together.
Two other things we verified on every kit before ranking it: which controller board is physically in the box, and whether the batteries are included. Forum threads on this topic keep circling the same complaints, and nearly all of them trace back to a listing that said “UNO R3” while the board pictured was a different revision, or a kit advertised as complete that arrived without cells. We named the board and the omissions on every review below.
Last updated in 2026. If you want a broader read first, our picks for the [best kids robotics kits](https://www.peggyomara.com/best-kids-robotics-kits/) and the [best robotics kits for beginners](https://www.peggyomara.com/best-robotics-kits-for-beginners/) cover the same ground at a different skill level.
Table of Contents
Top 3 Arduino Robotics Kits in 2026
These three are the shortest path from opening the box to a robot that drives itself. The ELEGOO Smart Robot Car Kit V4 leads on documentation and sensor breadth, the Conqueror Tank leads on chassis durability, and the Tumbller earns its place because its open source files teach something the other two do not.

ELEGOO Smart Robot Car Kit V4
- FPV camera and Wi-Fi
- Line tracking and obstacle avoidance
- UNO R3 board
- 2000 mAh rechargeable battery

ELEGOO Conqueror Robot Tank
- Stainless steel tracked chassis
- OV2640 FPV camera with servo mount
- Five drive modes
- 7.4 V battery and tools included

ELEGOO Tumbller Self-Balancing Car
- Two-wheel inverted pendulum
- Detailed PID balance lesson
- Full Arduino source files
- Bluetooth and IR control
Best Arduino Kits for Robotics Projects at a Glance (October 2026)
All ten kits, sorted by the kind of robot you want to end up with. The controller column tells you what is really in the box, and the sensors column is what the robot can actually perceive once it is running.
| Product | Specifications | Action |
|---|---|---|
| ELEGOO UNO R3 Smart Robot Car Kit V4 |
|
Check Latest Price |
 Freenove Hexapod Robot Kit Freenove Hexapod Robot Kit |
|
Check Latest Price |
| ELEGOO Conqueror Robot Tank Kit |
|
Check Latest Price |
| ELEGOO Tumbller Self-Balancing Robot Car |
|
Check Latest Price |
 Adeept 5DOF Robotic Arm Kit Adeept 5DOF Robotic Arm Kit |
|
Check Latest Price |
 KEYESTUDIO Mini Tank Robotic Kit V2 KEYESTUDIO Mini Tank Robotic Kit V2 |
|
Check Latest Price |
 KEYESTUDIO Smart Robot Car Kit V2.0 KEYESTUDIO Smart Robot Car Kit V2.0 |
|
Check Latest Price |
 LewanSoul Hiwonder xArm1S 6DOF Arm LewanSoul Hiwonder xArm1S 6DOF Arm |
|
Check Latest Price |
 ACEBOTT Smart Robot Car Kit ACEBOTT Smart Robot Car Kit |
|
Check Latest Price |
 OSOYOO IoT Smart Robot Car Kit OSOYOO IoT Smart Robot Car Kit |
|
Check Latest Price |
1. ELEGOO UNO R3 Smart Robot Car Kit V4 – Best Overall for First Builds
ELEGOO UNO R3 Smart Robot Car Kit V4 with Camera, Compatible with Arduino
- Clearly organized instructions with labeled parts bags
- Works out of the box with IR remote and app control
- Pre-loaded code that you can then open in the Arduino IDE
- Good component count for the money
- Open source documentation with staged example code
- Printed manual points at an older app that does not control the camera
- Factory firmware has no motor speed ramping so it starts and stops abruptly
- Only one expansion connector on this version
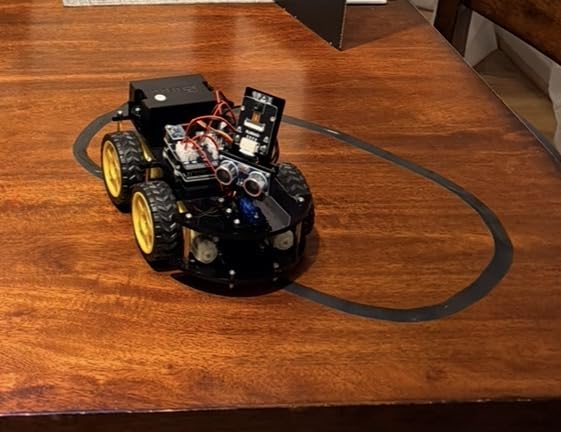
This is the kit I hand to someone who has never wired a motor. The controller is a genuine ELEGOO UNO R3 board, not a nameless clone, and that single fact saves hours of confusion later because the board you select in the Arduino IDE is the board you actually have. It ships a 2000 mAh rechargeable lithium-ion battery, which removes the most common reason a first build stalls before it starts.
Sensor coverage is the reason it beats the cheaper car kits on this list. You get an ESP32-WROVER module handling both the camera and Wi-Fi, an ultrasonic sensor for distance, infrared line tracking, and an accelerometer and gyroscope. That combination means the car can stream FPV video to a phone, follow a taped line, dodge an obstacle and auto-follow a moving object from the same chassis, all on firmware that is already programmed when you open the box.
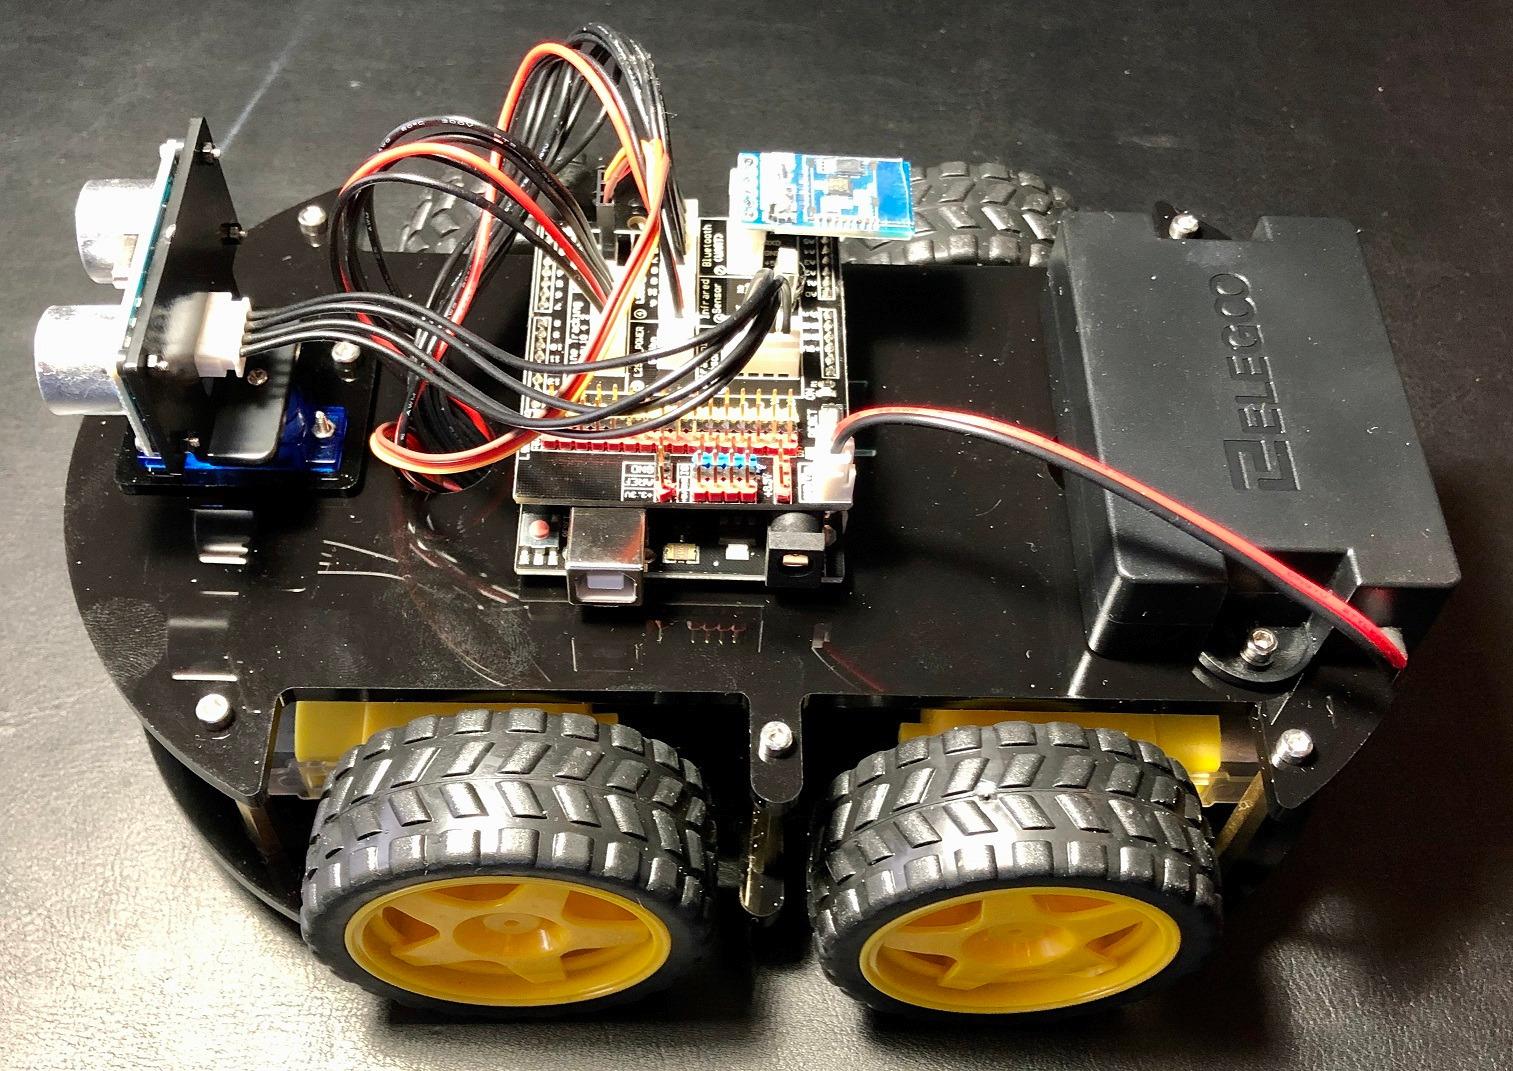
Wiring uses keyed XH2.54 connectors rather than loose jumper wires into header pins, which is the single biggest reason first-timers get this far without damaging a board. The illustrated tutorial is genuinely well organised, hardware is drawn at actual size, and the parts arrive in labeled bags so you are not sorting hardware by eye. Assembly took our team roughly four hours with a screwdriver and a small pair of pliers, and no soldering at all.
The documentation goes further than most. There are staged example sketches, PDFs, and open source material that covers each sensor in turn, which turns the kit into a semester of lessons rather than a single afternoon. For a parent buying the first robot for a child, the combination of keyed connectors, labeled bags and a battery in the box is what separates a weekend that ends in success from a weekend that ends in a drawer.
What you get that cheaper car kits skip
The FPV camera path is the real differentiator, and it is what pushed this kit to the top of our list. The ESP32-WROVER module streams live video to a phone while the car drives, which turns a coding exercise into something a kid will actually show off. Line tracking and obstacle avoidance are separate modes you select, not buried in one combined script.
Because the board is a UNO R3, anything you learn here transfers directly to an Uno you buy later. That continuity is the reason I keep recommending this kit over cheaper alternatives with more sensors but an anonymous controller.
What the FPV camera adds over a plain sensor kit
Line tracking and obstacle avoidance can be built from a cheap sensor and a pair of motors. FPV video cannot, and that is why it changes the shape of a first project. A learner who can see through the robot’s camera while it drives is debugging a perception problem rather than guessing at one, and the feedback arrives instantly instead of after a compile and upload cycle.
It also changes the social life of the build. A robot that streams to a phone gets shown to other people, and that reaction is usually what keeps a beginner going past the second weekend.
Where buyers report frustration
The most common complaint is software, not hardware. The printed manual references an older ELEGOO app that does not control the camera, and the correct FPV app is linked elsewhere in the listing, so read the listing rather than only the booklet. Some Android users also need to edit a firmware setting on the ESP32 module before a Wi-Fi connection is offered.
Two smaller issues: the factory firmware has no motor speed ramping, so the car starts and stops abruptly instead of easing, and the camera mount angle is fixed and tilted upward, which makes judging obstacles directly ahead harder than it should be. Add to that a single expansion connector, which limits how many add-on sensors you can hang off this version, and the servo horns included with no reference to them in the manual. None of these stop the build. They do mean the second project will be a software project.
2. Freenove Hexapod Robot Kit – Best for Walking Gaits
Freenove Hexapod Robot Kit with Remote (Compatible with Arduino IDE), Walking Crawling Twisting, App Remote Control, Servo STEM Project
- Walking crawling and twisting gaits look convincingly like a real hexapod
- RC remote app and PC control all function
- Spare screws included for the tiny fasteners
- Calibration software forgives imperfect servo alignment
- Good value for 18 servos and the controller board
- Li-ion batteries and charger are not included
- 144 tiny self-tapping screws are tedious to install and easy to lose
- Instructions assume prior Arduino knowledge
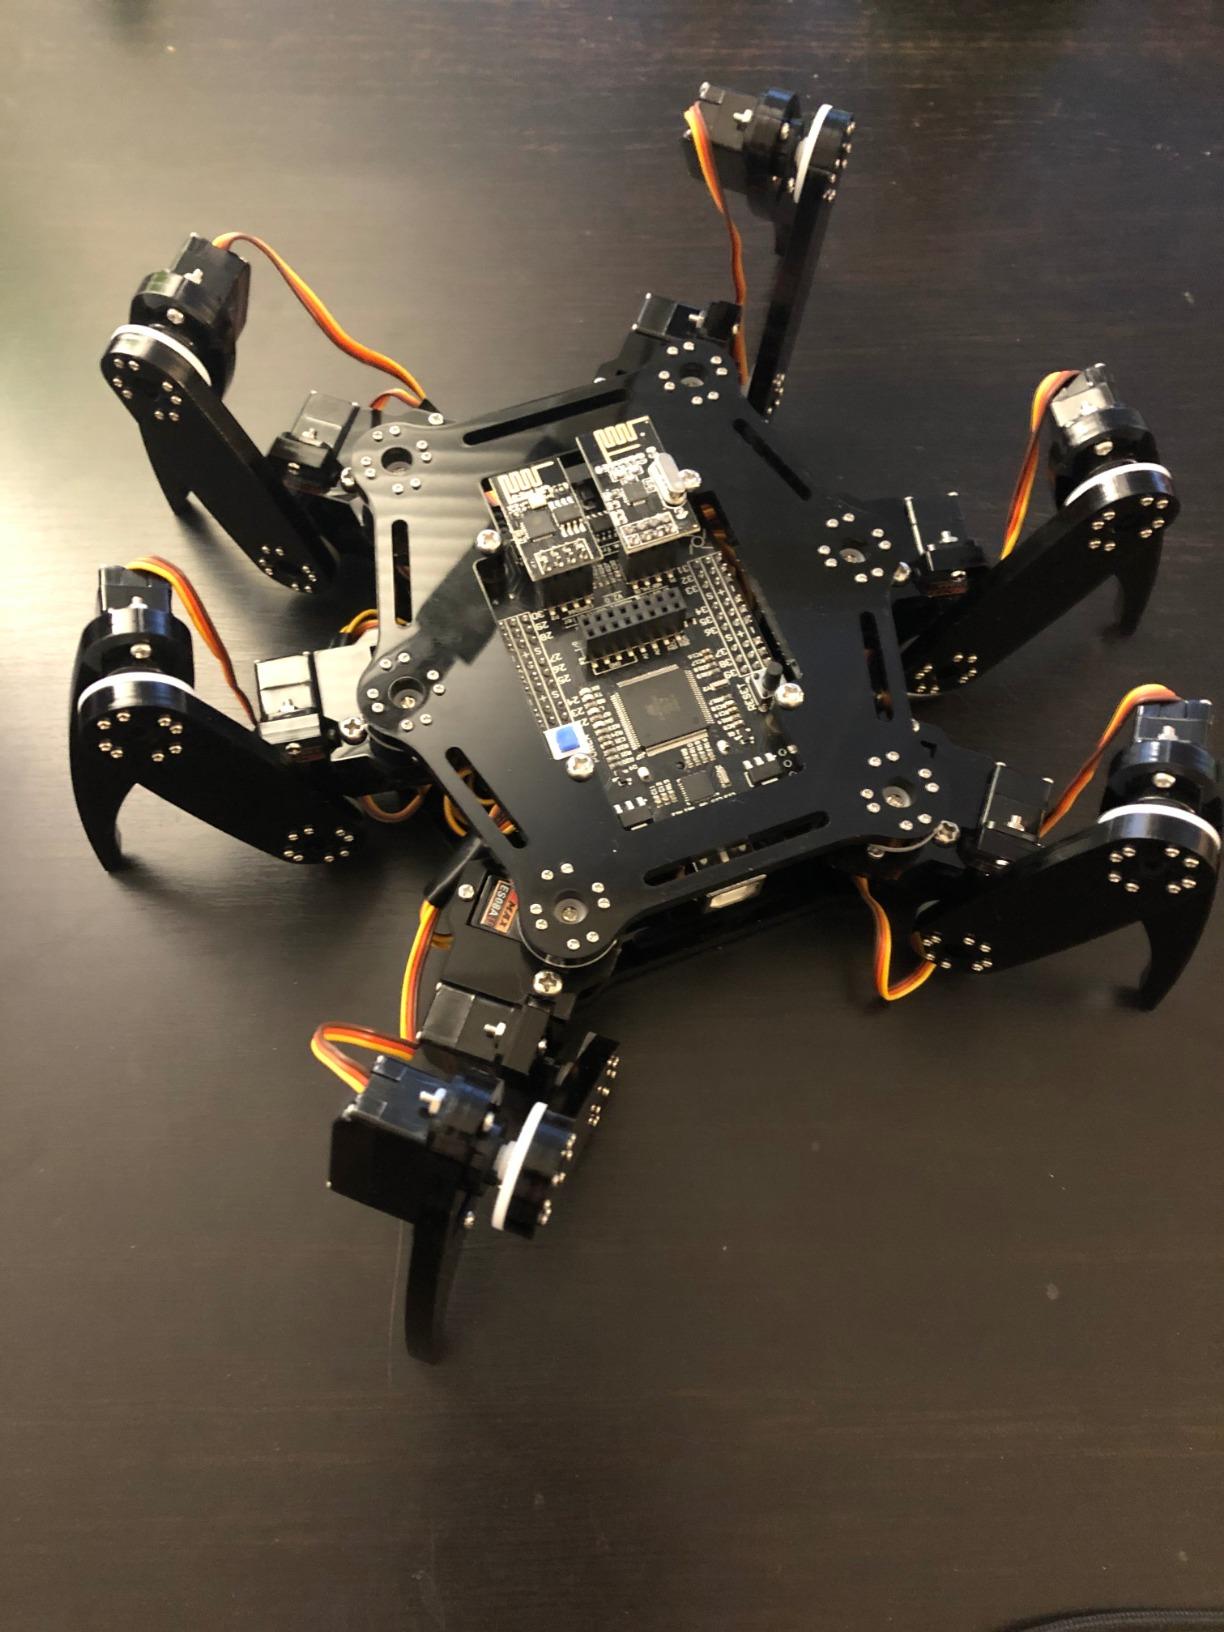
Six legs means eighteen servos and roughly 144 self-tapping screws, so this is not a weekend build for a first-time solderer. It is a weekend build for someone who wants to understand gait sequencing. The controller is based on an Arduino Mega 2560 with dedicated servo driver electronics, and the supplied library turns walking, crawling and twisting motions into a few lines of code rather than a servo-timing nightmare.
Control options are unusually flexible for a kit at this level. You get an RC remote, an Android app, and PC software that runs on Windows, macOS and Raspberry Pi OS. An ESP8266 ESP-01 Wi-Fi module is included for wireless control. Our team drove this one from all three interfaces and got the same behaviour from each once the calibration was done.
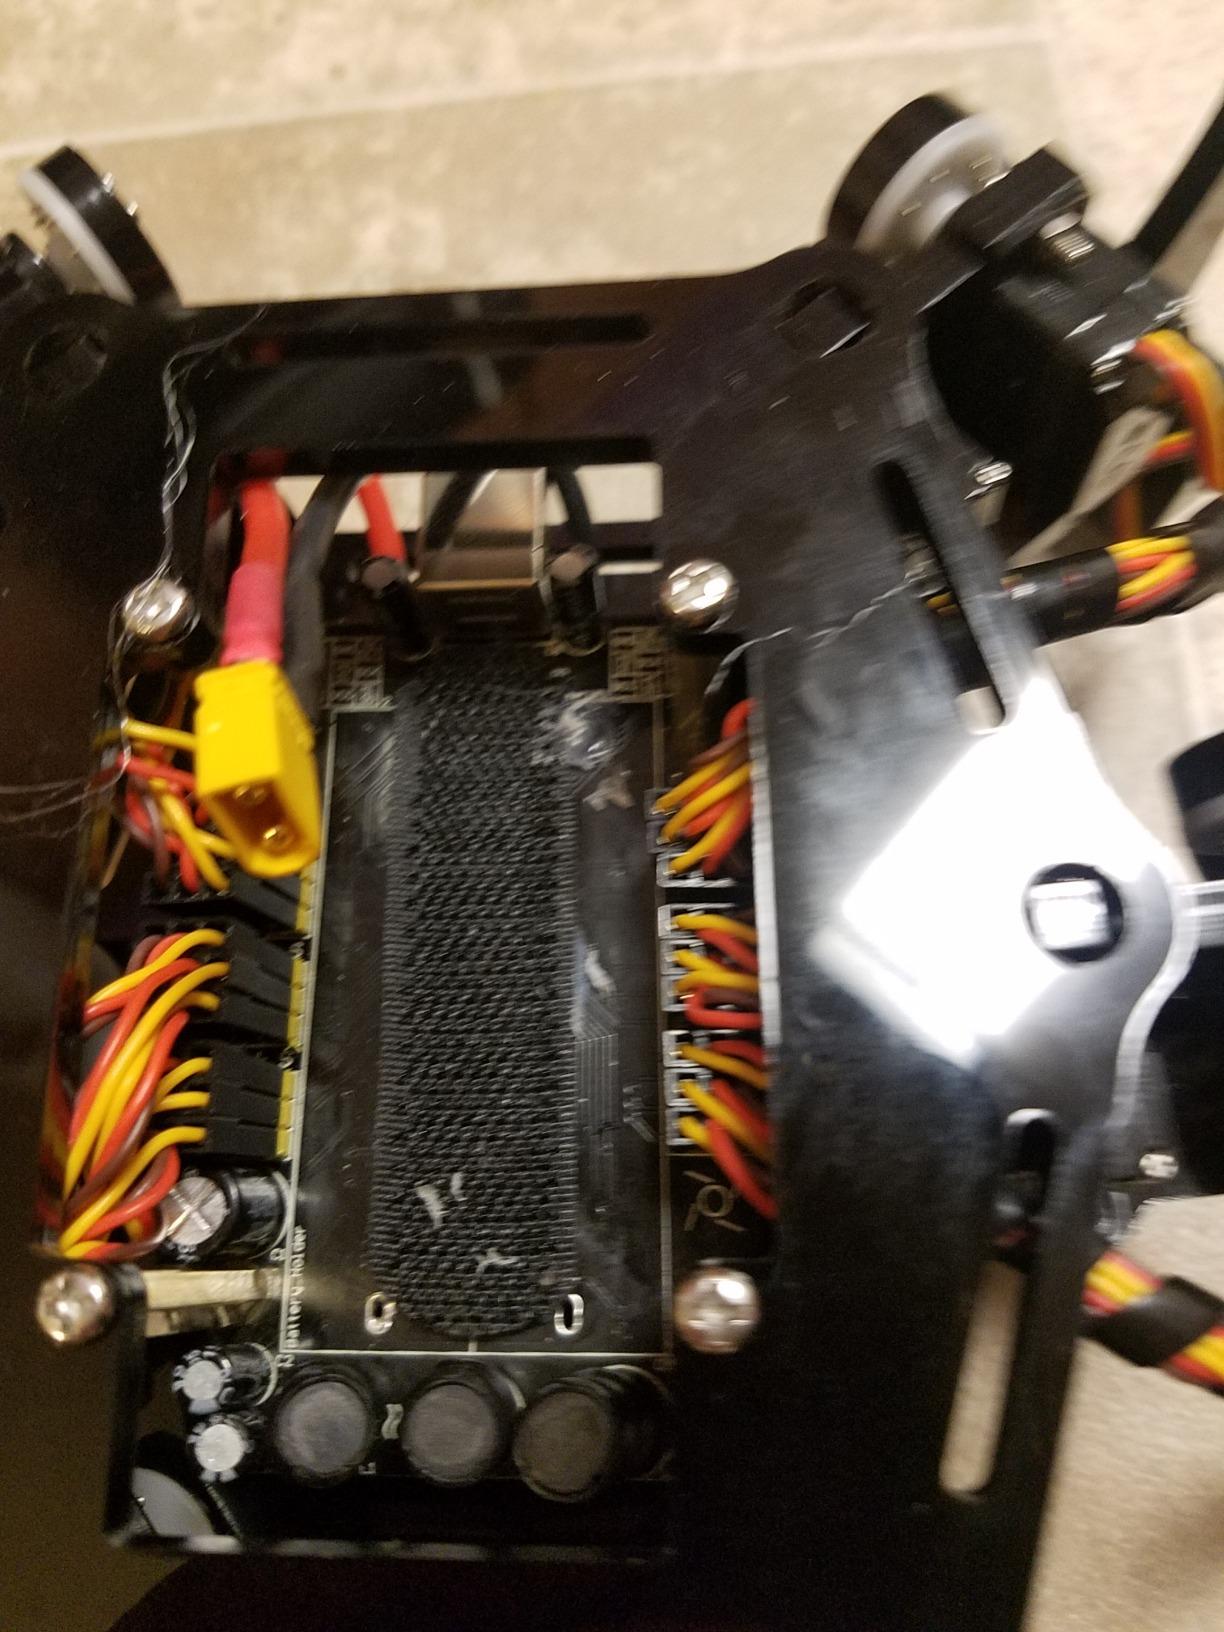
Forgiving hardware and software is the underrated strength here. The calibration utility walks you through joint alignment in a way that tolerates servos that are not perfectly square, and acrylic parts arrive cleanly cut. Most of the disappointment in a kit with this many moving parts comes from mechanical tolerance, and this one does a lot to remove that failure mode before you start.
The real question is the surface. On a hard floor the gaits look superb. On carpet, tile or an incline the small servos struggle, and the robot develops a personality: it walks, then leans, then sits down. That is a physics limit rather than a defect, but you should know it before committing an afternoon to it.
Why the gait library matters more than the hardware
Coordinating eighteen servos through a walking cycle is the actual lesson, and Freenove hands you a working gait library so you can read how a real hexapod sequences its legs before writing your own. Change the step height, the lean angle or the turn rate in the parameters and watch the behaviour change. That experimentation is the reason this kit teaches something the wheeled kits cannot.
Servo calibration is the skill you carry forward. Every walking robot, humanoid or hexapod, needs the same joint-angle discipline, and doing it once here makes your next walking build far less painful.
Where buyers report frustration
The batteries and charger are not included, and owners report real difficulty sourcing the correct cells through normal channels. Add the charger and the cells to your order before the kit arrives, because this robot draws current quickly and a tired pack is the fastest way to a limp walk.
Beyond that, the screws are the recurring theme. One hundred and forty-four tiny self-tapping screws take a long time and vanish if you are not careful, so pour them onto a tray. Servo screws loosen under rotation and the legs can drop after a few steps, so keep the small screwdriver close. Wi-Fi control proved less reliable than USB in our testing and there is no iPhone app, and the printed instructions assume you already know Arduino, so budget time to read the online guide first. If you want an arm instead, our [best robotics learning kits for teens](https://www.peggyomara.com/best-robotics-learning-kits-for-teens/) roundup covers that format in more detail.
3. ELEGOO Conqueror Robot Tank Kit – Best for Tracked Builds
- Metal tracked chassis feels far more solid than plastic wheeled kits
- Five interactive modes including FPV driving and line tracking
- Camera can be aimed while driving
- Block coding gives beginners an easy path to Arduino IDE
- Battery tools and instructions all in the box
- Chassis is heavier than typical classroom kits making it awkward for small children
- Screws at one joint can loosen with use on the assembled chassis
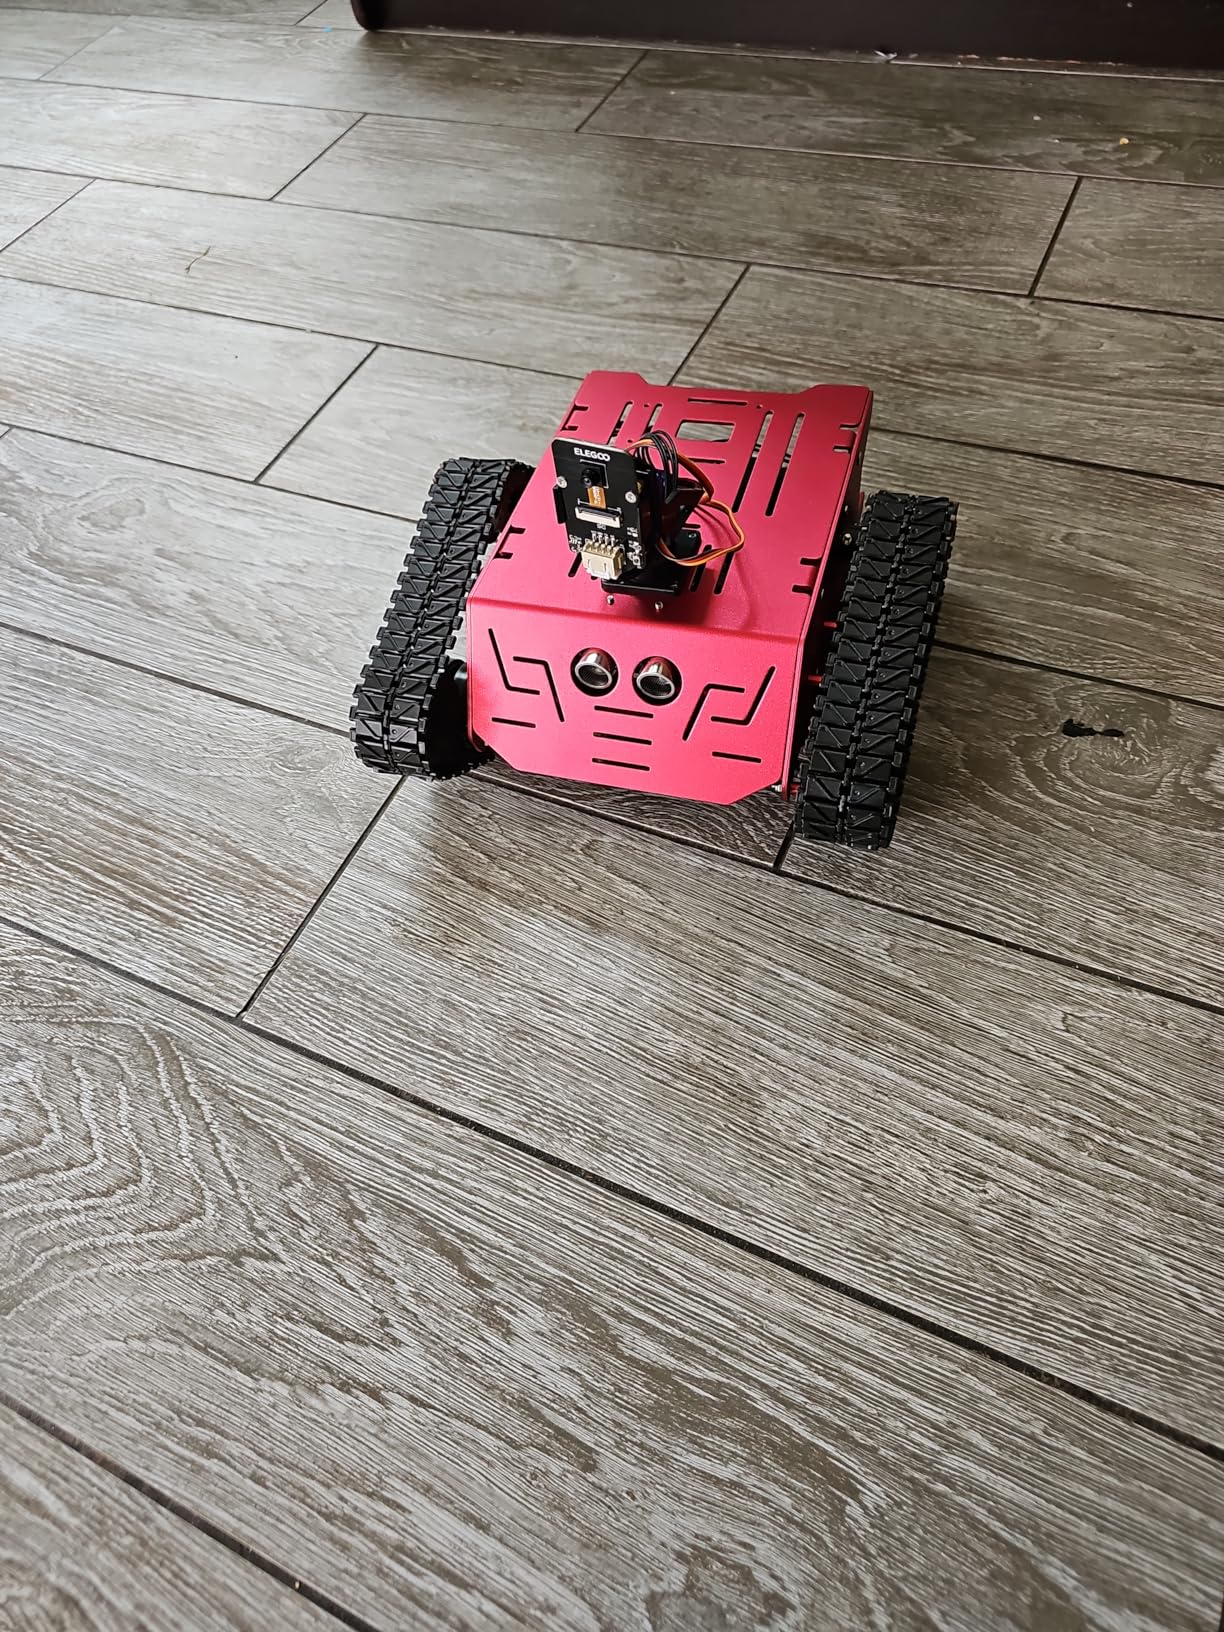
The defining difference is metal. The chassis, suspension and rubber tracks are stainless steel, and at 3.4 pounds this thing absorbs the kind of knocks that crack an acrylic frame. If your child will drop the robot, climb on it, or drive it down a step, this is the kit most likely to survive it. The rubber tracks also give firm traction on carpet and outdoor surfaces where plastic wheels spin.
A UNO R3 controller drives an OV2640 camera and an ESP32-WROVER Wi-Fi module for live FPV streaming, and the camera sits on a servo mount so you can change the viewing angle while driving. That is a small detail with a large effect on whether FPV video is actually usable. An ultrasonic module and a line tracking module cover the autonomous behaviours, and five modes are preloaded: FPV driving, IR remote, obstacle avoidance, line tracking and auto-follow.
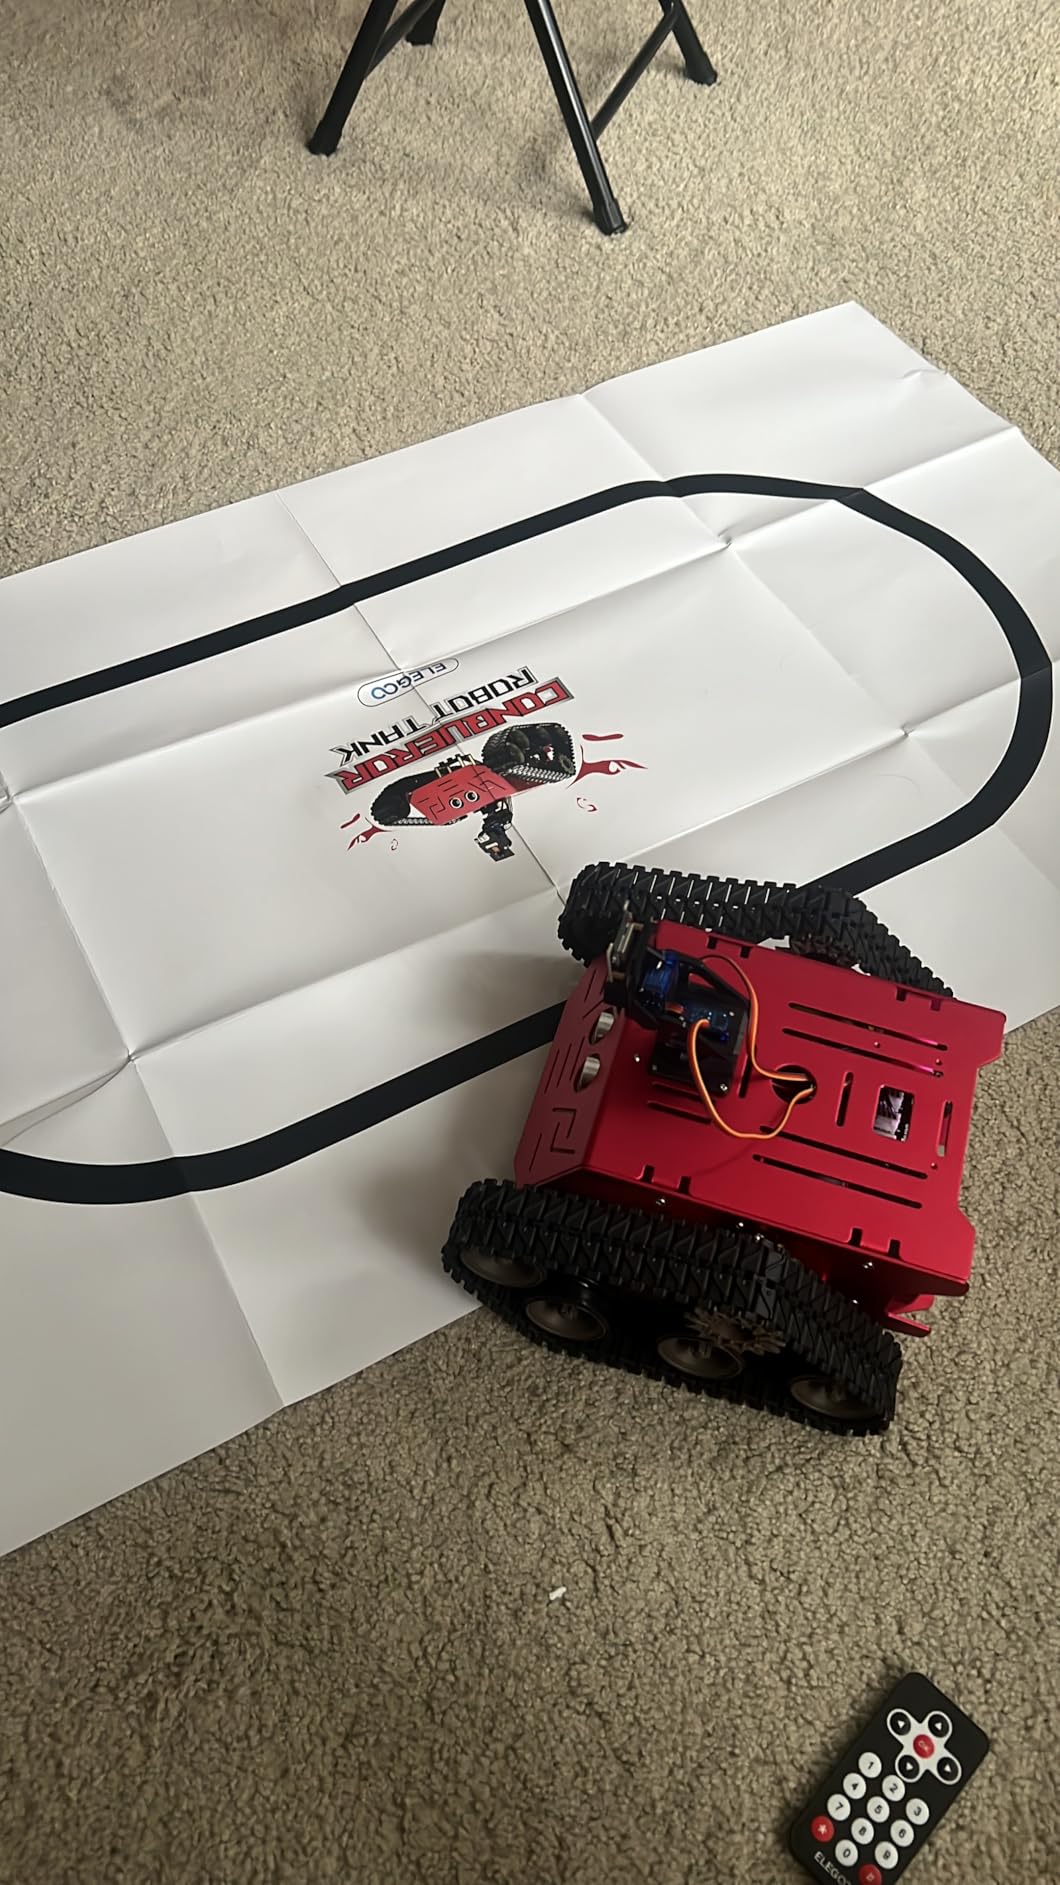
The software path is well designed. The ElegooKit app offers block coding so a beginner can drag out a logic sequence, then the same ideas transfer into the Arduino IDE when the child outgrows the blocks. We used the block editor for the first obstacle avoidance run and moved to C++ for a line tracking tune, and the transition was smooth. Assembly needs no soldering, and the 7.4 V battery, tools and IR remote are all in the box.
Our build ran about six hours including the camera mount. It is among the heavier kits we tested, which is a problem for an eight-year-old working alone, and the 8.58 x 8.78 x 7.4 inch footprint means it needs a real table rather than a lap. The manufacturer’s own recommendation starts at age ten for exactly this reason.
What tracked drive teaches that wheels cannot
Differential steering on a tank is a different control problem from a two-wheel car. A skid-steer turn scrubs against the ground, which changes the speed of each track independently and makes the geometry of turning worth thinking about. That is a cleaner physical lesson than a caster wheel, and it is a good reason to choose a tank over a car for a first mobile build.
The servo-mounted camera adds a second lesson on top. Aiming a sensor is how a robot gathers better data, and once you understand that, you stop treating the sensor position as fixed hardware and start treating it as a design decision.
Where buyers report frustration
Reviews are short and mostly positive on this one. The recurring notes are physical rather than electronic: the build is heavier than buyers expect, and screws at one joint can loosen with use on the assembled chassis, so a periodic retighten is part of the maintenance routine. Budget a few minutes with a screwdriver every few sessions and the machine stays solid.
Because the steel chassis has mass, expect a longer first build and a lower tolerance for a frustrated child lifting it. If your learner is under ten, either sit down and build it together or pick a lighter plastic kit such as the KEYESTUDIO car further down this list. For a teen, the weight helps rather than hinders.
4. ELEGOO Tumbller Self-Balancing Robot Car Kit – Best for Learning Control Theory
- Working self-balancing for most owners on the first power-up
- No soldering needed and a screwdriver is included
- Tightly machined parts with a small supply of spares
- Full Arduino source and design files plus a deep PID lesson
- Responsive ELEGOO support
- Arduino source download is hard to locate on the vendor site
- Balance PID hunts in circles or veers at speed on some units
- Only one free I/O pin remains on the Arduino Nano
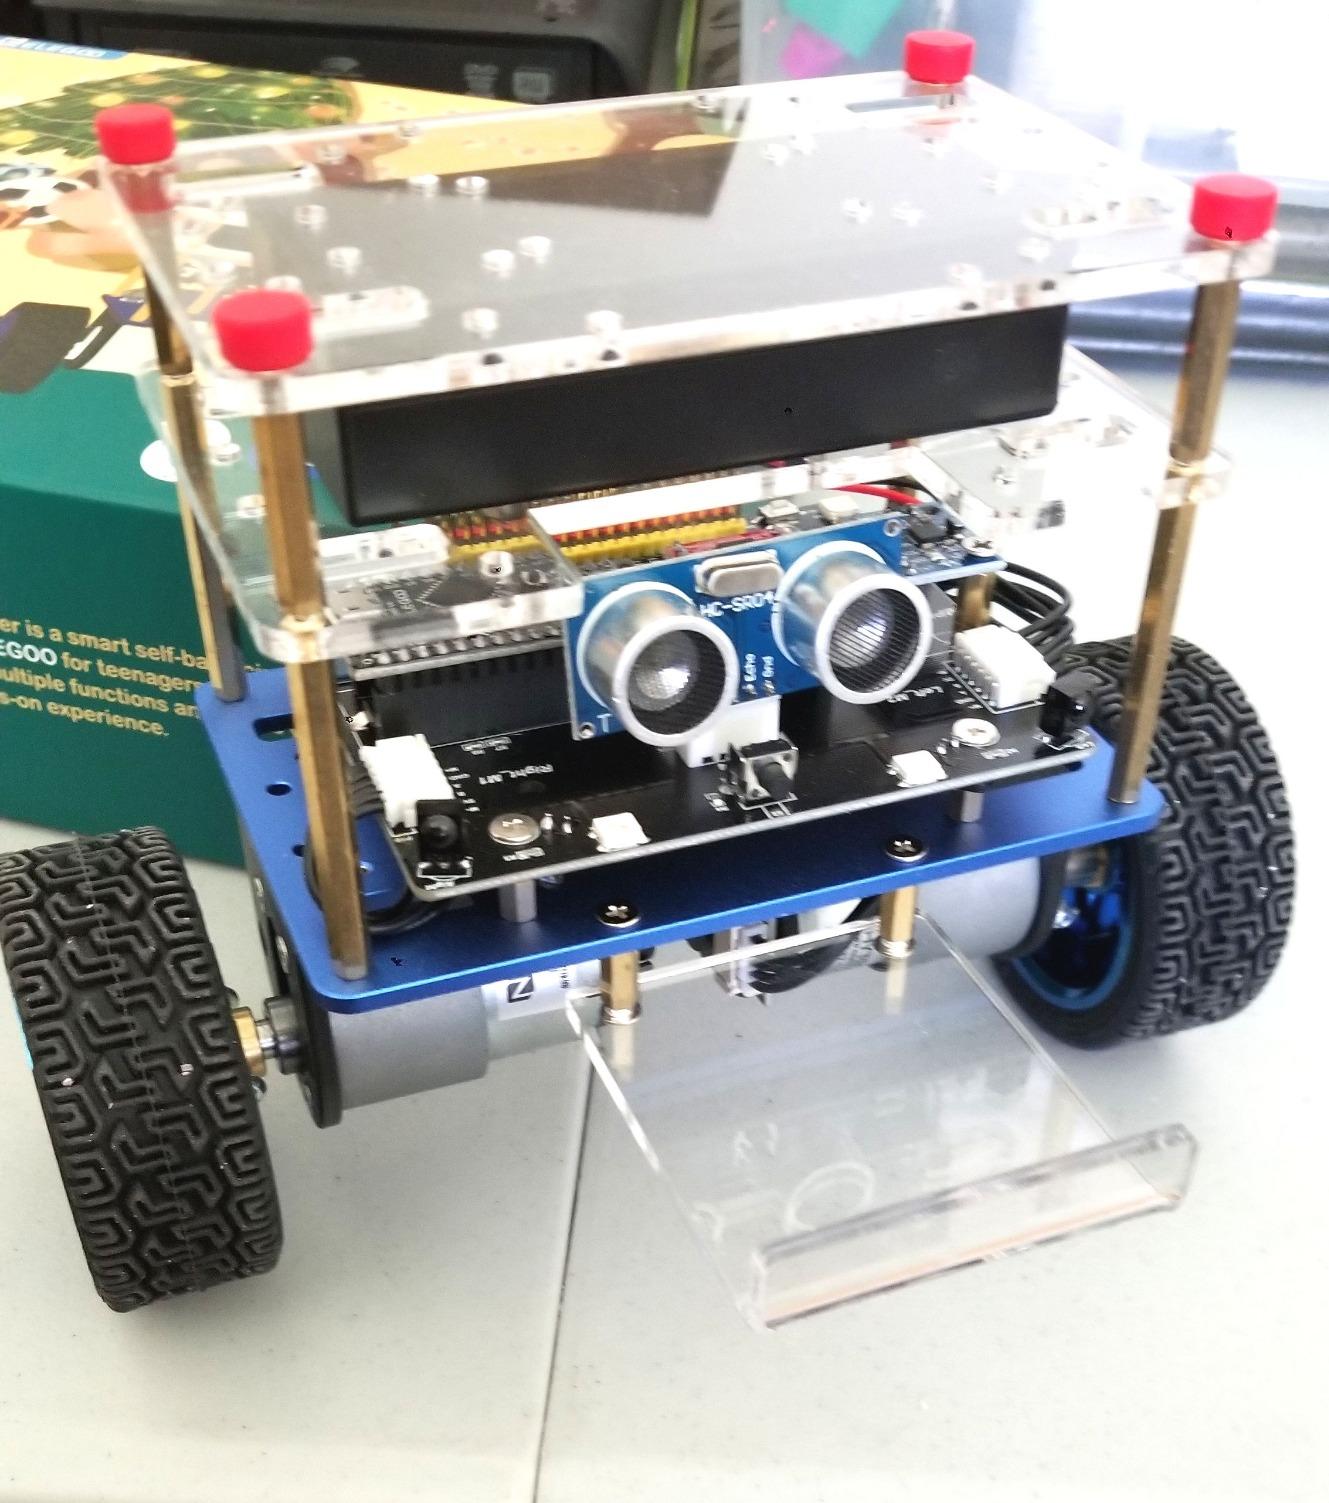
This is the kit where the educational material, not the hardware, is the headline feature. A two-wheel inverted pendulum has to actively correct its own tilt thousands of times a second or it falls over, and the Arduino Nano controller here arrives preloaded with balancing firmware that works for most owners on the first power-up.
What separates it is documentation depth. You get the full Arduino source, design files, sensor theory, and a detailed lesson on the PID balance-control algorithm that explains why the constants are what they are. Very few kits publish the reasoning behind their control loop, and this one treats that as the main event.

The hardware matches the paperwork. Parts are tightly machined with a small supply of spares, assembly is mechanical rather than electrical with no soldering required, and a screwdriver is included. Six play modes are available: IR remote, app control, auto-follow, obstacle avoidance, bounce mode with self-righting recovery, and LED effects, with Bluetooth app control for both iOS and Android. A rechargeable battery is included, which is rarer in this category than it should be.
Knock the robot over and it rights itself using nothing but the same balance loop, which is a better five-second explanation of feedback control than a textbook diagram.
Why the PID lesson is the real product
If you or your learner ever want to build anything that balances, tracks a path smoothly, or holds a temperature, you will meet PID control. This kit walks through it with a machine you can push over and watch correct itself, which converts an abstract formula into something physical. Our advice is to read that section before the assembly, then tune the constants yourself and watch the behaviour shift.
It is also the best bridge from toys to competition robotics, where a balancing element is a scored task and PID tuning is the difference between a robot that wobbles and one that does not.
Where buyers report frustration
Two things stand out. The Arduino source download is hard to find because the vendor’s site is organised around its 3D printer business, so search for the repository before you start rather than after. And the balance loop is good rather than perfect: some examples hunt in circles or veer to one side at speed, which is a tuning issue you can address with the published constants but not always eliminate.
Owners also report sluggish obstacle avoidance and follow modes on some examples, and note that only one free I/O pin remains on the Arduino Nano, which sharply limits expansion. One genuine hardware limitation: the motor encoder phase B is not wired to a pin, so rotation direction cannot be detected without modifying the board. A few examples also arrive with misaligned motor hall-sensor boards, and acrylic parts crack if you drill them. If you plan to modify rather than run, choose a different kit.
5. Adeept 5DOF Robotic Arm Kit – Best Starter Arm
Adeept 5DOF Robotic Arm Kit for Arduino IDE, Programmable DIY Coding Kits
- Good torque and a quick programming setup once assembled
- Component quality including the servos exceeds expectations at this tier
- Spare screws nuts and bolts included
- Support replaces faulty servos and driver boards quickly
- Two control paths teach real automation concepts
- PDF manual omits crucial steps and the photos are often inaccurate
- Requires 18650 batteries and a separate charger that are not supplied
- Arm is fragile and the gripper is weak with a low maximum payload
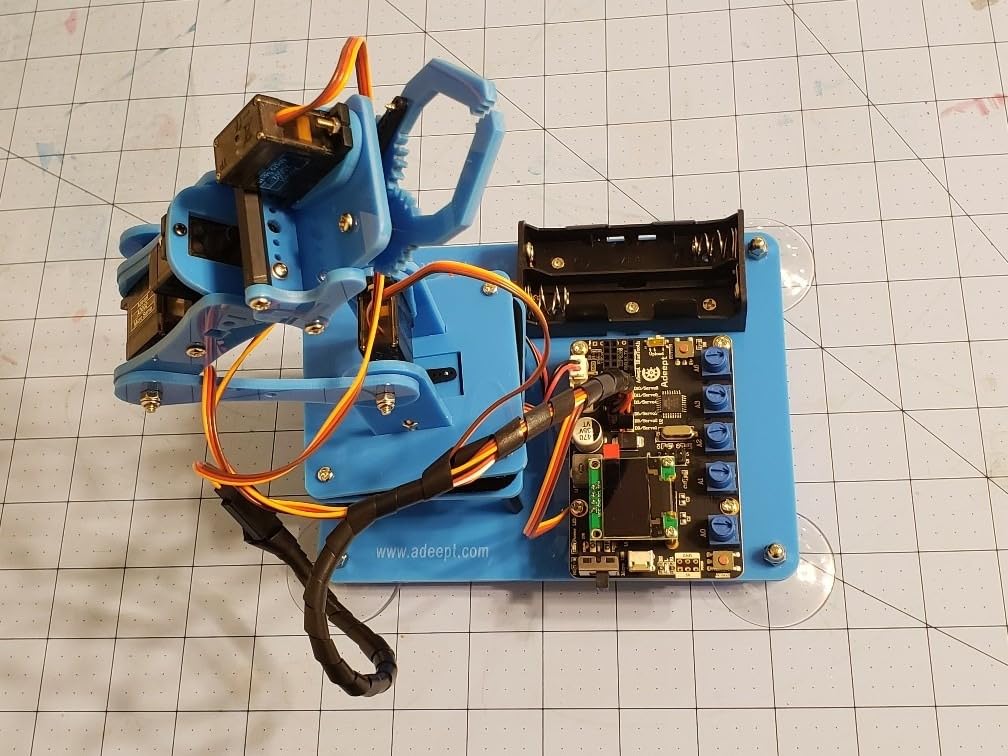
Five degrees of freedom driven by six servo motors on an integrated driver board, with an OLED display on the arm itself. That display makes a real difference when you are adjusting a pose: you can read the joint state without a laptop attached. Manual control runs through on-board potentiometer knobs, and Processing-based PC software gives you the full range of motion over USB. The frame is polycarbonate and the whole unit weighs 0.68 kg, so it is light enough for a desk and sturdy enough for a teenager.
Where this kit pulls ahead of the cheaper arm kits is component quality relative to cost. Buyers consistently rate the servos as better than expected at this tier, and Adeept’s support replaces faulty servos and driver boards quickly, which matters when you have just discovered one of six servos is dead and you have no spare.
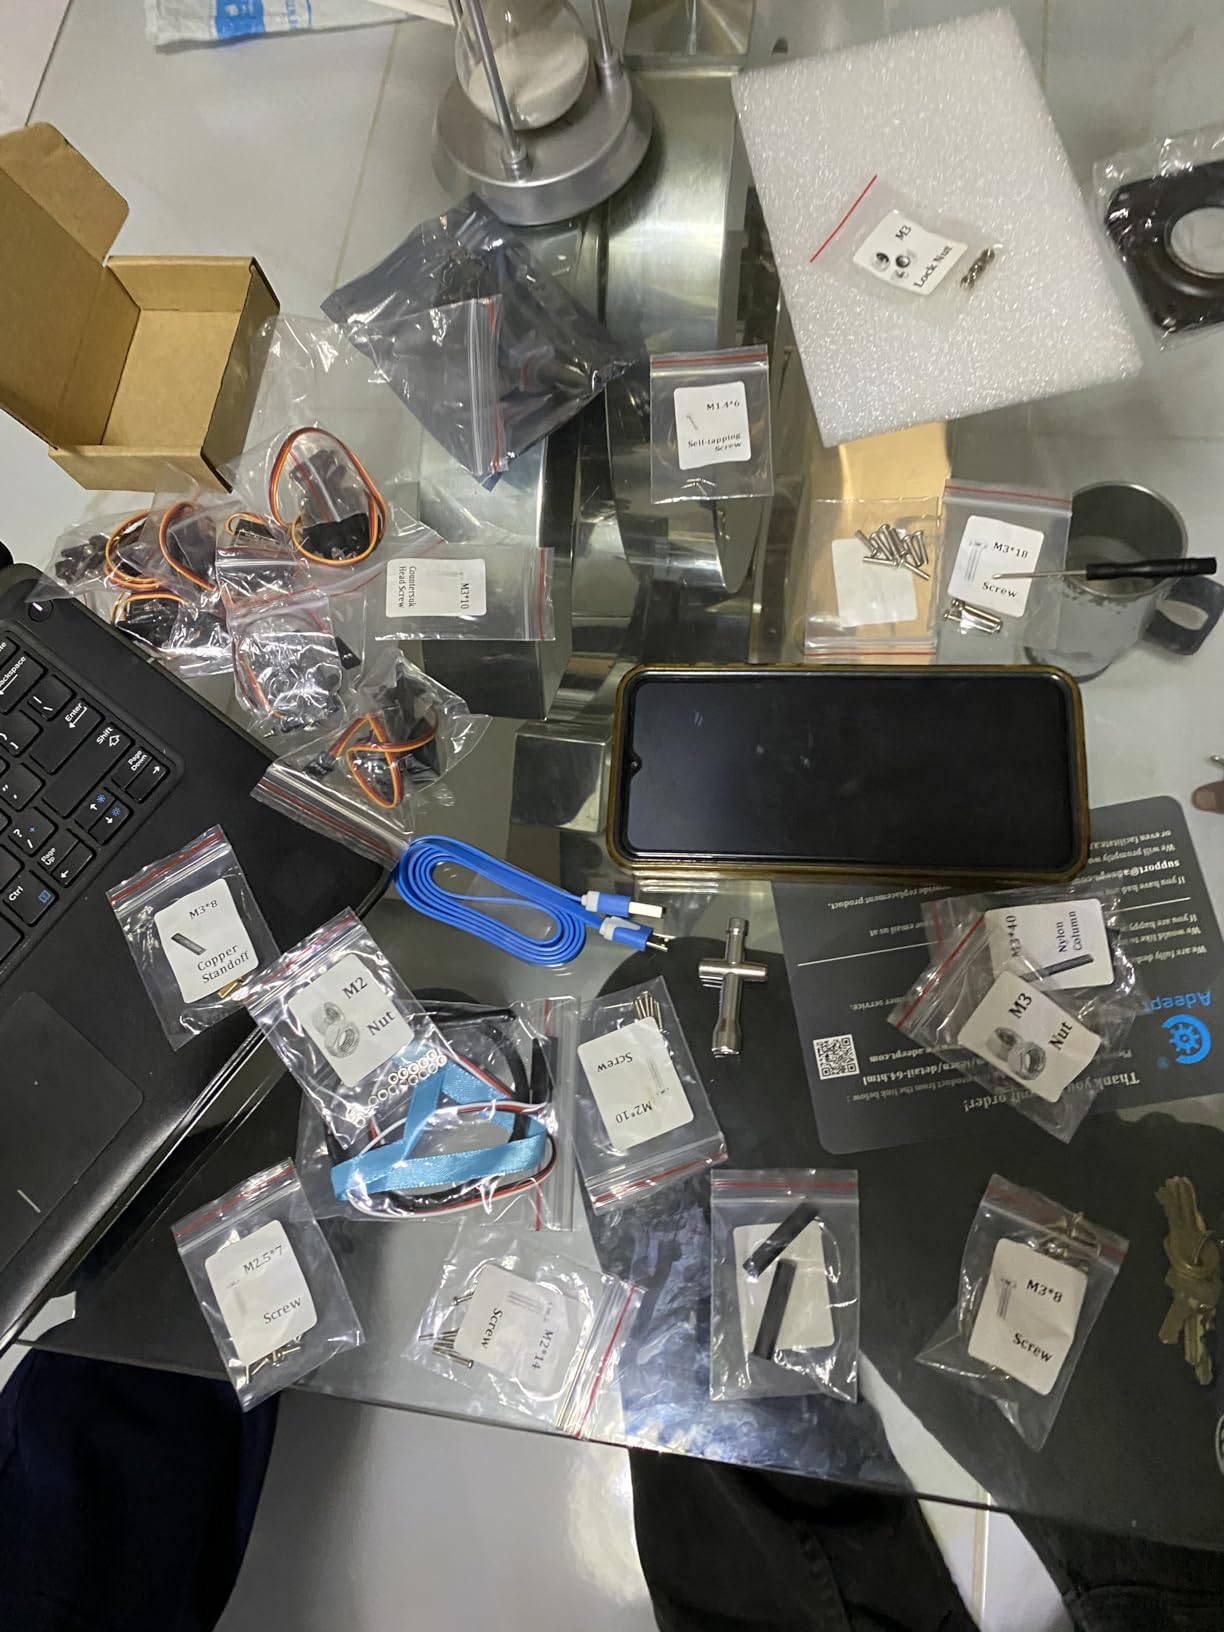
Once assembled, programming is quick. The Arduino IDE is fully supported with example routines covering self-learning, drawing and imitation functions, so you can have the arm trace a shape within an evening. Assembly took our team close to six hours, which matches what buyers report and is longer than the photographs suggest.
Treat it as a desktop demonstration arm rather than a workbench robot, and it performs well. If you need a gift for a mechanically inclined person who is new to programming, the arm format is often the one that lands best.
Whether the arm format beats the car format for learning
A car teaches control loops and sensor feedback. An arm teaches positioning, coordinate mapping and the physical limits of torque, and the mental model is closer to industrial robotics. For a learner who wants to build a pick-and-place machine, a sorter, or anything that repeats a motion, the arm is the faster route because the joints map to real actuators with real constraints.
The 5DOF configuration is a good teaching compromise. Five joints give you a reachable working envelope without the calibration burden of a seven-axis arm, and six servos means one axis is duplicated for stability, which is a detail worth understanding before you add more degrees of freedom.
Where buyers report frustration
Documentation is the weak point, and almost every critical review traces back to it. The PDF manual omits crucial steps and the photographs are often inaccurate, so follow the 3D model diagrams instead. Parts counts and screw sizes in the box sometimes do not match the video or the manual, and missing hardware is reported. Tutorials sit in a .rar archive with a chaotic directory structure, and libraries must be installed manually.
You also need 18650 Li-ion batteries and a separate charger, neither of which is supplied, and the listed capacity of the gripper is low, so the arm is fragile and best not asked to lift anything meaningful. No documentation is provided for the advertised Wi-Fi or Bluetooth expansion capability. The manufacturer recommends age sixteen and up, and we agree.
6. KEYESTUDIO Mini Tank Robotic Kit V2 – Best Documented Kit
- Rubber tracks grip carpet tile and outdoor surfaces far better than wheeled kits
- Excellent wiki documentation with commented code for every sensor
- Four control paths including IR remote app and light following
- Programmable 128-LED face adds a real coding element
- Parts arrive labeled and bagged with consistent build quality
- 18650 batteries are not included and charging is barely explained
- Battery holder is inaccessible once assembled so cells become permanent
- Instructions contain errors around the tracks and the Bluetooth module
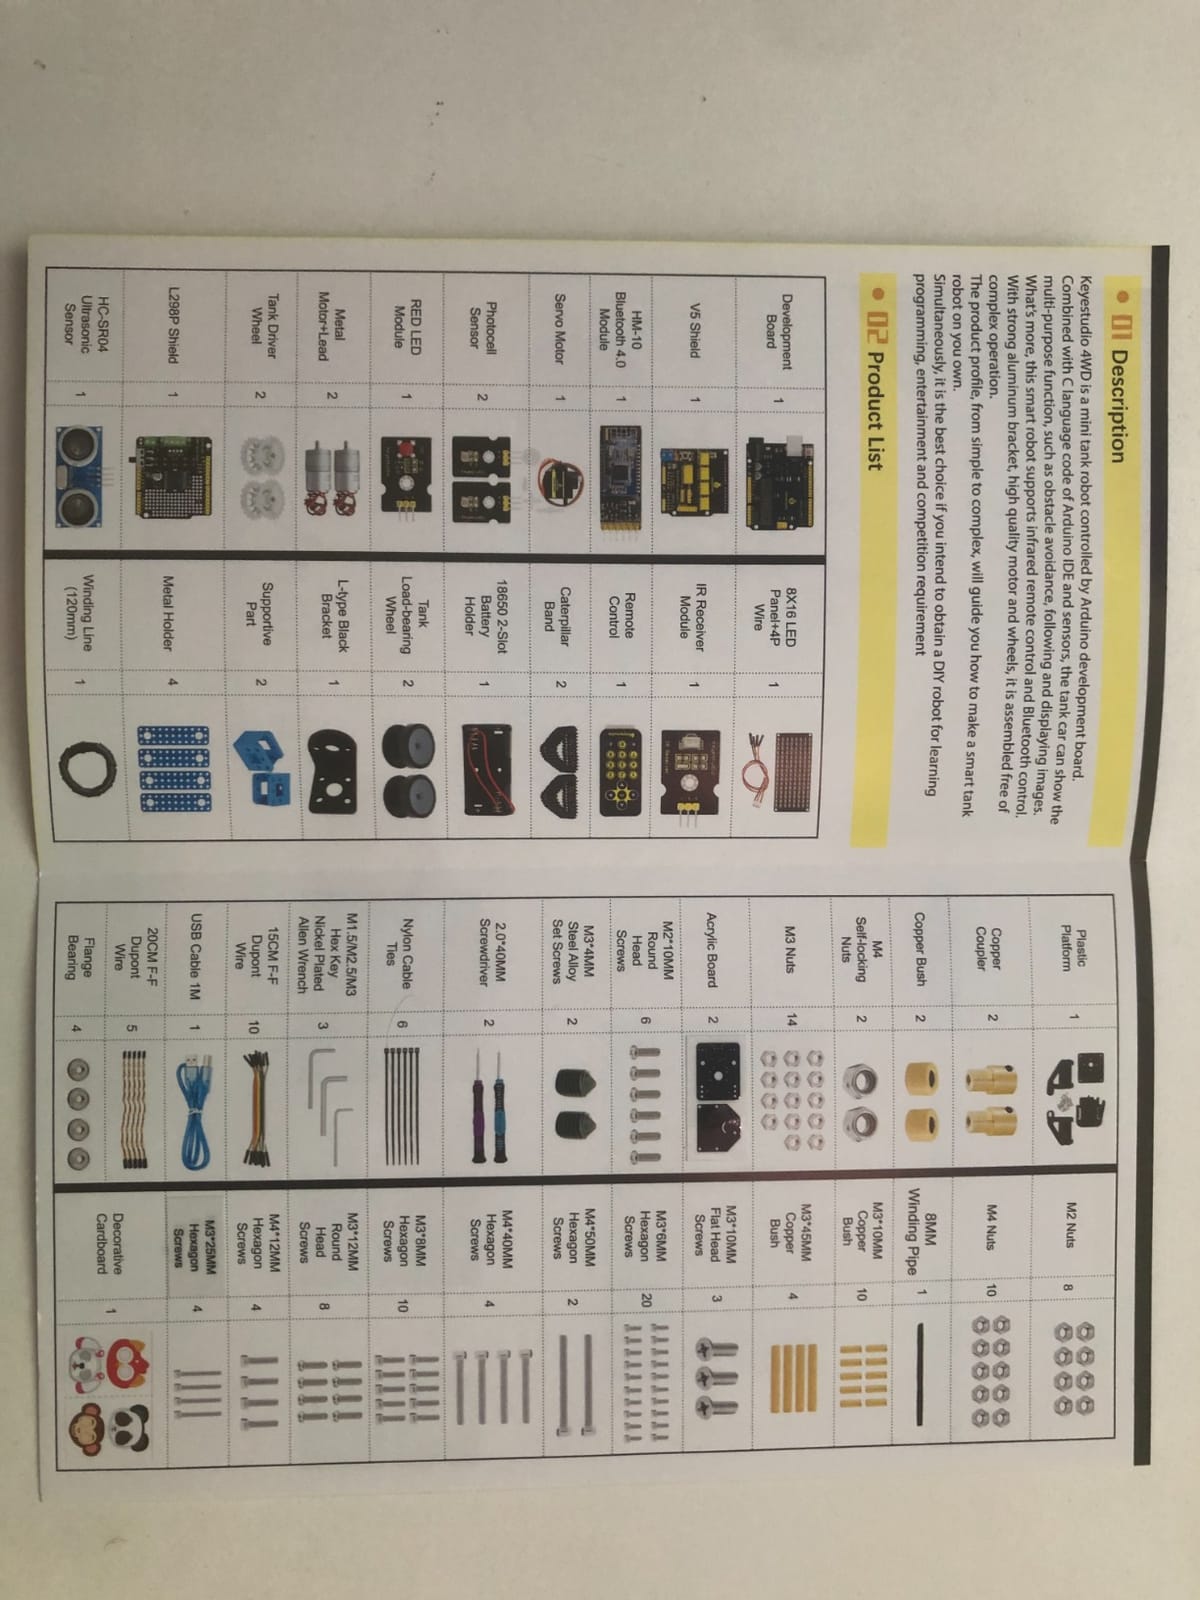
If documentation quality is your top criterion, this is the kit to shortlist. Every model has its own wiki, and each sensor ships with commented example code that you can read line by line before running it. There are 15 structured online projects running from basic LED control up to a fully working robot, which is a real curriculum rather than a single example sketch.
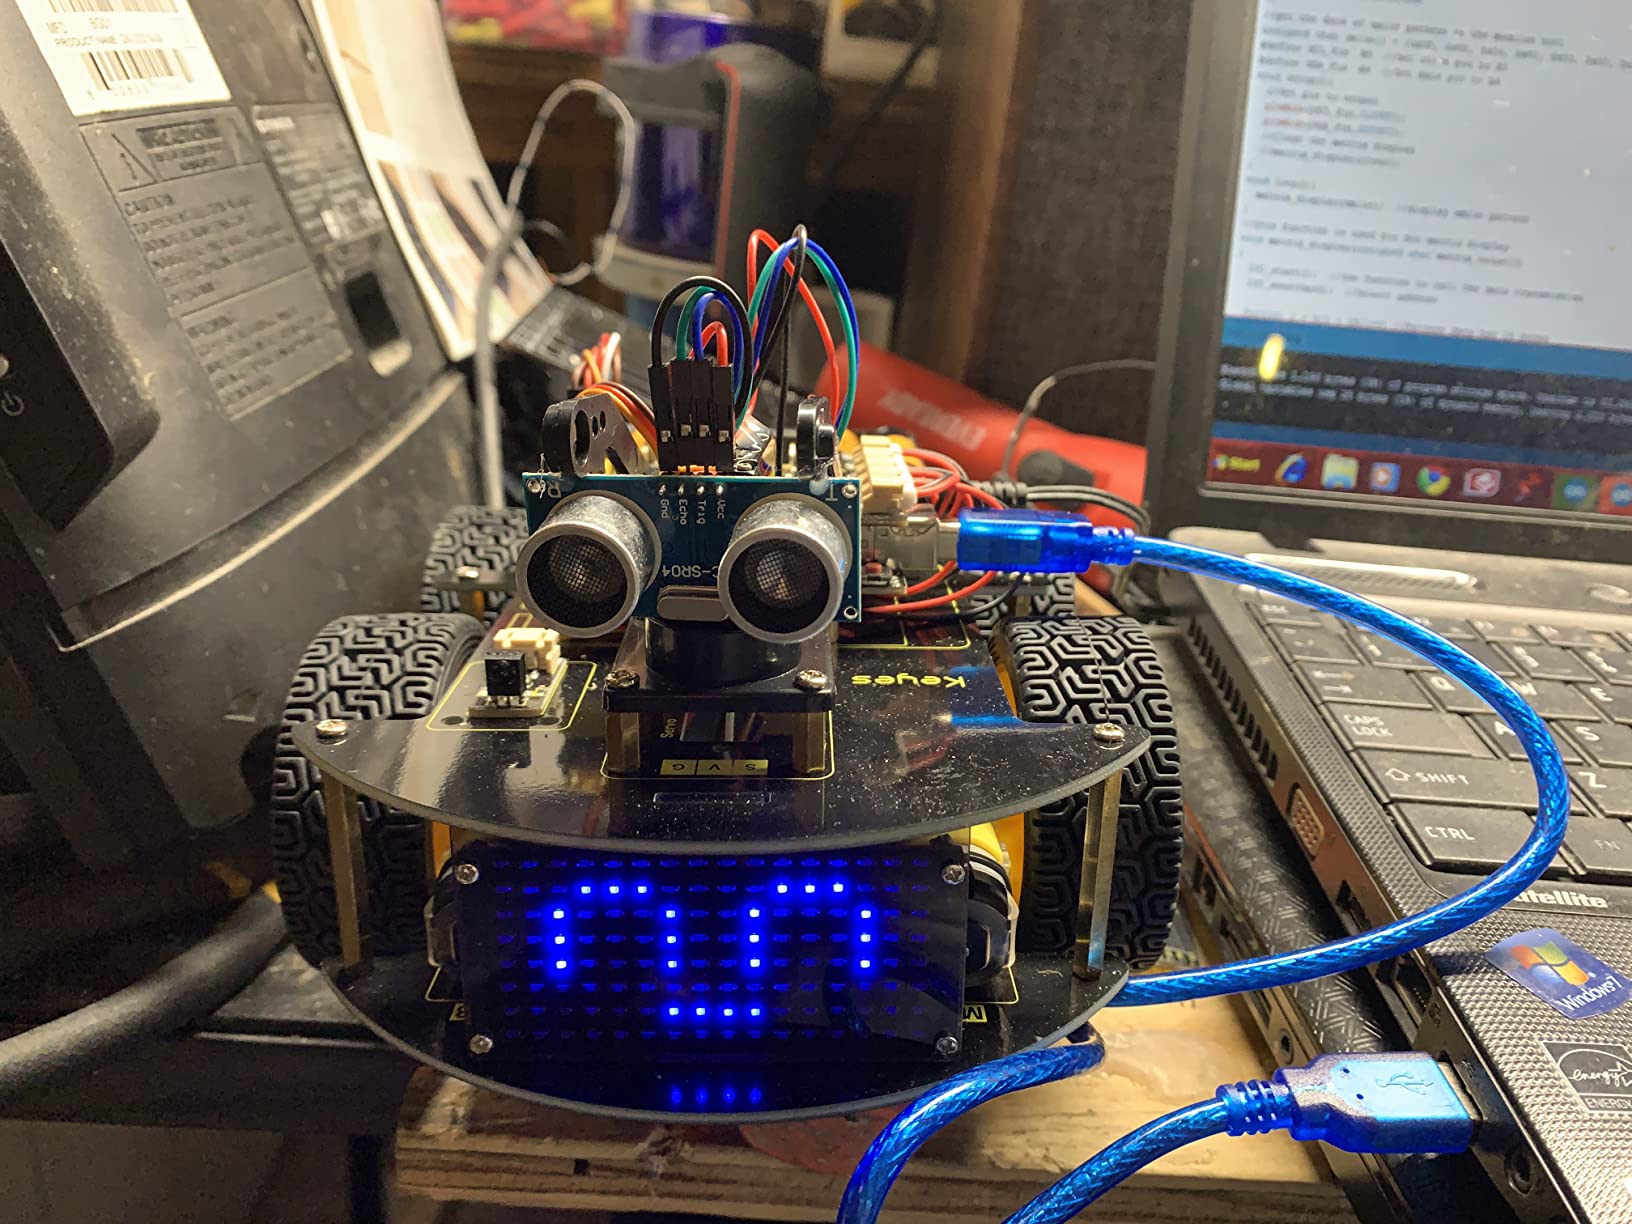
The drivetrain is the practical headline. Rubber tank tracks driven by all-metal motors and gearboxes grip grass, gravel, slopes and carpet, and the unit weighs 1070 g, so it has presence on the floor. The 8×16 dot matrix face has 128 programmable LEDs, which is a creative outlet that keeps children coding when the driving behaviour gets repetitive.
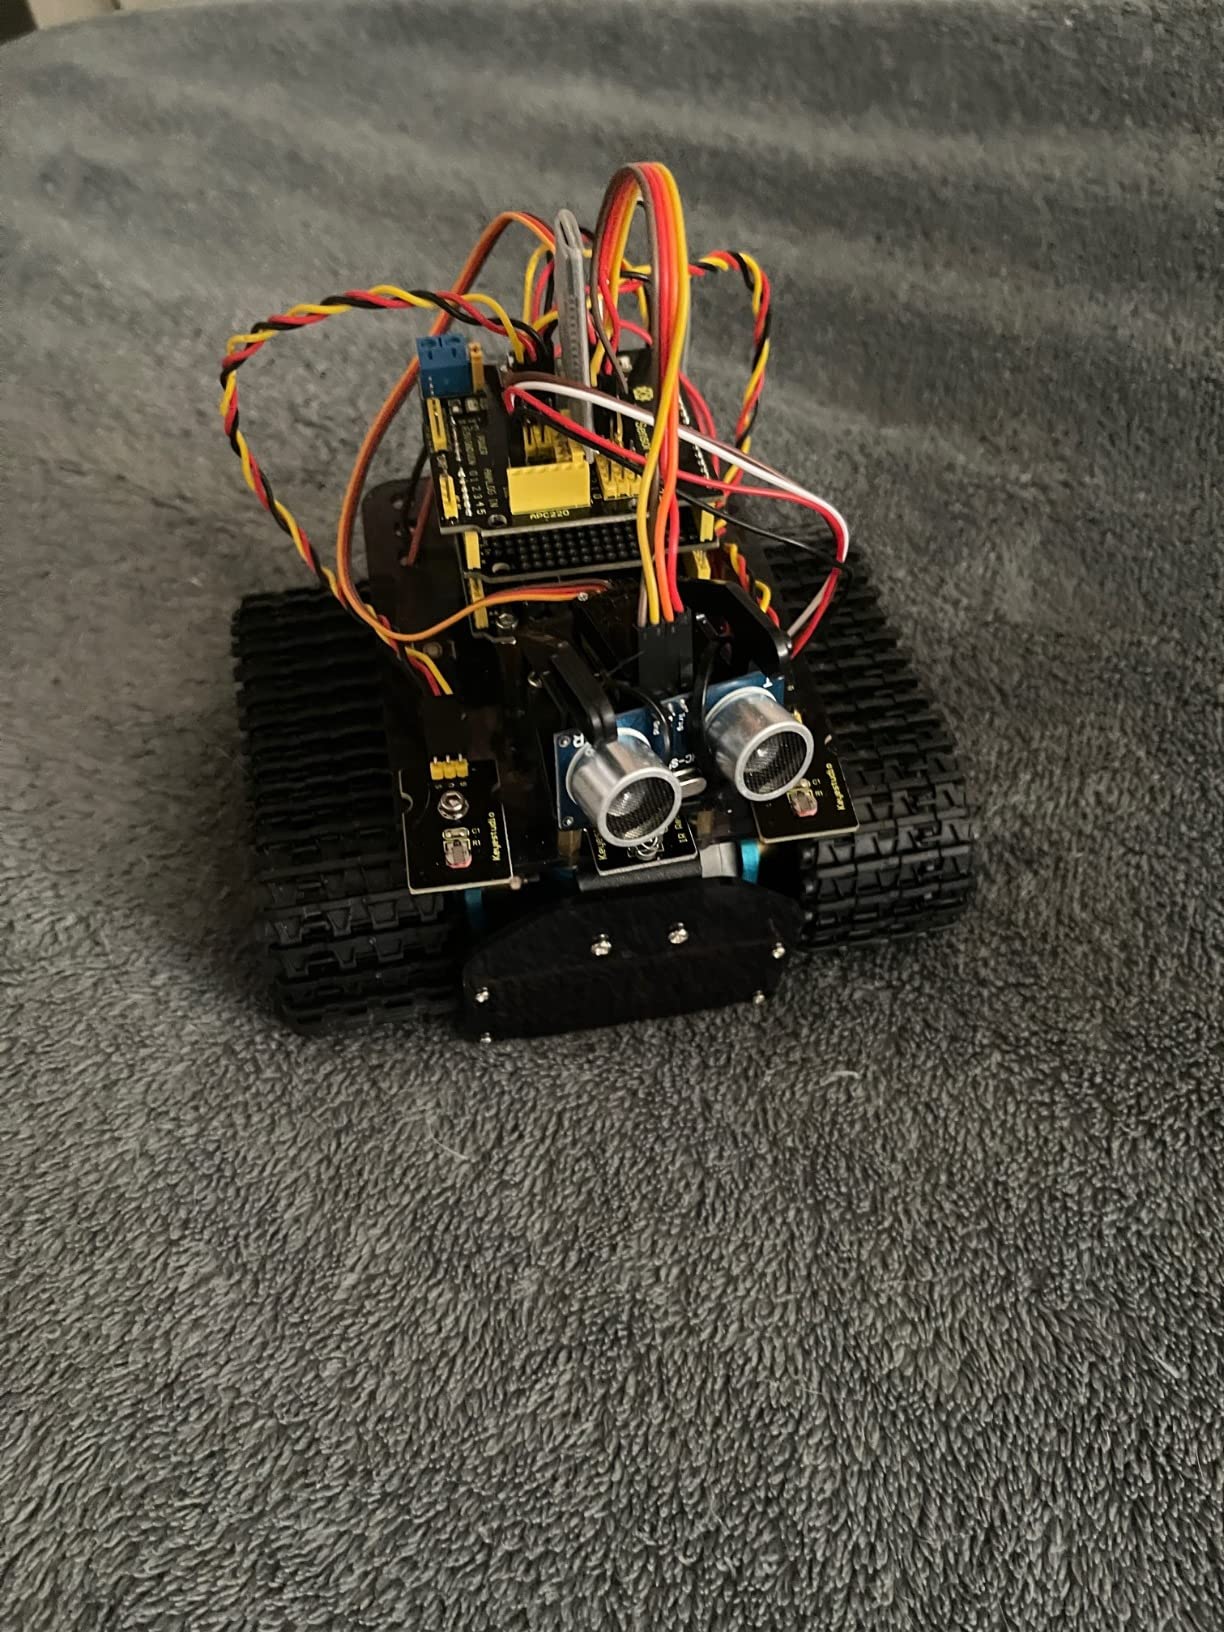
Control runs four ways: IR remote, an HM-10 Bluetooth app, ultrasonic obstacle avoidance and following, and light following. That last mode is unusual and worth trying first, because a robot that hunts a flashlight is a better hook for a first session than one that drives in a straight line. Mixly block programming gives beginners a graphical entry point, and the same projects convert to Arduino IDE when the learner is ready for text.
Assembly is no-solder with labeled parts and HD video alongside illustrated tutorials, and build quality is consistent across the kits we handled. Our build took about five hours, with the track installation the most awkward single step. The manufacturer’s age band starts at youth, and the complexity matches a supervised build rather than an independent one.
Why a documented kit saves more time than a cheap one
When a build stalls, you end up searching. A kit with a well-organised wiki and commented code per sensor turns a lost afternoon into a solved problem, and that difference compounds across every project you attempt afterwards. Reading a working example teaches the library structure, the pin assignments and the timing, all at once.
It also makes the kit expandable. Once you have worked through the 15 projects you already understand the board, and adding a sensor means copying a pattern you have seen rather than starting from a blank page.
Where buyers report frustration
Batteries dominate the complaints. The two 18650 cells and a charger are not included, the instructions say very little about charging or handling them, and the battery holder is inaccessible once the tank is assembled, so the cells become effectively permanent and you need a way to charge them outside the chassis. Our advice is to buy a charger with a protected bay before the kit arrives.
The instructions also contain real errors, including an upside-down servo horn image and a misdrawn Bluetooth module orientation, and track installation is poorly explained. The Bluetooth module must be unplugged before you upload code, which trips up a lot of first-time users. A final note: the mobile app was built against a very old Android version and may not install or connect on current devices, so plan on using the IR remote or a wired upload. A wrench or nut driver is not included, which makes the small nuts hard to tighten.
7. KEYESTUDIO Smart Robot Car Kit V2.0 – Best for Guided Lessons
- PH2.0 anti-reverse connectors reduce wiring mistakes
- Structured 15-project curriculum builds skills progressively
- Mixly to Arduino progression bridges graphical and text coding cleanly
- Five intelligent modes plus IR and BLE app control
- Detailed official wiki
- Arrives with no pre-burned firmware so the kit is unusable until you upload code
- Batteries are not included
- Listed weight and dimensions appear to describe a small part rather than the assembled kit
This is the only kit on this list that arrives unprogrammed by design, and that choice is either a dealbreaker or a feature depending on what you want. There is no pre-burned firmware, so the car will not move until you upload code yourself. For a learner, that is the entire point. For a parent expecting a working toy on Christmas morning, it is a disappointment.
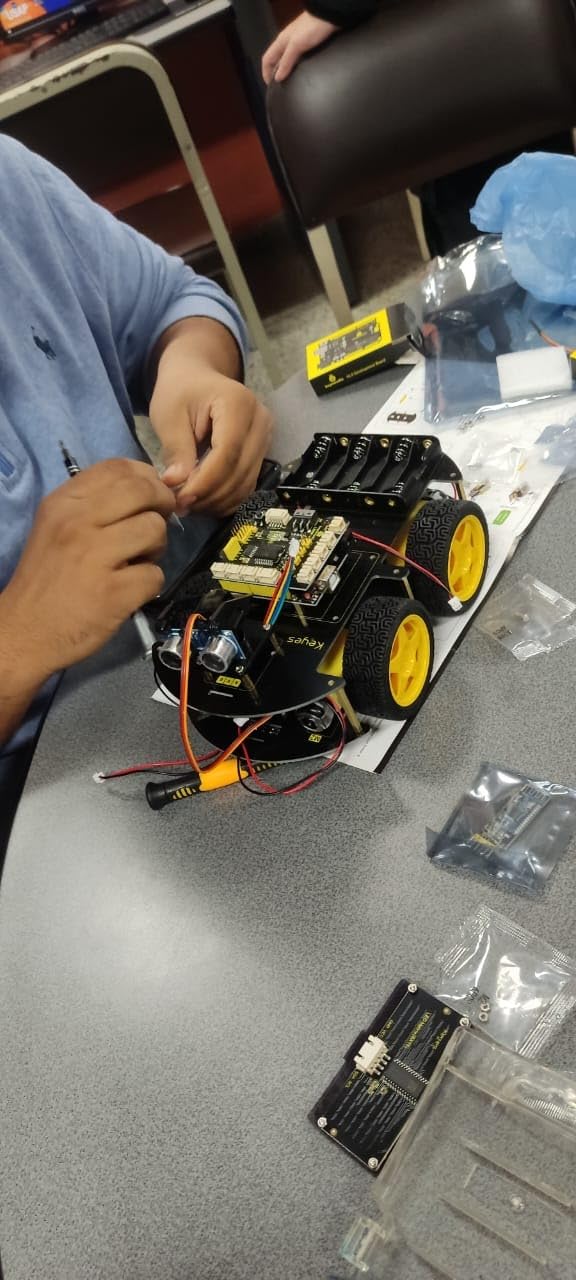
What you get for that trade is structure. The official wiki lays out 15 progressive projects, and PH2.0 anti-reverse connectors sit on every module, so a module physically cannot be plugged in backwards. In our testing that single detail removed an entire category of beginner error that jumper-wire kits produce constantly.
The 4WD chassis runs an Uno R3 compatible controller with line tracking, obstacle avoidance and auto-follow modes, plus IR remote and BLE smartphone app control for iOS and Android. Dual programming through Mixly graphical blocks and Arduino C++ means a child can start by dragging blocks and graduate to writing sketches without changing hardware. That progression is the core of the kit.
Batteries are not included, and the listed weight and dimensions appear to describe a small component rather than the assembled kit, so do not plan a physics exercise around the specification sheet. The recommended age on the listing is inconsistent, so treat the wiring-and-code difficulty as the real age guide and expect to supervise a first session.
Whether a no-code-shipping kit is right for you
Ask one question: is the goal a robot that works, or a learner who can program? If it is the first, choose the ELEGOO Smart Robot Car Kit V4 at the top of this list, which arrives with firmware loaded. If it is the second, the progressive project structure here suits a teaching approach better than most car kits, because the learner owns the first successful upload rather than inheriting one.
There is a middle path worth naming. Work through the first few wiki projects on a desktop with the chassis disassembled, then assemble the car for project ten or later. That gets the teaching value without the frustration of a car that sits still on the table.
Where buyers report frustration
Buyers generally treat this as a curriculum kit rather than a plug-and-play toy, and the complaint that comes up most is simply the surprise. People expecting a ready-to-drive car do not read the listing carefully enough, so check that the firmware is not preloaded before you order. Batteries must be sourced separately as well.
Everything else is minor. The connector system and the Mixly to Arduino path both draw consistent praise, and the documentation is thorough. If your learner will not tolerate a robot that does nothing on the first afternoon, skip this one and come back to it once they have finished a project that arrives working.
8. LewanSoul Hiwonder xArm1S 6DOF Robotic Arm – Best Precision Arm
- Solid anodized aluminum construction with good fit
- Serial bus servos give absolute positioning with no drift
- Control via PC app mouse and wireless controller
- Reliably grasps and transports small objects
- Action group editor is easy to learn
- Fast manufacturer support
- Documentation is thin and the parts list often does not match the kit
- No printed instructions and the online PDF may be for an earlier revision
- Motion becomes jerky when the arm reaches full extension
This is the premium arm in the roundup and it is built around serial bus servos with position, voltage and temperature feedback. That feedback loop is the technical story: because the servos report their own state back to the controller, the arm holds an absolute position without drift, so a programmed motion repeats precisely rather than approximately.
Construction matches the servo spec. Anodized aluminum alloy brackets, industrial-grade bearings and high-torque base servos across six axes give a rated grip of up to 500 g, and the whole unit weighs 1.1 kg in a 6.1 x 5.5 x 9.68 inch desktop footprint. Buyers consistently rate the hardware highly and describe the fit and finish as good.

Control is where it separates from cheaper arms. You can drive it from PC software, a phone app, a mouse, the included PS2 wireless controller and the onboard board, then use the action editing tools to store motion routines and replay them. That combination lets you record a pick-and-place sequence once and repeat it indefinitely, which is the capability on this list that helps a learner heading toward automation most directly.
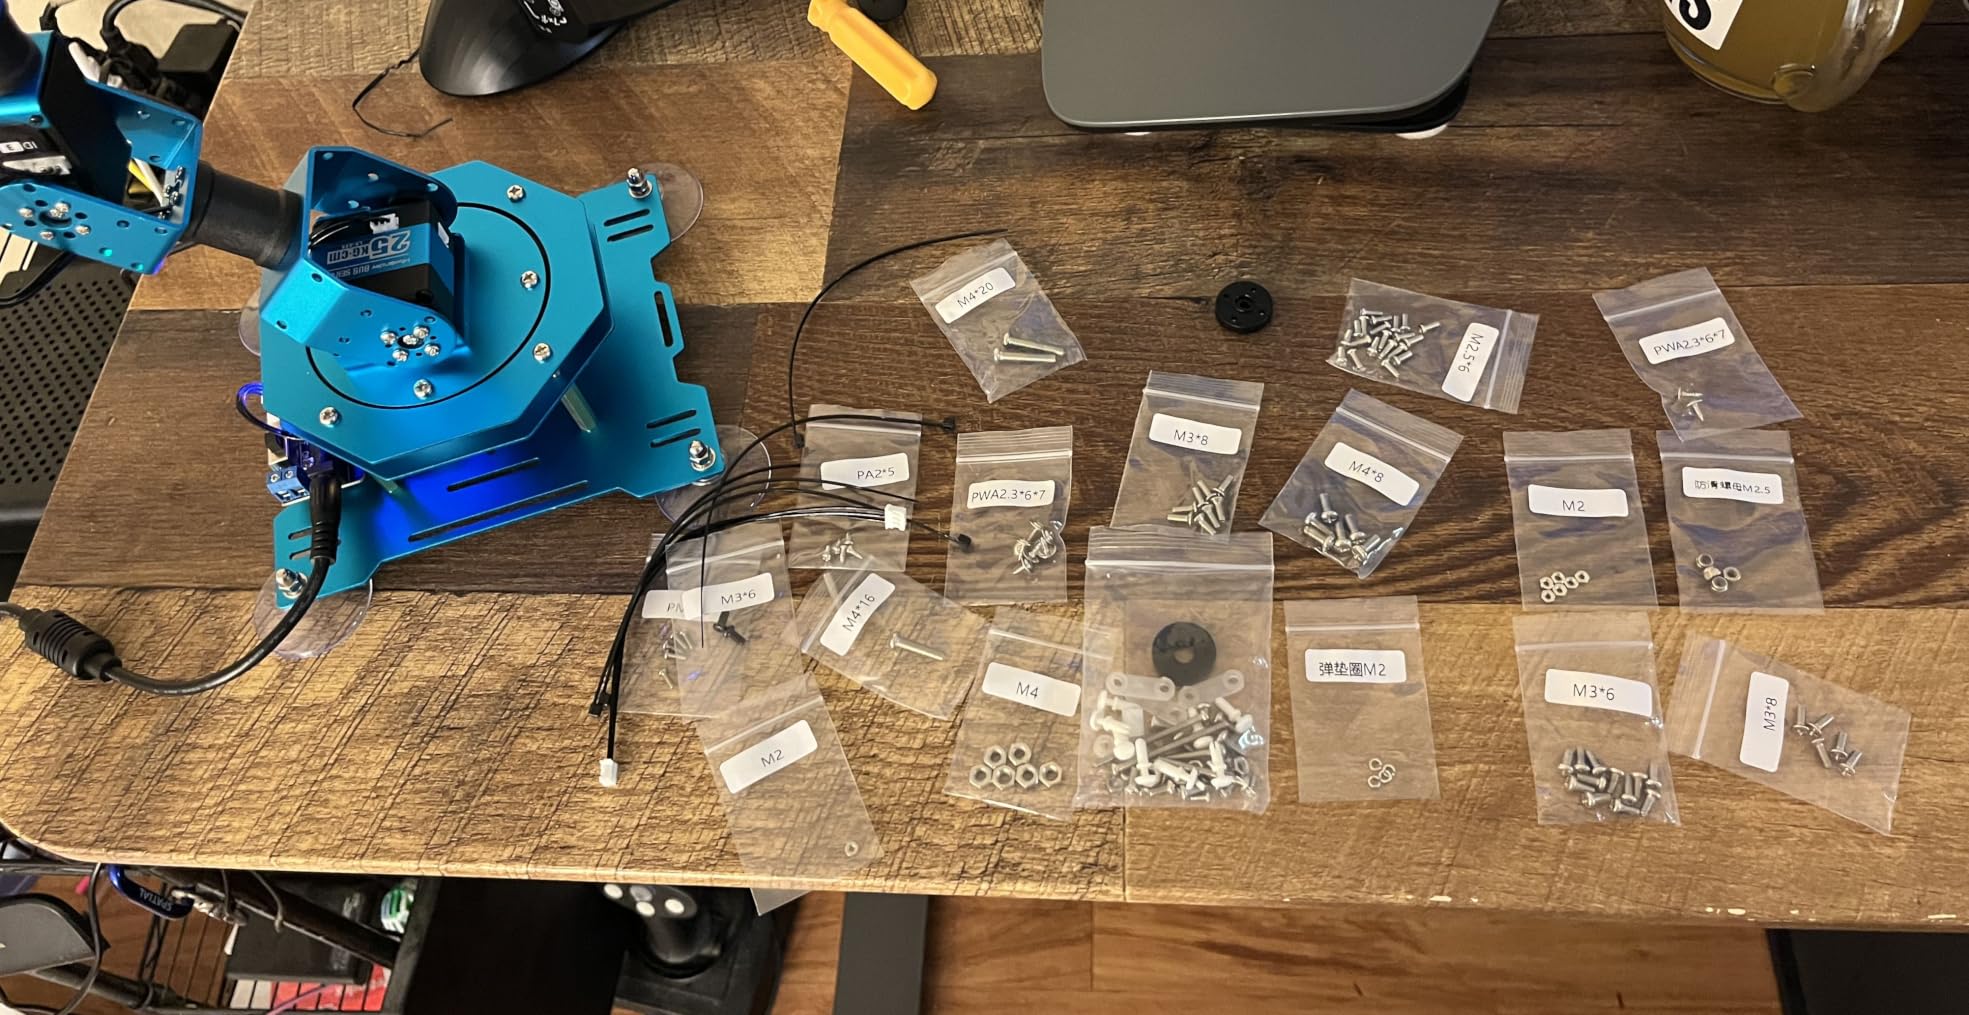
Arduino secondary development is supported through the serial interface, so this is not a closed toy. Expect a longer assembly than the metal appearance suggests. Sorting more than 100 screws in at least 10 sizes is a mandatory first step, and the included screwdriver is too large for the servo screws, so get a precision driver before you start.
When a 500 g grip and bus servos earn their cost
Standard hobby servos report nothing back. You tell a joint to move to 90 degrees and it goes somewhere near 90 degrees, differently under load, differently as the battery drains. Bus servos close that loop, which is why this arm repeats a programmed path the same way twice. If your project depends on repeatable motion, that is the deciding factor.
The 500 g rating is the honest limit. This arm picks up a small object reliably and hand-places it, which covers pick-and-place demonstrations, sorting exercises and tabletop automation teaching. It will not lift a mug, and reviewing builders note that motion becomes jerky at full extension because the servos are heavy for the structure.
Where buyers report frustration
Documentation is the problem, and it is severe enough to plan around. Printed instructions have poor image quality, the parts list often does not match the kit, some examples arrive with screw holes that do not align cleanly, and one reviewer received no instructions at all with an online PDF for an earlier revision. Servo positions are not labelled in the assembly steps even though installing a servo in the wrong joint is critical.
Two more practical points. The control apps require an Apple Silicon Mac, which is disclosed nowhere in the listing, so verify that before ordering. And the gripper can jam if a servo is tightened hard against bare metal, so set the screws with care. Buyers who sort the screws first, watch the full build video and accept the documentation gaps rate it highly; those who rely on the box alone tend to struggle.
9. ACEBOTT Smart Robot Car Kit – Best for Omnidirectional Wheels
- Mecanum wheels give unusual sideways and diagonal movement
- ESP32 controller makes programming comparatively approachable
- 16 structured tutorials build skills progressively
- Expansion packs cover camera arm tank and solar
- IR remote and app control both supported
- Batteries are not included and must be sourced separately
- Mecanum wheels cost more and wear faster than standard wheels
- All-direction drive is less efficient on some surfaces
Every other car kit on this list drives forward and turns. This one has 6 cm mecanum wheels, so the chassis moves sideways, diagonally, spins on the spot and can drift. It is a different machine, and the unusual movement is the first thing anyone who sees it running reacts to. That reaction matters when you are trying to hold a child’s attention through a first build.
The controller is an ESP32, not an Uno, and that choice simplifies programming. The board has more processing headroom and built-in wireless, so the tutorials and the app control are less demanding than a comparable Uno kit. Sixteen story-rich tutorials cover programming and electronics fundamentals in sequence rather than dumping everything at once.
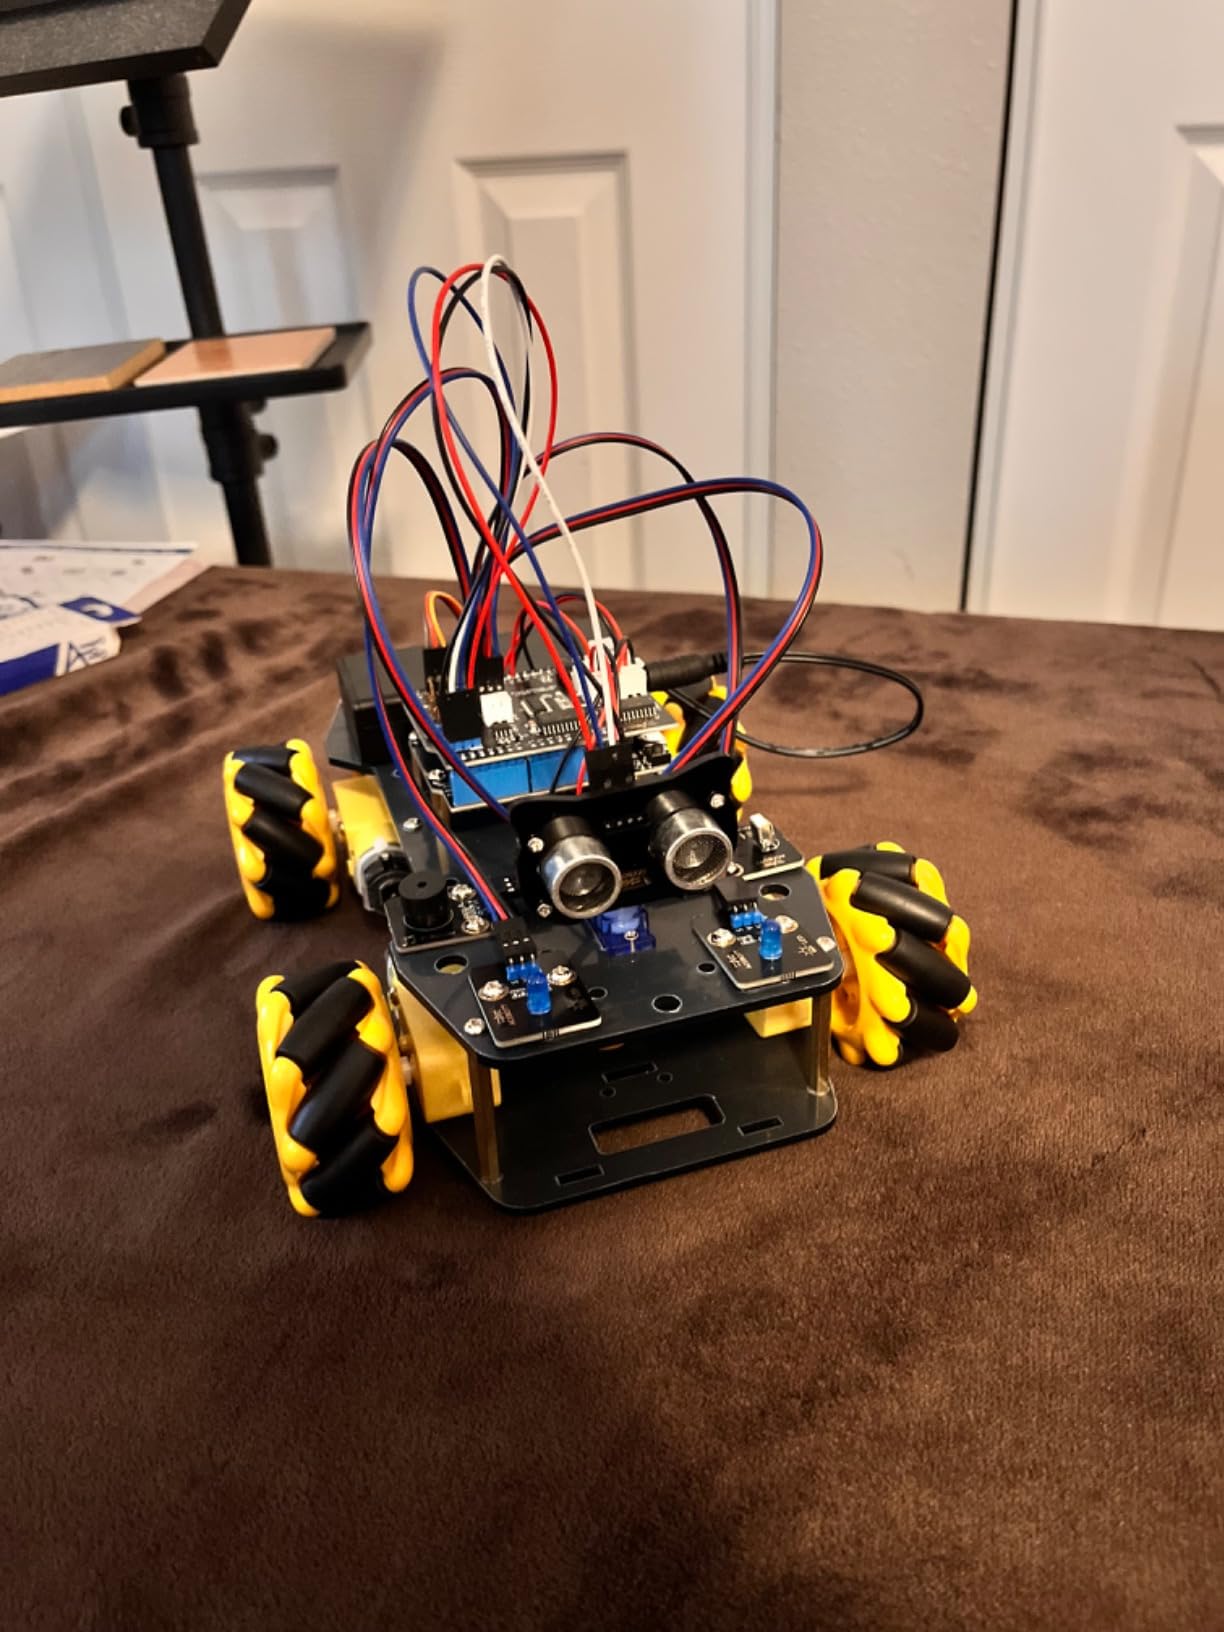
Multi-way cruise, multi-direction obstacle avoidance and follow mode are all supported, along with IR remote and smartphone app control. The base platform is 6.7 x 8.9 x 2 inches, so it is flatter and more manageable than the tracked kits, and the manufacturer recommends ages twelve and up. Review feedback is thinner here than on the other picks, with a smaller number of owners reporting, and the recurring positives centre on the drivetrain and the expansion options.
Expansion packs for a camera, a robotic arm, tank treads and solar power mean the same base can become a different robot entirely. That directly answers the complaint we heard most about single-purpose kits, where a learner outgrows the one designed behaviour and the chassis becomes a paperweight. Each pack bolts onto the same 6.7 x 8.9 inch frame.
What mecanum drive teaches about wheel mechanics
Standard wheels only produce force along their rolling axis. Mecanum wheels use angled rollers so each wheel can push along two axes at once, and the combination resolves into motion in any direction. Working out how four angled contact points resolve into a sideways push is a good lesson in how vector forces combine, and you can do it on paper and then verify it on the floor.
It also changes the programming problem. You are no longer writing “turn left and go”, you are writing motion in x and y coordinates, which is closer to how a real mobile robot is programmed and a natural stepping stone to later projects.
Where buyers report frustration
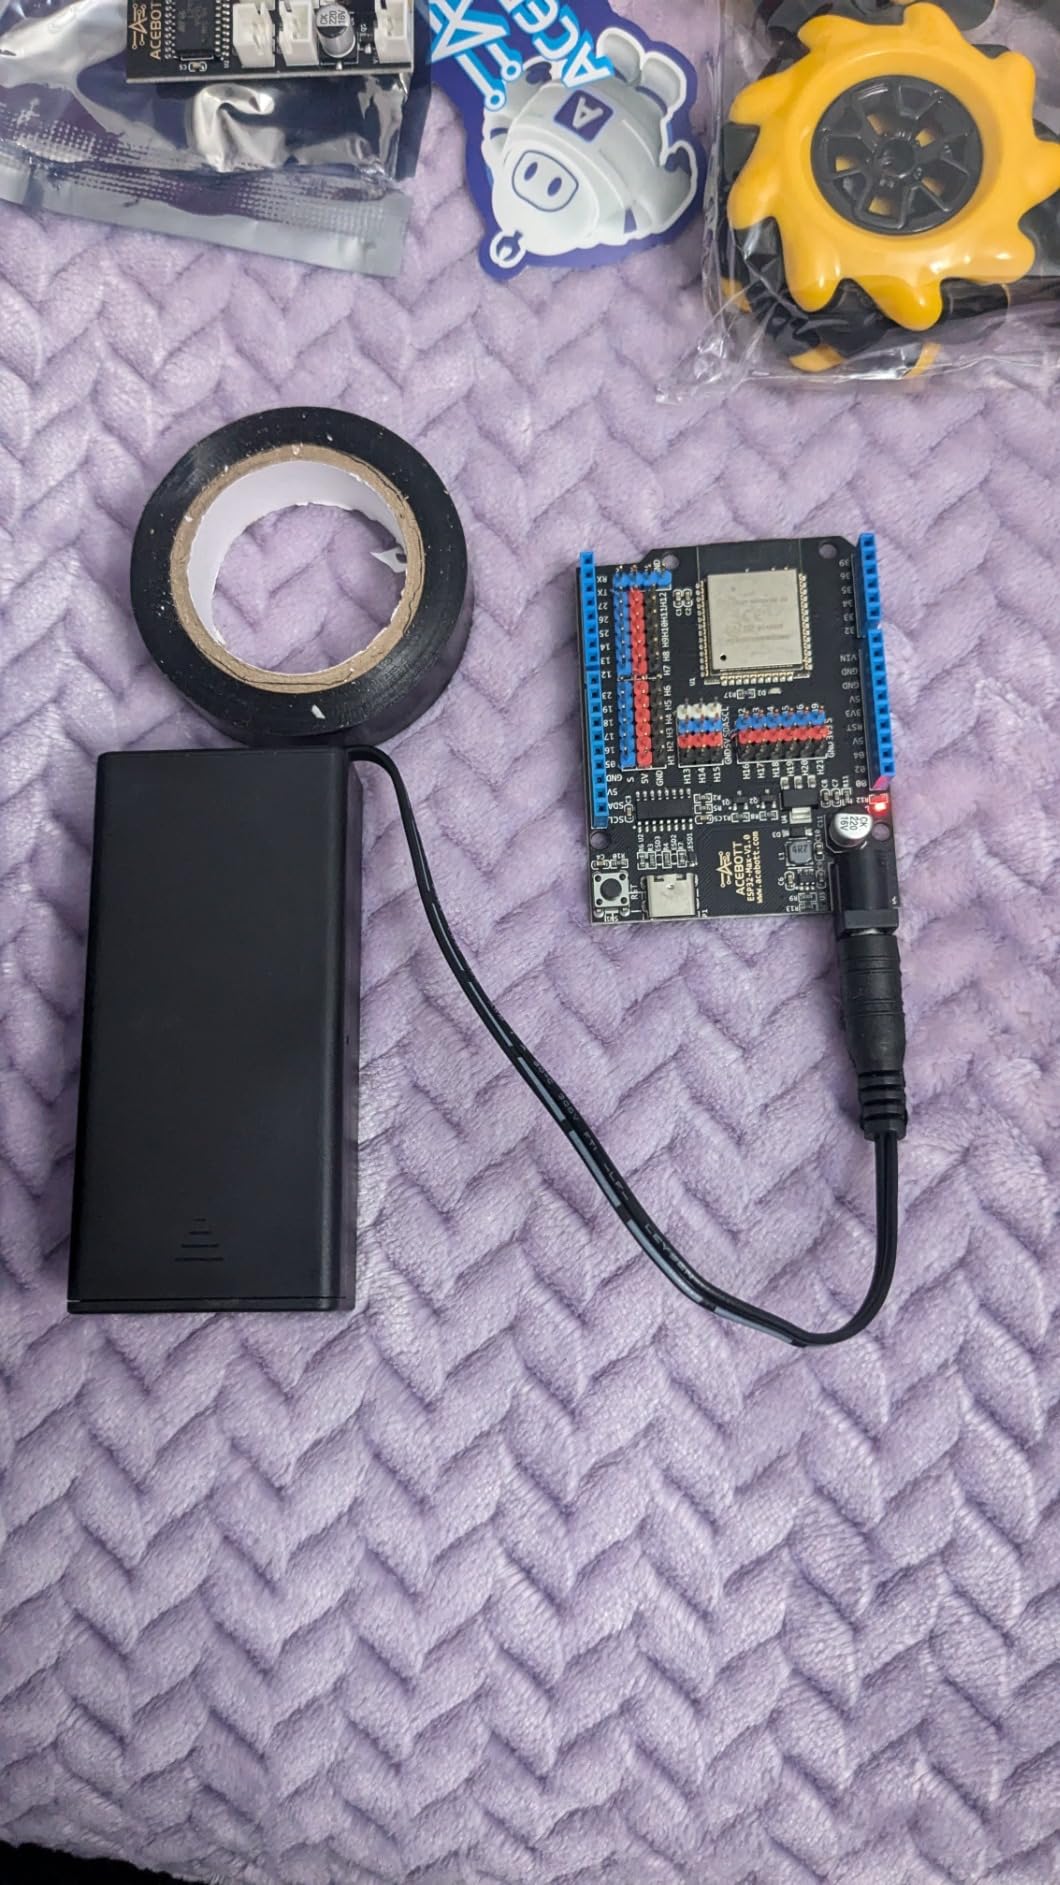
Batteries are not included, which is the consistent practical note, and you need a pair of cells plus a charger before the first session. Beyond that, the tradeoff is the drivetrain itself: mecanum wheels cost more and wear faster than conventional wheels, and all-direction drive is less efficient on some surfaces. On smooth indoor flooring they perform well; on loose carpet you will feel the extra resistance and the added cost of replacing worn wheels.
One more consideration for long-term builders. Because the controller is an ESP32 rather than an Uno, code written here does not transfer directly to an Uno, so if your longer plan is a fleet of standard Arduino robots, choose one of the Uno-based kits instead. If the plan is wireless projects and unusual mechanisms, the ESP32 is the better foundation.
10. OSOYOO IoT Smart Robot Car Kit – Best for Classrooms
- Every module wires directly to named Arduino pins so the code-to-hardware mapping is visible
- Model X motor driver removes messy wiring and speeds up assembly
- Wi-Fi Bluetooth and IR control in one kit
- Battery and charger bundled unlike most kits in this class
- Two kits can be combined into battle bot style projects
- Component labels and pin references are not always obvious so beginners may still need the tutorial videos
- Documentation is hosted online rather than printed which requires a device during the build
This is the kit to buy when a teacher has to justify the purchase. A lithium-ion battery and a charger are bundled, which removes the recurring classroom complaint about kits arriving dead, and its defining design choice is that every module wires directly to named Arduino pins instead of plugging into a complex extension shield. You can hold up a jumper and point at a pin in the code, which is how electronics teaching is supposed to work.
The Model X motor drive board is an improved L298N module that simplifies the motor wiring considerably. The bundle also includes a Uart WiFi Shield V1.3, an HC Bluetooth module, a line tracking module, an ultrasonic sensor, a micro servo, an IR receiver and remote. Four modes are preloaded: auto-go, line tracking, obstacle avoidance and object following, and an Android and iOS app supports imitation driving and gravity-sensing control.
Two of these kits can be combined into battle-bot style projects, which is the classroom use we like most. A head-to-head match gives a lesson an outcome, and it forces both teams to solve the same problems under time pressure. Reviews focus on educational value rather than play value, which is exactly the right register for a school purchase.
Assembly still takes patience, and the honest constraint is age. The listing targets fourteen and up, and the direct-to-pin wiring only pays off if the person holding the wire already has a rough idea what a pin does. As the reviews note, labels are not always obvious and you will want the tutorial videos open alongside the PDF.
Why the direct-to-pin layout matters for teaching
Extension shields are convenient and they hide the thing you are trying to teach. When a module disappears behind a board, a beginner cannot connect what the code does to what the hardware is, and the lesson collapses into copying. Wiring to named pins keeps the mapping visible on the bench, which is why this layout earns the extra assembly care in a classroom rather than at home.
It also means the same wiring knowledge transfers to a bare Uno with no shield at all. For a student who later builds something from scratch, that continuity is more valuable than a faster assembly.
Where buyers report frustration
Two limitations, both manageable with preparation. The component labels and pin references are not always obvious, so beginners may still need the tutorial videos alongside the written guide, and the documentation is hosted online rather than printed, which means a device has to be within reach during the build. Neither is a hardware fault.
There is also a version choice to make carefully. The product comes in a configuration without a battery and one with a battery included, and classroom buying should specify the version with the battery and charger, since that is the one with everything a student needs on the first day. If you are buying for a single learner at home, the two kits that ship with a battery are the ELEGOO Smart Robot Car Kit V4 and the ELEGOO Conqueror Tank, both of which we covered earlier.
How to Choose an Arduino Robotics Kit Without Regretting It
The most common mistake is buying a starter kit when you wanted a robot. A general Arduino starter set contains a board, a breadboard, jumper wires, LEDs, resistors and a few sensors. It is a superb electronics course and it will not move under its own power, because there are no motors, no motor driver and no chassis in the box. If a listing shows a breadboard and a bag of resistors, it is a starter kit regardless of the word robotics on the page.
A genuine Arduino robotics kit contains a microcontroller, a motor driver, geared DC motors, a chassis, at least one distance sensor, line tracking or object detection, a battery system and wiring. Our [Arduino starter kit picks for teens](https://www.peggyomara.com/best-arduino-starter-kits-for-teens/) cover the other half of that decision, and the two categories are worth having in sequence rather than instead of each other.
The minimum useful feature set for a first robot
Two geared DC motors with a dual-channel motor driver, because a motor connected directly to a board pin will damage the pin. An ultrasonic distance sensor for obstacle avoidance, which is the first autonomous behaviour most learners want. Infrared line tracking modules for line following, which teaches a continuous correction loop rather than a one-shot decision. An IR receiver and remote for manual driving before any autonomy, so a learner can confirm the motors work before debugging sensors. A stable battery holder with a real connector, because a loose holder is a top cause of a robot that will not move. And accessible expansion pins, so you can add a sensor in month two without rewiring everything.
A Bluetooth or Wi-Fi module is optional for a first build and adds a dependency on phone compatibility that can derail a session. FPV camera capability is the most motivating extra we found, because watching the robot drive from its own camera is what keeps a child engaged after the novelty of remote control fades.
How to verify the board before you order
Listings regularly describe a board as UNO R3 while showing a different revision in the photographs, and buyers report receiving a board that does not match the manual. Before you commit, check the product photographs for the board marking, look for the current manual version rather than a cached older one, and confirm the board you must select in the Arduino IDE. If the listing says Arduino-compatible without stating the pinout, treat that as a question to ask the seller rather than an assumption to make.
This matters because UNO R3 and UNO R4 use different microcontrollers and are not interchangeable labels. Code written for one is not guaranteed to run unchanged on the other. A kit that states a specific board and links a current manual is a kit you can build from; a kit that says only Arduino-compatible is a kit you will spend a weekend reverse-engineering.
For our breadboard and wiring needs alongside a kit, the [best breadboard kits for Arduino projects](https://www.peggyomara.com/best-breadboard-kits-for-arduino-projects/) roundup covers the expansion side of the bench.
Arduino or Raspberry Pi or micro:bit
Arduino wins when you want direct hardware control and real electronics learning with the least overhead. It boots instantly, runs bare C++ in the Arduino IDE, and the pins are right there. Raspberry Pi runs a full operating system, which is what you want for computer vision, machine learning or anything serving a web page, but it brings complexity, storage and a much longer boot that a first-time builder does not need. micro:bit sits between them with a block editor and a simpler language, which makes it better for younger children and weaker for a learner who will eventually want C++.
If your project needs a camera that identifies objects, choose the Pi. If it needs to follow a line, avoid a wall and respond to an IR remote, choose the Arduino. Most families who start with an Arduino kit end up adding a Pi later for a vision project, and that sequence works well.
What the real total cost looks like
Budget for what is not in the box. Most of the kits in this roundup ship without batteries, and the Adeept arm and the KEYESTUDIO mini tank need 18650 cells with a separate charger, so that is the most common follow-up purchase by a wide margin. Also expect to buy a screwdriver set with a precision driver for servo horns, spare jumper wires, a half-size breadboard for your own experiments, and at least one spare motor or servo once the first one dies. For kits with acrylic frames, a small bottle of acrylic cement and a drill bit set are worth having.
Two ongoing costs deserve a mention. A rechargeable Li-ion pack has a finite cycle life, so a replacement pack within a year or two is normal rather than a defect. And spare parts are easier to find from the same manufacturer than mixing vendors, so if a kit offers replacement components, buy them together with the kit while the seller is one click away.
Soldering, age bands and classroom sizing
Soldering is a genuine barrier for a family without a workbench and a real risk around a lithium battery, so if a listing requires a soldering iron, treat that as a different category of product. Verify the battery is protected and never leave a charging kit unattended, whatever the age of the builder.
For age bands, the practical guide is the wiring, not the box. Under about ten, expect full adult supervision and a shared build session. Ten to thirteen works well with the wheeled and tracked kits that have keyed connectors. Fourteen and up handles the arm kits and the hexapod comfortably. For classrooms, order at least two kits per pair so learners can test against a machine other than their own, and check whether the manufacturer offers a multi-pack configuration before buying singles.
Finally, set a realistic build expectation. Advertised times are optimistic across this entire category, and our own builds ran from four hours on the simplest car to closer to ten on the hexapod. A kit advertised at roughly 45 minutes will take several hours. Blocking off a weekend removes most of the frustration, and so does sorting hardware into labelled bags before starting.
Why Your Arduino Robot Will Not Move
The robot arrives and nothing happens. In almost every case we have seen, the cause is physical rather than a coding error, so work through this list in order before touching the sketch.
First, check the ground wire. A loose or missing common ground between the battery pack, the motor driver and the controller because that is the most common cause and it presents exactly like a software fault.
Second, confirm battery voltage. Underpowered cells produce a robot that twitches, moves weakly or resets mid-motion. Charge the pack fully, and if the kit does not include cells, source the correct type before you judge the hardware.
Third, verify the board you selected in the Arduino IDE matches the board in your hand. Selecting the wrong board produces an upload error or code that compiles and does nothing, which is an easy fix once you know to look.
Fourth, check the motor driver wiring against the diagram, including the jumper that enables the driver on many L298N boards. That little jumper is removed more often than it is installed.
Fifth, test the sensors in the serial monitor and watch the values change as you move an object in front of them. If the reading is flat, the problem is the sensor or its wiring, not the logic. Only after all five of those are clean should you suspect the code.
If your kit ships without preloaded firmware, as the KEYESTUDIO Smart Robot Car Kit V2.0 does, an unpowered car is expected rather than a fault, and uploading the first project is step one rather than a fix.
Frequently Asked Questions
What is the best robotics kit for a first Arduino build?
The ELEGOO UNO R3 Smart Robot Car Kit V4 is our pick for a first build because it ships with a genuine UNO R3 board, a 2000 mAh rechargeable battery, keyed XH2.54 connectors and preloaded code, so a beginner can drive it on day one and then open the Arduino IDE. The OSOYOO IoT kit is the alternative if your priority is a classroom where every module must wire to a named pin.
Is Raspberry Pi or Arduino better for robotics?
Arduino is better for a first robot and for anything involving real-time hardware control, because it boots instantly and runs bare C++ with the pins exposed. Raspberry Pi is better when your project needs a camera, computer vision, machine learning or a web interface, because it runs a full operating system. Many builders start with Arduino for line following and obstacle avoidance, then add a Pi later for vision work.
Which type of Arduino is best for a robot?
An Uno R3 remains the safest general choice for a first robot because documentation, tutorials and library examples all assume that pin layout. Uno R4 offers more processing power and onboard connectivity but uses a different microcontroller, so existing code is not guaranteed to run unchanged. ESP32-based boards are worth considering for wireless projects but code written for them does not transfer directly to an Uno.
What should I do if my Arduino robot will not move?
Work through the physical causes first. Check the common ground wire between the battery, motor driver and board, confirm the batteries are fully charged, verify you selected the correct board in the Arduino IDE, check that the motor driver enable jumper is fitted, and watch the sensor values in the serial monitor while moving an object in front of them. Only then suspect the code.
Do Arduino robot kits include batteries and tools?
It varies, and the difference is significant. The ELEGOO Smart Robot Car Kit V4, the ELEGOO Conqueror Tank and the OSOYOO IoT kit include a rechargeable battery, and the tank also includes tools. Most of the kits we reviewed do not include batteries, and the Adeept arm and the KEYESTUDIO mini tank specifically require 18650 cells with a separate charger. A precision screwdriver is rarely included either.
Do Arduino robotics kits require programming experience?
No, but the kits differ enormously in how much they assume. Several arrive with preloaded firmware and work out of the box, while the KEYESTUDIO Smart Robot Car Kit V2.0 deliberately ships unprogrammed so learners upload their own code. Kits that use Mixly or ElegooKit block coding give a graphical entry point, and the Arduino IDE with C++ is the destination for everything in this roundup.
Can I use an Arduino Uno with any robotics kit?
Usually, since most Arduino robotics kits use the standard Uno R3 pin layout, but verify before you buy. Kits described only as Arduino-compatible may not state a pinout, and a kit shipping an Uno R4 board will not run R3 code unchanged. Also confirm the kit does not use an ESP32 or a proprietary shield, because those change both the code and the wiring entirely.
Is a robot car kit better than a robotic arm kit for learning?
A car kit teaches control loops, sensor feedback and line-position correction, which is the foundation most robotics projects need. An arm kit teaches positioning, coordinate mapping and torque limits, which is closer to industrial automation. Start with a car if you want line following and obstacle avoidance, and choose an arm if you want to repeat a programmed motion accurately or sort objects.
Which Arduino Robotics Kit Should You Build Next?
If you are buying the best arduino kits for robotics projects and can only choose one, take the ELEGOO UNO R3 Smart Robot Car Kit V4. It has the clearest documentation, the widest sensor coverage, a genuine UNO R3 board and a battery in the box, and the preloaded code means a working robot on the first afternoon. Everything else on this list is a deliberate step sideways from that starting point.
Choose the ELEGOO Conqueror Tank if the robot will get knocked over, driven outdoors or shared between siblings, because the stainless steel chassis survives what an acrylic frame does not. Choose the Tumbller if you want to learn control theory properly, since its published PID lesson and open source files go deeper than the documentation on any other kit here. Choose the KEYESTUDIO Mini Tank if documentation is your priority, and the LewanSoul xArm1S if you want an arm that repeats a programmed motion accurately.
Two things to do before you order: buy the batteries and charger the kit needs, because most of them do not include them, and block off a weekend rather than an evening. Beyond that, the fastest way to improve is to finish one project before starting the next. Line following first, then obstacle avoidance, then a sensor you add yourself. That progression is what turns a kit into a robotics education, and it works in 2026 exactly as it did the first time.