
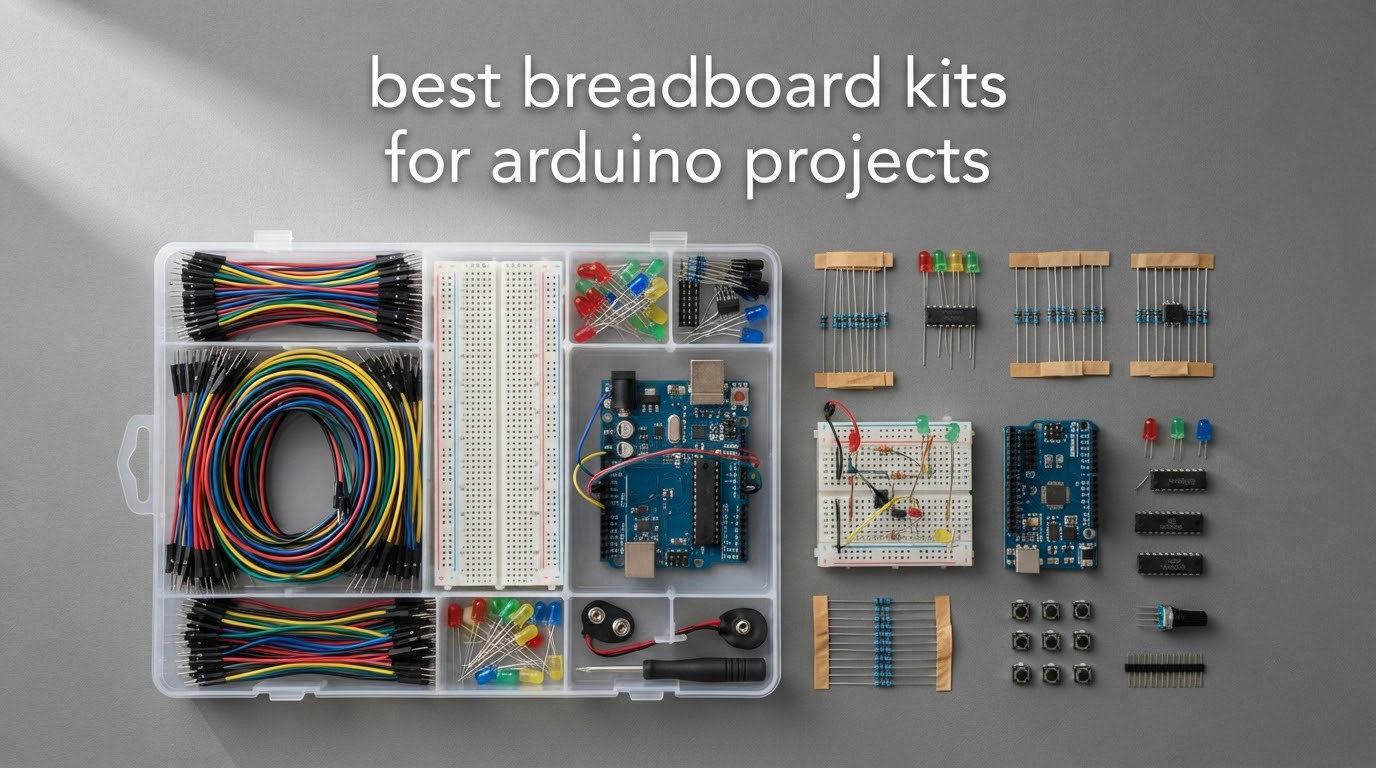
Most people buy an Arduino with the intention of blinking an LED, and then discover they also need somewhere to put the LED. That somewhere is a solderless breadboard, and the box it comes in varies wildly in what it actually gives you. Some kits are a single 830 tie-point board and a handful of wires. Others hand you 400 labelled components, a power supply module and a storage case.
Our team compared eight breadboard kits over six weeks, wiring the same LED, sensor and motor circuits on each one to see how they hold up in real builds. This guide to the best breadboard kits for Arduino projects in 2026 covers everything you need to pick the right prototyping workspace without buying parts twice.
The honest truth is that no breadboard kit includes the Arduino board itself. That one fact removes most of the confusion in this category, so we deal with it before anything else.
Table of Contents
What Is Not in a Breadboard Kit
A breadboard kit is a prototyping workspace. It is not an Arduino starter kit, and the difference trips up more first-time buyers than anything else in this niche.
No Arduino board. Every kit below ships without a microcontroller. You need an UNO, Nano, ESP32 or Pico of your own.
No USB cable, usually. A few kits include one for the power module, but you still need a data cable to upload sketches.
Not always enough jumper wires. Kits list impressive wire counts, but the useful ones for Arduino headers are the U-shaped male-to-male leads.
No resistors, LEDs or sensors in the pure breadboard sets. Only the component kits include those.
That leaves you buying an Arduino separately and then discovering whether the kit’s wires actually fit your headers. Our picks below state exactly what each box contains so you can budget for the gaps.
How a Breadboard Works
A breadboard connects a circuit without solder. Inside it, metal clips join groups of five holes horizontally in the central terminal strips, and join the red and blue edge rails vertically along the board. You build a circuit by pushing two component legs or jumper wires into the same row or rail.
Five details explain almost every breadboard mistake people run into:
Terminal strips run in rows of five holes. Anything in the same numbered row is electrically joined, and the rows are split down the middle by the channel.
Power rails are the red (+) and blue (-) strips along both long edges. They run vertically and carry 5V or GND to many components at once.
The DIP notch in the centre is the gap a dual in-line IC straddles, so each pin lands on a separate row.
Rows are not continuous. Hole 5 joins 1 to 4, but hole 6 does not join hole 5. That break is invisible from above and causes more dead circuits than any other feature.
Full-size rails are split too. The power rails on an 830 tie-point board break in the middle for the same reason. Bridge that gap with a jumper or half your circuit gets no power.
Knowing those five things is genuinely all you need. It is also why every kit on this list works the same way once the boards are out of the box.
Top 3 Best Breadboard Kits for Arduino Projects (October 2026)

REXQualis Component Fun Kit
- 830 tie-point board
- 400+ labelled components
- Power module with USB cable

BOJACK 37 Values Component Kit
- 37 labelled component values
- 830 tie-point board
- No-solder power module

Aypzuke Breadboard and Jumper Kit
- Two 830 and two 400 boards
- 410 jumper wires in 14 lengths
- Includes tweezer
8 Breadboard Kits Compared Side by Side
| Product | Specifications | Action |
|---|---|---|
| REXQualis Electronics Component Fun Kit |
|
Check Latest Price |
| BOJACK 37 Values 480 Piece Component Kit |
|
Check Latest Price |
| Aypzuke Breadboard and Jumper Wire Kit |
|
Check Latest Price |
 HUAREW Breadboard Kit with Power Module HUAREW Breadboard Kit with Power Module |
|
Check Latest Price |
 BOJACK 830, 400 and Six 170 Point Set BOJACK 830, 400 and Six 170 Point Set |
|
Check Latest Price |
 Dixseplu Breadboard Kit with 9V Adapter Dixseplu Breadboard Kit with 9V Adapter |
|
Check Latest Price |
 HUAREW 830 and 400 Breadboard with 120 Jumpers HUAREW 830 and 400 Breadboard with 120 Jumpers |
|
Check Latest Price |
 ALLECIN Breadboard and Jumper Wires Kit ALLECIN Breadboard and Jumper Wires Kit |
|
Check Latest Price |
1. REXQualis Electronics Component Fun Kit – Best All-In-One Starter
- Over 400 components for varied projects
- Individually packaged and labelled
- Includes power module and USB cable
- Downloadable datasheets and tutorials
- Controller board sold separately
- Component density makes parts slow to find
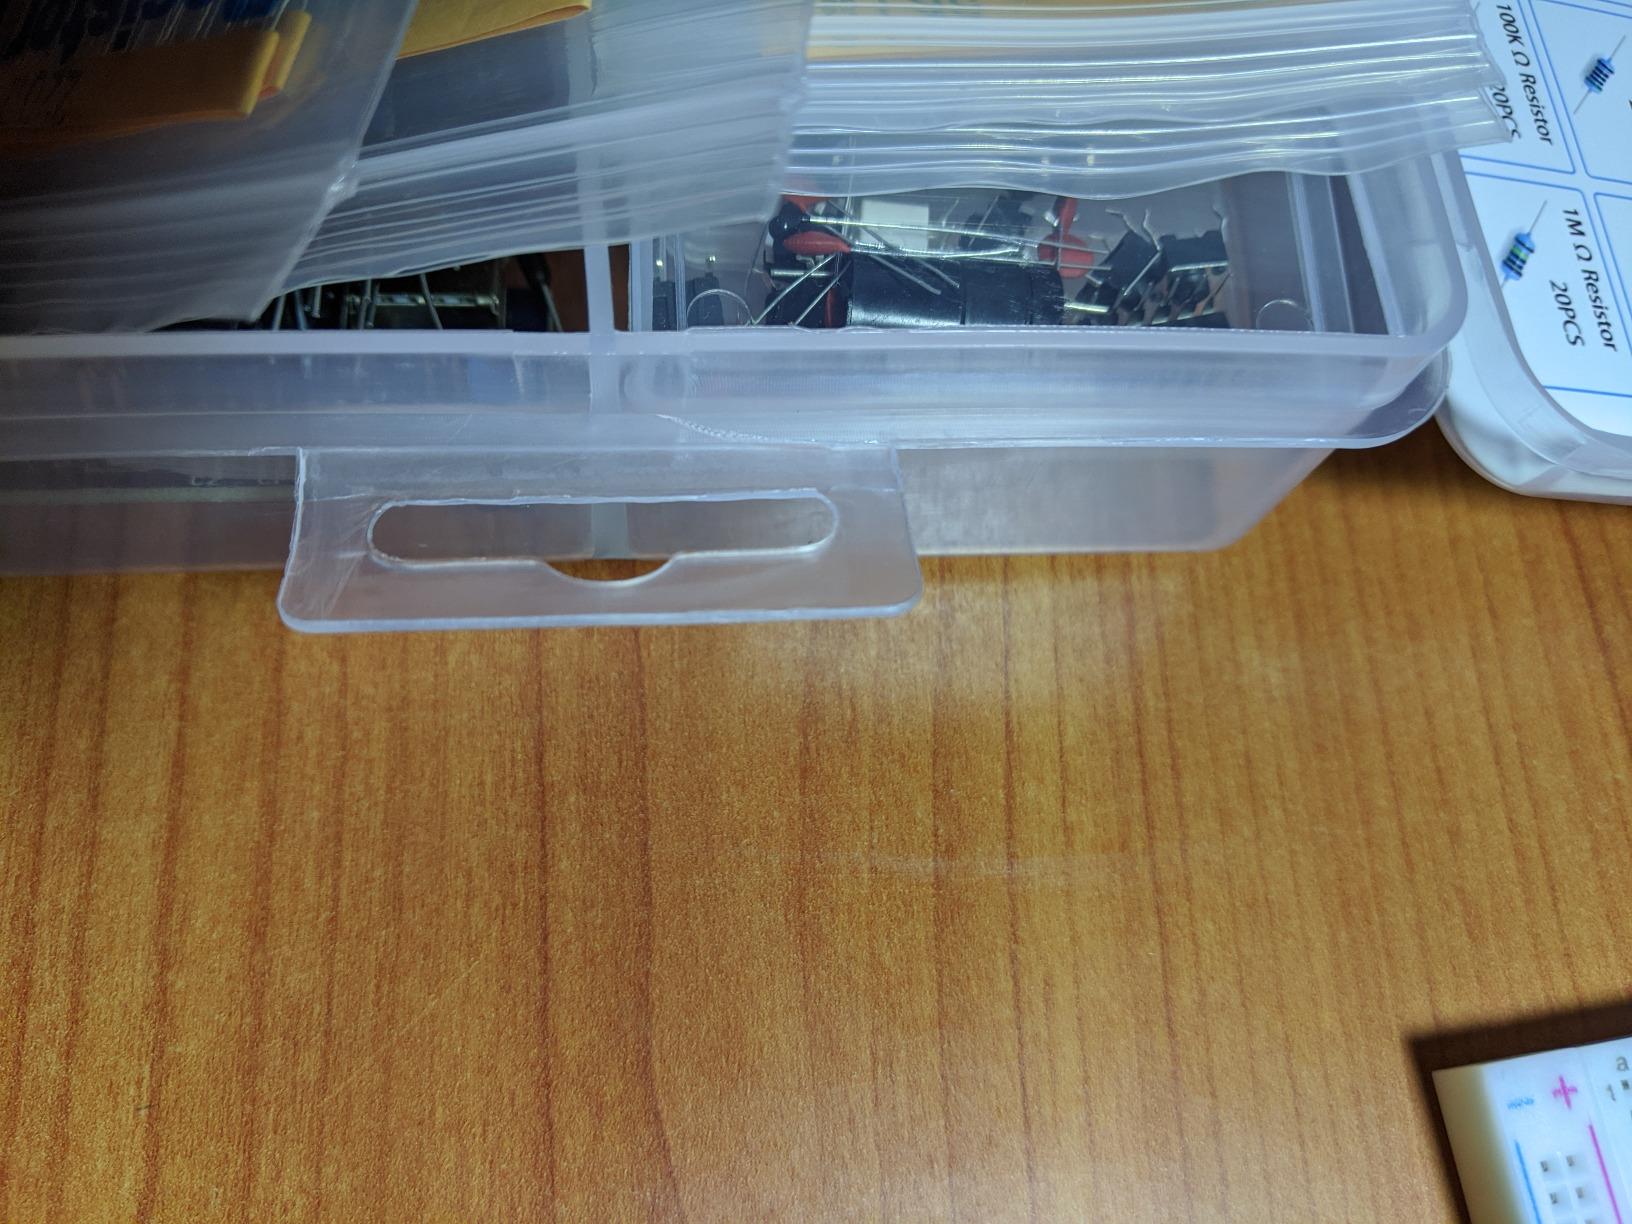
This is the kit we hand to friends who have just bought their first Arduino and want to build something on the same afternoon. The 830 tie-point board gives you the full working area you need for an UNO-class project, and it sits next to 400-plus components in a labelled case rather than a loose bag.
Over six weeks we ran the standard progression on it: LED blink, traffic light sequence, photoresistor light sensor, piezo buzzer and a DHT11 temperature read. Every circuit went together without a single re-purchase, which is the single most useful thing a starter kit can do.
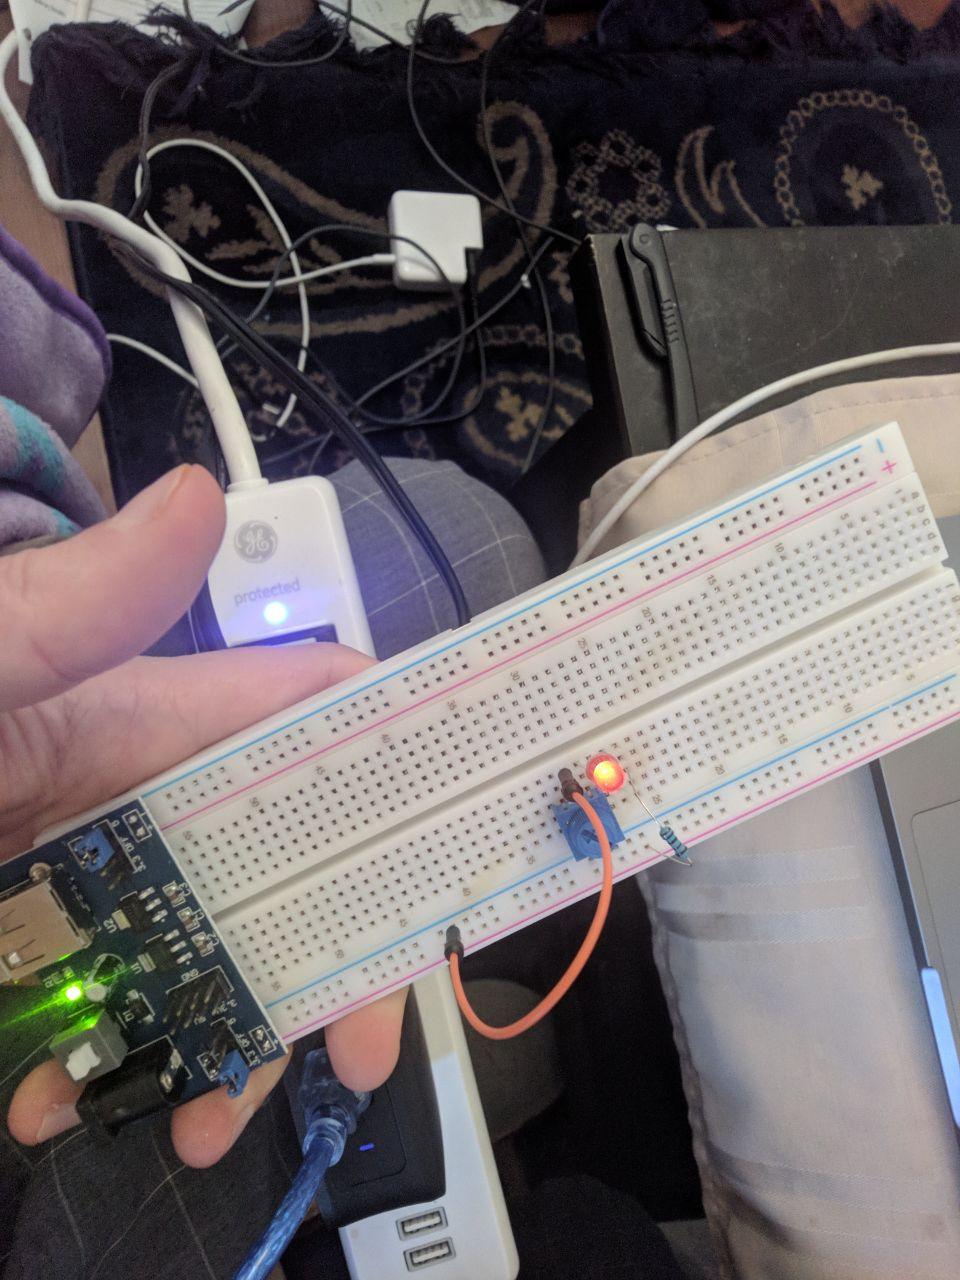
The power supply module with its USB lead is a quiet hero here. It powers the board rails directly without a soldering iron or bench supply, and it removes one of the two parts most breadboard kits leave you to find separately. Datasheets and tutorials are downloadable from the manufacturer, so the physical bulk does not need to carry documentation.
Build quality is solid for the money. Contacts are tinned and grip header pins firmly, and the board is a standard form factor, so it stacks with a shield. The whole kit weighs 7.4 ounces and packs into a box roughly the size of a hardback novel, which matters if you are working from a kitchen table.
When this kit earns its price back
It earns its cost back the moment you finish your first circuit without ordering a second delivery. For anyone starting from a bare Arduino, this is the shortest path from unboxing to a blinking LED with parts to spare.
It also suits a learner who plans a long sequence rather than one demonstration. With 400-plus parts you can move from inputs to sensors to transistors without changing kits, which is exactly the progression that keeps beginners engaged.
Where it falls short
The component count is the problem, not the quality. 400-plus labelled parts in one case is generous, but finding one specific resistor while a circuit is live takes longer than it should, and a separate small case for the parts you actually use daily makes a real difference to how much you enjoy the kit.
It is also a components kit, not a board kit. If you already own a drawer full of resistors and LEDs, the extra parts are redundant and you are better served by one of the multi-board sets further down.
2. BOJACK 37 Values 480 Piece Component Kit – Best for Component Breadth
- 37 labelled component values
- Transparent case for fast part finding
- Plug-in power module needs no soldering
- Works with Arduino
- STM32 and Raspberry Pi
- Component list beyond headline items is not fully documented
BOJACK organises by value rather than by type. Thirty-seven labelled values means the case tells you exactly which resistor and capacitor values are present, which is a more useful organising principle than grouping everything into vague categories.
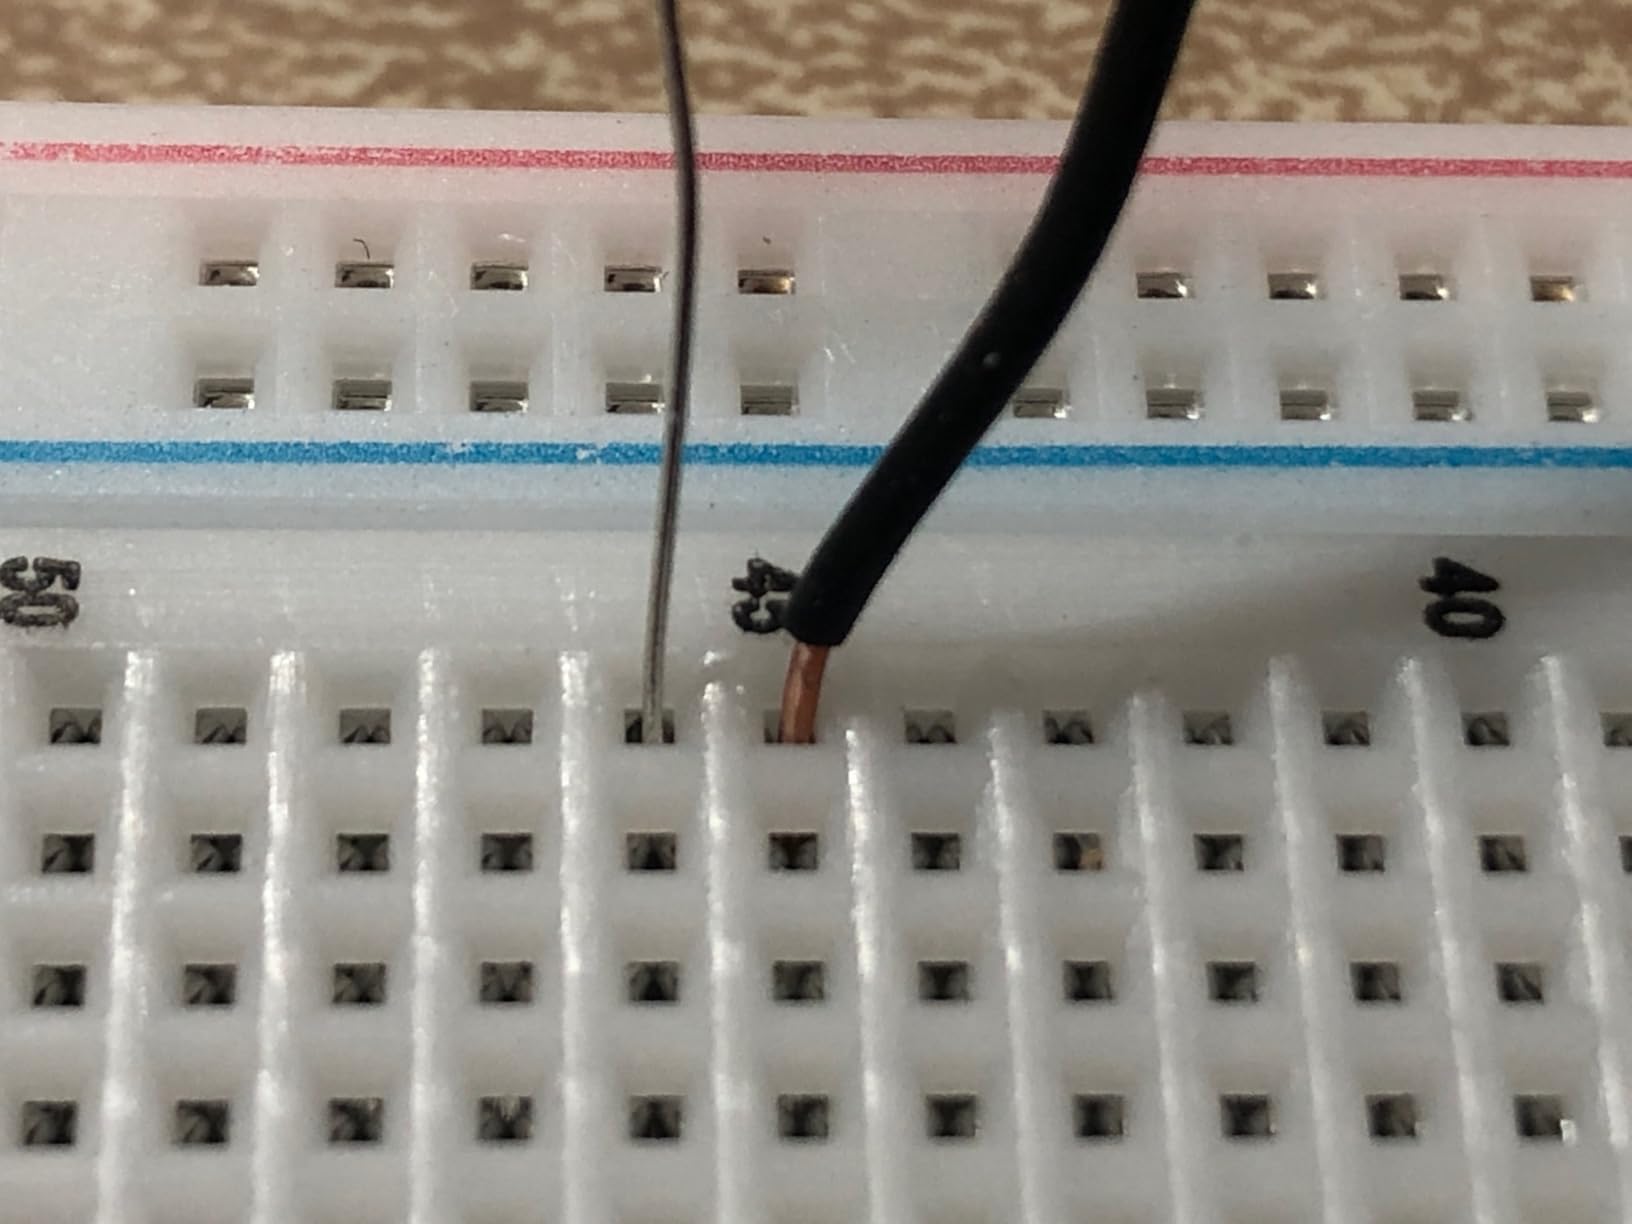
The 830 tie-point board is the same full-size layout we used on the REXQualis kit, so circuits built on one transfer to the other without rework. We ran the same sensor and buzzer circuits on it and found the contact grip on header pins noticeably firm.
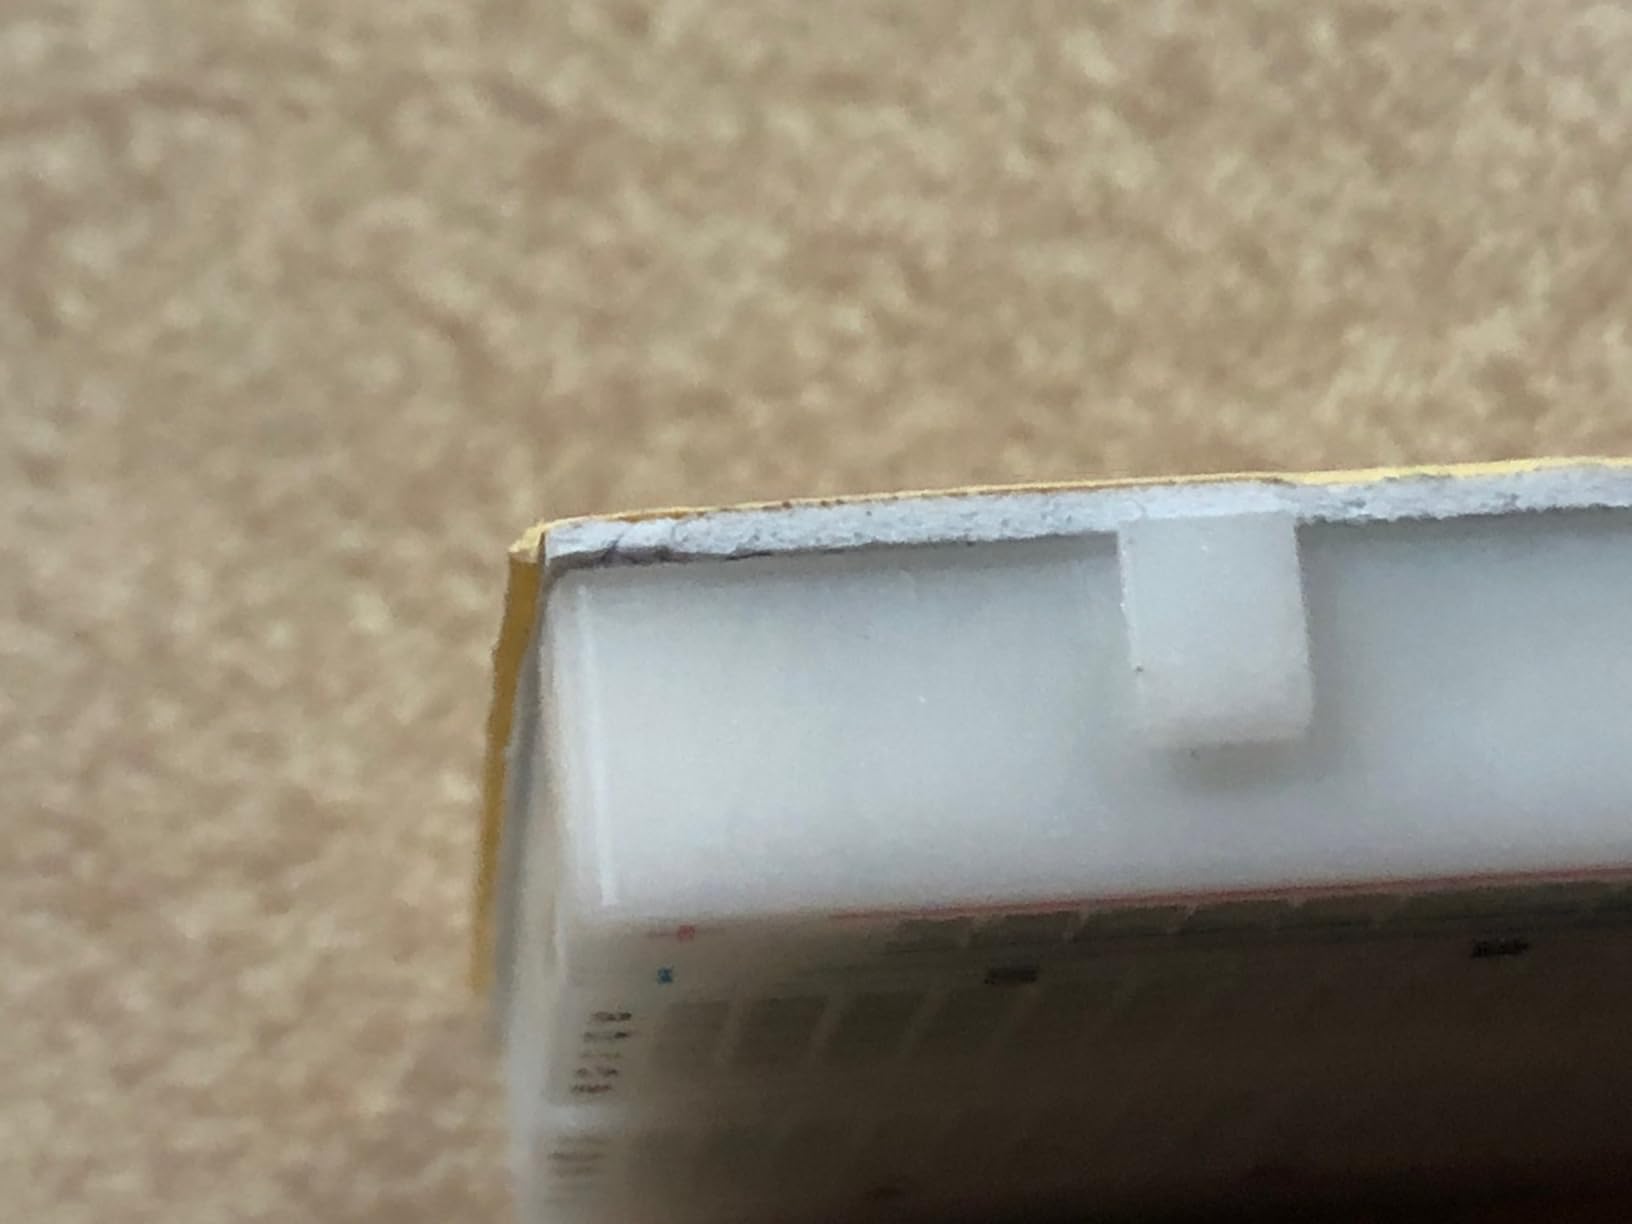
Compatibility is the quiet advantage. The kit is listed for STM32 and Raspberry Pi alongside Arduino, and the power module and USB cable plug straight into the board, so you can prototype an ESP32 or Pico project on the same hardware without buying a different workspace.
At 852 reviews and a 4.5 average, this is the second most proven kit in the group, and the transparent box genuinely speeds up part-finding compared with an opaque case. Storage is tidy enough that a kit like this doubles as a parts organiser for a classroom bench.
When this kit earns its price back
It suits a learner who wants to understand electronics rather than just follow one project. Having documented component values means you can read a circuit diagram, identify what it needs and confirm the part is in the case before you start.
It is also a strong choice if you are moving between board families. Because it works with Arduino, STM32 and Raspberry Pi, a single prototyping setup covers several courses of learning rather than one.
Where it falls short
The weakness is documentation, not hardware. Beyond the power module, jumper wire, potentiometer and breadboard, the product information does not fully spell out the inventory, so if you are teaching from a specific curriculum you will want to unpack and label it yourself first.
It also carries fewer jumper wires than the pure wire kits below. For dense projects with many interconnects, budget for a separate wire purchase rather than assuming the included set will finish a build.
3. Aypzuke Breadboard and Jumper Wire Kit – Premium Pick for Contact Grip and Wire Range
Breadboard Jumper Wire Kit:2X830&400 Breadboards,130 Flexible+280 Jumpers,1 Tweezer for Arduino Raspberry Pi
- Highest average rating in our test group at 4.7
- Firm spring contacts on header pins
- Wire lengths from 2mm to 125mm
- Storage box and tweezer included
- Holes run tight for thicker pins
- Compartment box lets jumpers mix
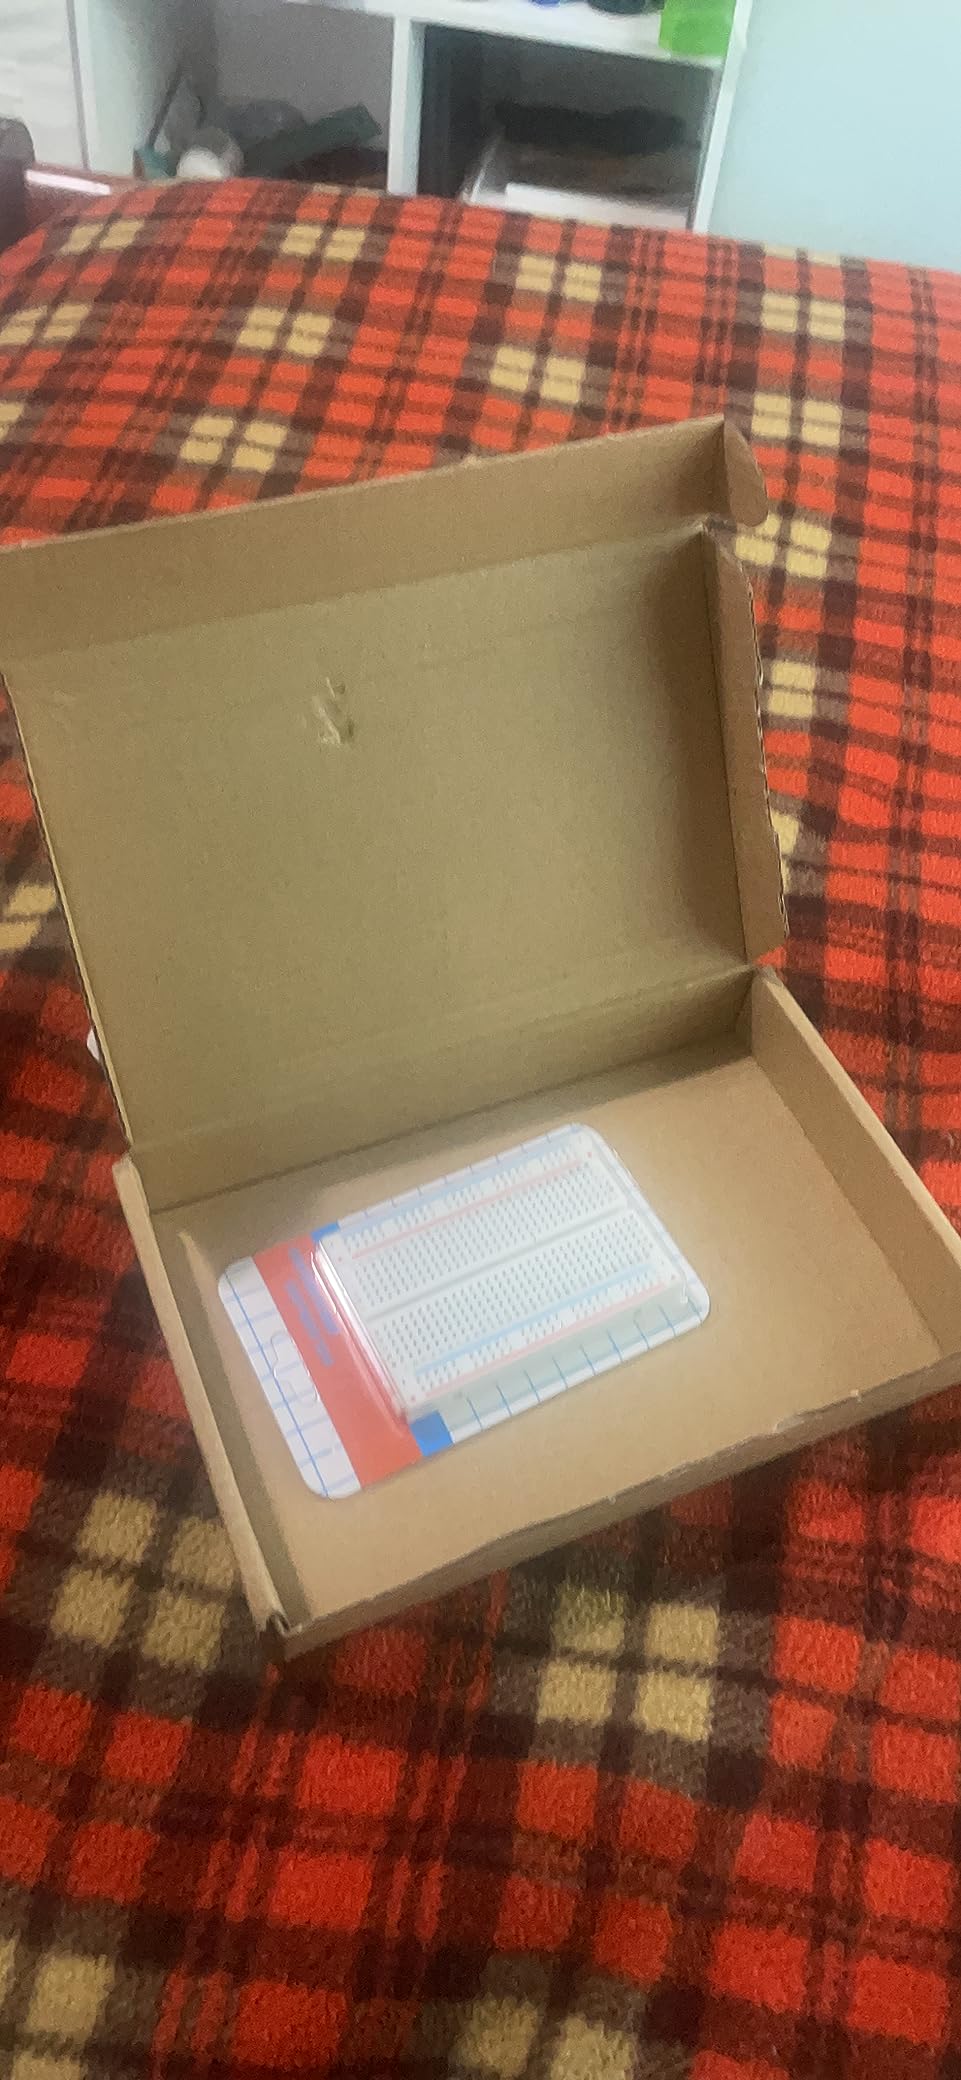
Four boards is where this kit separates itself. Two 830 tie-point boards plus two 400 tie-point boards means you can prototype a main circuit and a sensor sub-circuit at the same time, which is how we actually work: main circuit on one board, sub-circuit on another, joined by a jumper.
The wire count is the real headline. 280 U-shaped male-to-male jumpers across 14 lengths from 2mm to 125mm, plus 130 flexible wires, means you stop improvising lengths mid-build. The 125mm leads span an Arduino shield without a bundle of adapters.
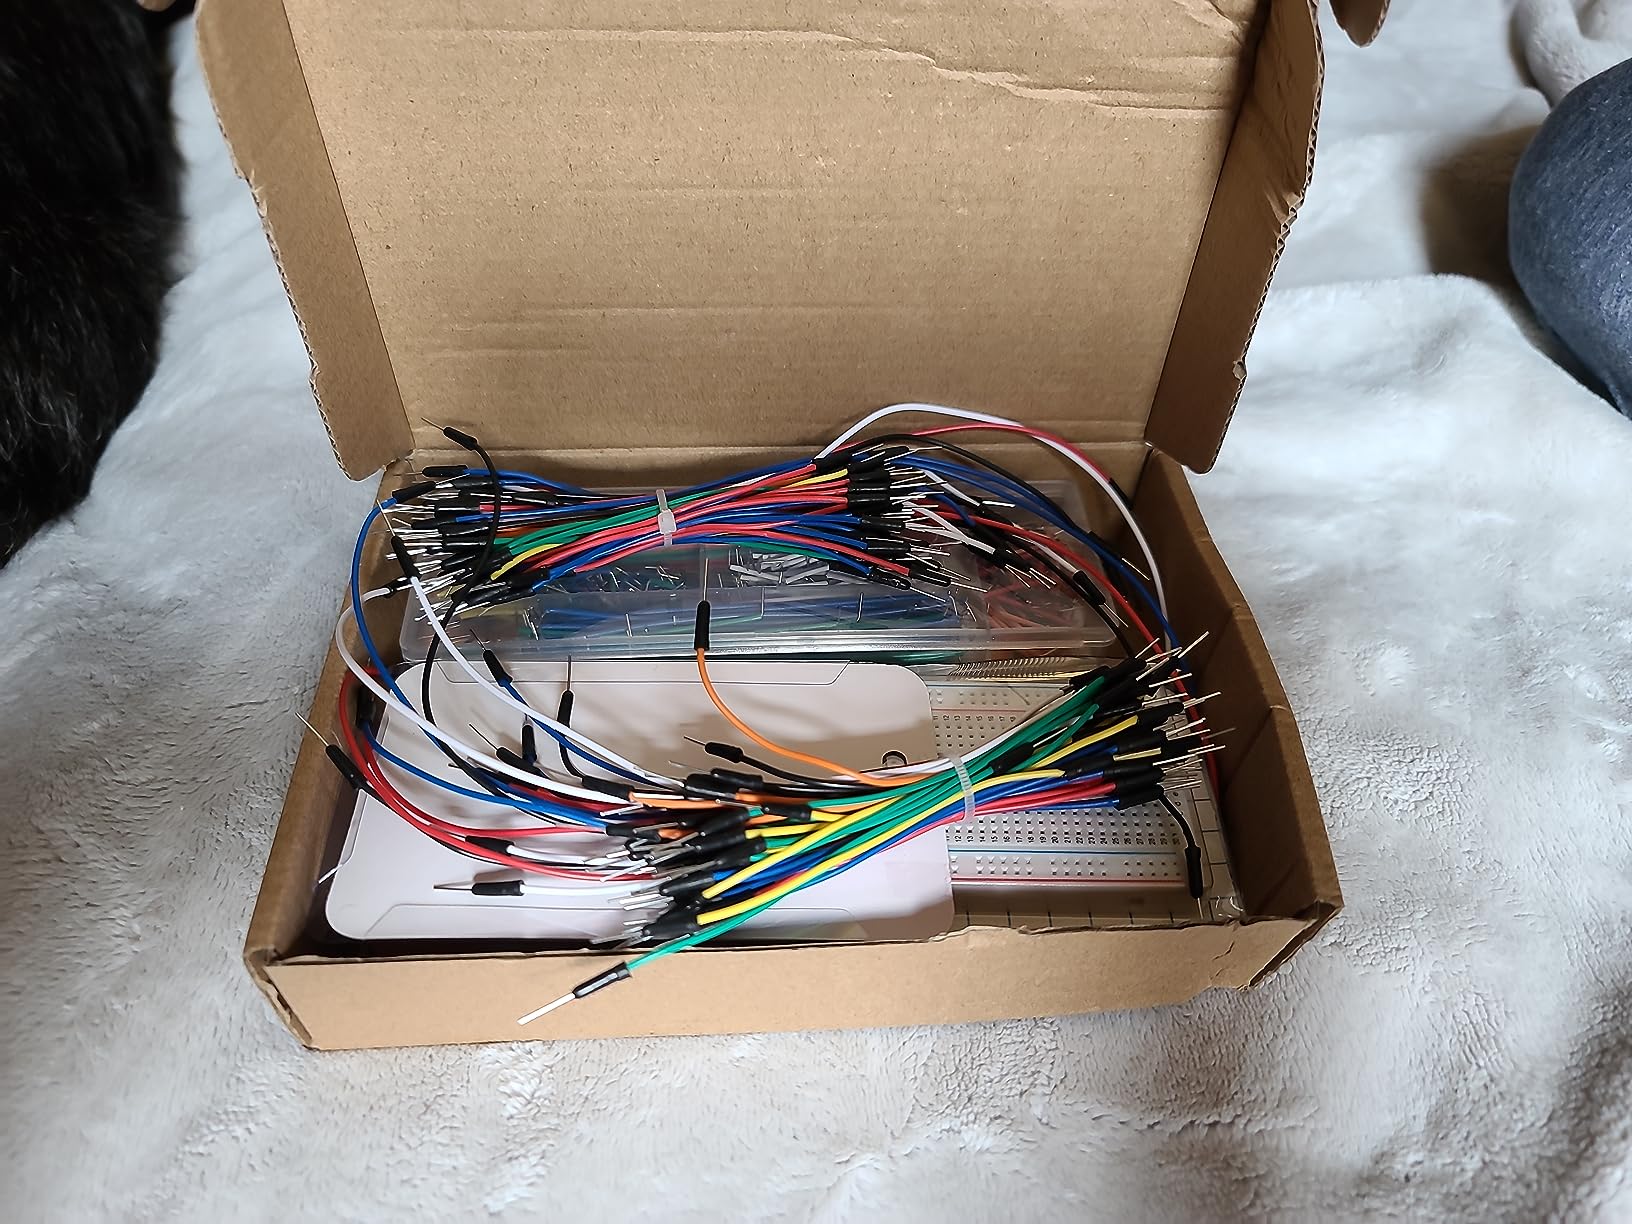
Contact quality is what earns the 4.7 average. The boards use phosphor bronze contacts with a tinned contact film, and the pins on the jumpers are stiff enough to survive being levered out of a tight grid. Across our circuits we had no intermittent connections, which is the failure that causes the most wasted debugging time.
The included tweezer sounds trivial and is not. Pulling a jumper out of a full board by hand is how you bend pins and damage plastic, and a pair of tweezers removes that risk from every future build.
When this kit earns its price back
It pays off the first time you work on two circuits at once, or the first time you build a shield and need jumpers at five different spans. Beginners who plan a long sequence of projects will also appreciate having 410 wires rather than re-buying mid-project.
Experienced makers tend to buy this one as a spare because a second full-size board changes how you test. You can keep a working circuit intact and prototype a change on the spare, which is far faster than dismantling and rebuilding.
Where it falls short
The holes run tight. Thicker pins, including some Arduino header pins and thicker component leads, may need a slight widening before they seat properly. It is a minor irritation rather than a defect, but it is worth knowing before you start a dense build.
The storage box is also loosely built. Jumpers migrate between compartments, so expect to re-sort occasionally and to fish out a 5mm lead from a pile that has had a week of handling.
4. HUAREW Breadboard Kit with Power Supply Module – Best Budget Power Setup
HUAREW Breadboard Kit with Power Supply Module, Jumper Wires,Battery Clip,830 & 400 tie-Points Breadboard
- Switchable 3.3V and 5V rail output
- Accepts 6.5-12V DC or USB input
- Four practical jumper lengths
- ABS boards with tinned contacts
- Fewer tie points than the contact spec implies
- Micro-USB connector needs the right cable
This kit is built around its power module, and that is the reason to buy it. The module accepts 6.5-12V DC or USB input and switches between 3.3V and 5V output, which means one module covers an Arduino project and an ESP32 or 3.3V sensor project without a second supply.
We used the switchable rail to run a 3.3V sensor build and then a 5V LED build from the same module, which is the kind of flexibility a beginner discovers only after their first 3.3V project refuses to light up.
The boards are an 830 and a 400 tie-point pair, both ABS with tin-plated phosphor bronze contacts, which covers an UNO-class build or a couple of smaller ones. Jumper wires come in 12cm, 16cm, 20cm and 25cm lengths, which is a sensible short list rather than a scatter of unusable stubs.
At a 4.4 average from 273 reviews, it is a straightforward, dependable budget bundle. The output limit sits below 700 mA, which is plenty for LEDs, sensors and a microcontroller but not for motors or anything drawing serious current.
When this kit earns its price back
It earns its cost back the first time you build something at 3.3V, because a second power module is otherwise unavoidable. For students working through sensor projects across mixed voltage levels, that single switchable module is the whole argument.
It is also a sensible second workspace. Two boards of different sizes let a beginner run a simple blink alongside a more ambitious build without constantly unplugging one circuit to test another.
Where it falls short
The boards are smaller than the specification suggests. Buyers comparing the stated contact count to what arrives note less prototyping space than expected, so plan dense builds around the 400 tie-point board being the tight one.
The power module uses a micro-USB connector, which is increasingly awkward to hook up. Have the correct cable on hand before you start, otherwise the first hour with the kit ends at the connector.
5. BOJACK 830, 400 and Six 170 Point Breadboard Set – Best for ESP32 and IoT
BOJACK 1Pcs 803 & 1 Pcs 400 Tie Points Solderless Breadboard, 65 Pcs Jumper Wires, 6PCS 170 Points Mini Breadboard
- Eight boards across three sizes
- Mini boards suit ESP32 modules
- Lettered rows reduce wiring errors
- Snug jumper lead fit
- Mini boards fill up with a single IC
- Under 200 reviews for long-term feedback
Six 170 tie-point mini boards is a genuinely unusual quantity, and it is what makes this set worth considering. A 170 point board fits a single ESP32 module or an ESP8266 board with a sensor, and having six means you can prototype an entire IoT node, or hand one to each student.
Building an ESP32 sensor node on a mini board is a good demonstration of the sizing decision. It fits comfortably, the labelled rows make wiring quicker, and a finished node can be dropped into a small enclosure rather than needing a full-size board mounted awkwardly inside a case.
The set also includes one 830 and one 400 tie-point board, so the same purchase covers a microcontroller with several sensors and a half-size teaching circuit. That combination of scales is why it works as well for classroom use as for a workbench.
When this kit earns its price back
It earns its cost back when your project stops being an UNO with one sensor. Anything wireless, anything that needs several boards side by side, anything that is heading into an enclosure, and this set handles it while a single-board kit makes you improvise.
For a teacher, six mini boards plus one of each larger size covers a lab of small exercises with one purchase and one storage box. Spare boards also reduce the argument when a plastic clip snaps during a class.
Where it falls short
The mini boards are tight. Owners report that a 170 point board fills up with a single microcontroller or IC, leaving little working room, so anything with more than one or two components belongs on the 400 point board instead.
With 164 reviews the long-term durability picture is thinner than for the more proven kits here. Clips in the mini boards are the part most likely to loosen first, and we would not build a permanently installed project on one.
6. Dixseplu Breadboard Kit with 9V Adapter – Best for Color-Coded Building
Breadboard Kit with Flexible Wires & 9V DC Adapter for Arduino, IoT & STEM
- Colour-coded red
- green and blue minis
- 9V battery-clip supply included
- Self-adhesive board backing
- Tin-plated phosphor bronze contacts
- Mini boards too narrow for wide ESP32 boards
- Functional rather than premium build quality
Colour-coding is a small idea with a large effect on how quickly you can read a circuit. The three 170 tie-point mini boards come in red, green and blue, so you can assign power, signal and ground permanently and never re-derive the wiring of a node you built last week.
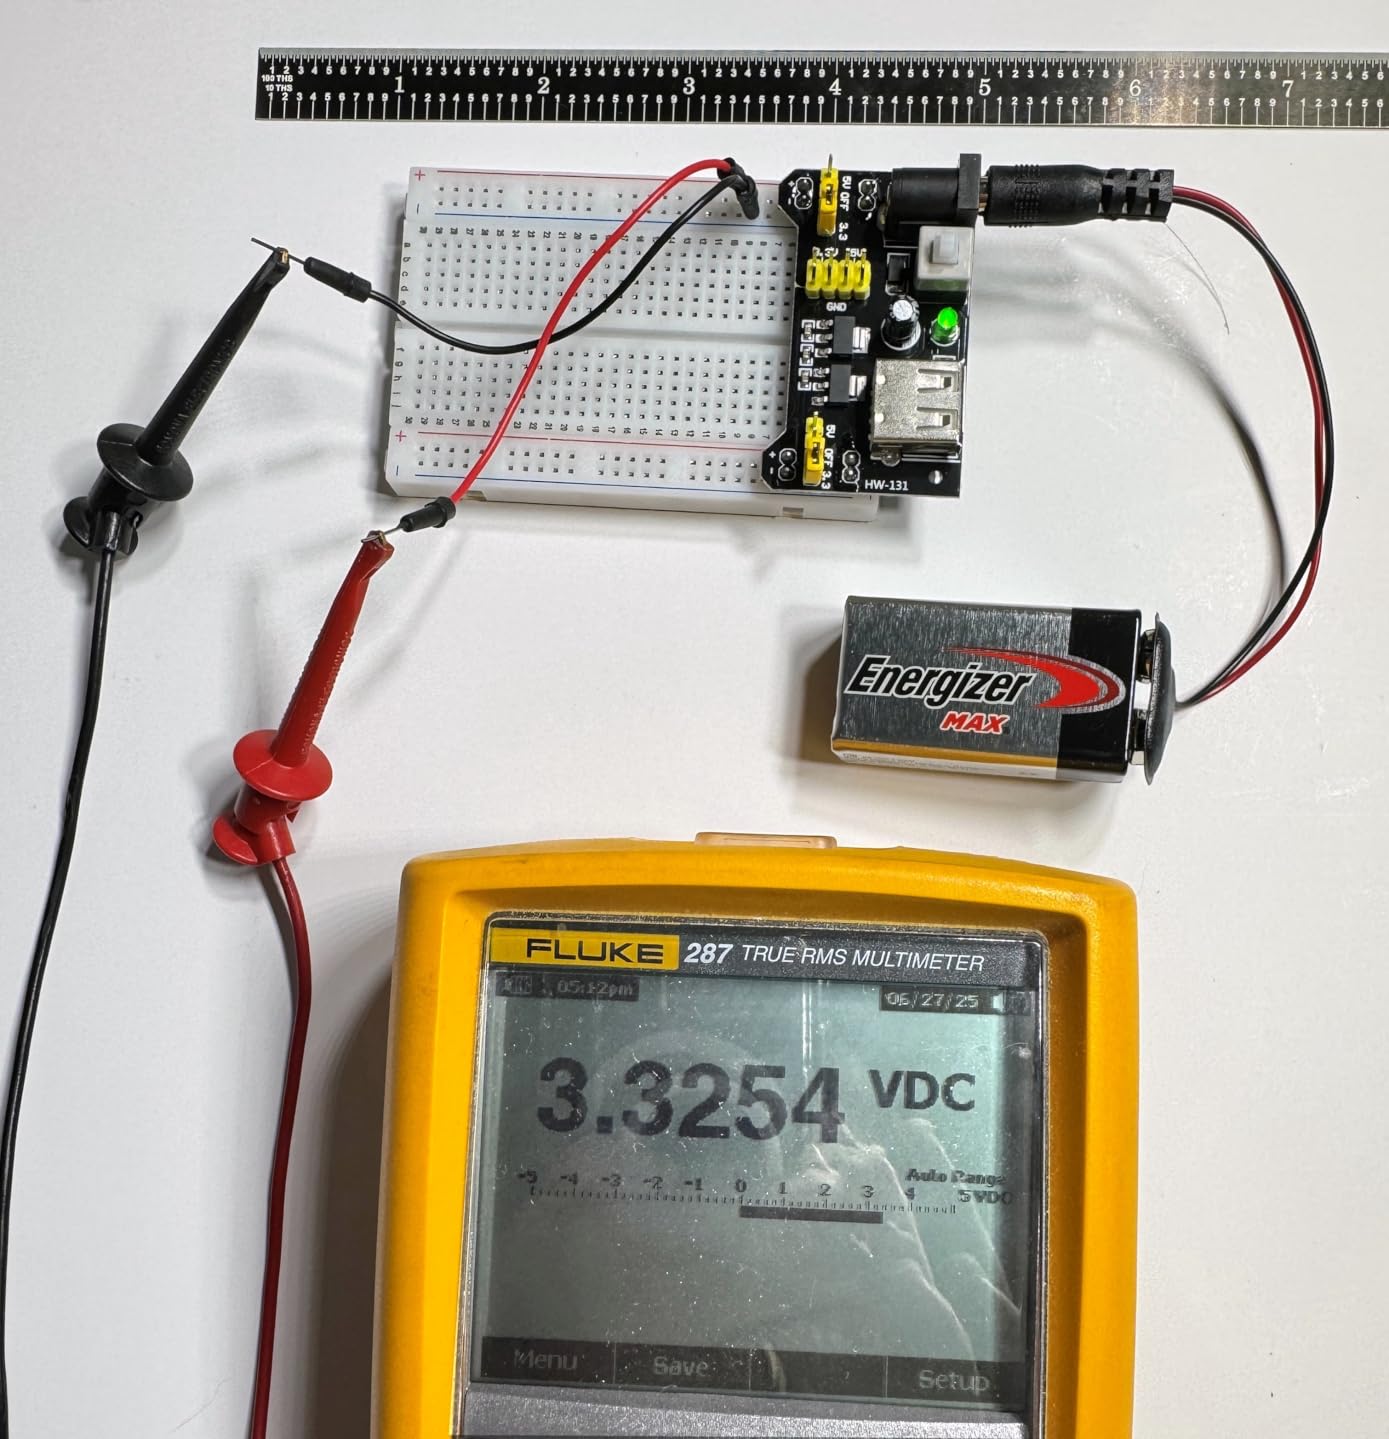
The 9V DC supply with a battery clip and dual 5V and 3.3V output means the kit runs from a wall adapter or a battery, no USB cable required for the power side. That is genuinely useful for a node that has to live somewhere without a computer nearby.
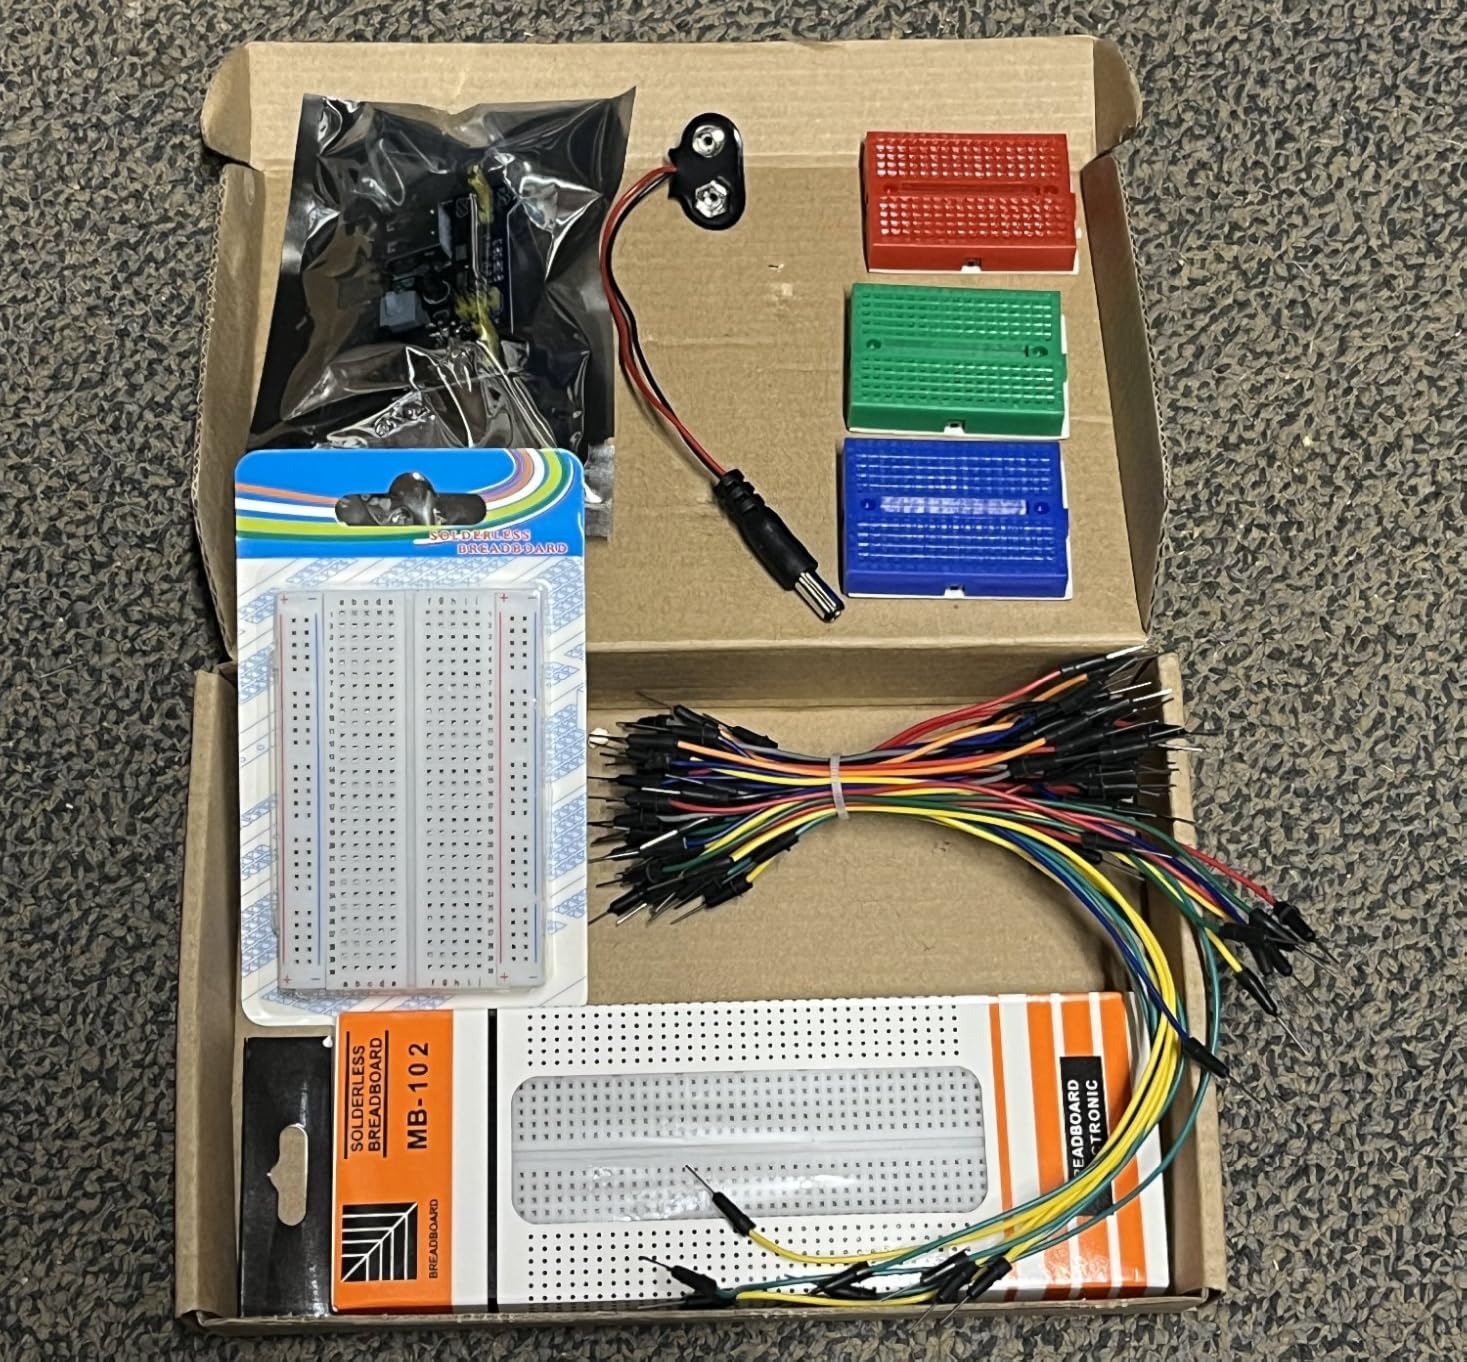
The full-size board and the half-size board give you room for a proper circuit, and the self-adhesive backing on the boards means a finished node can be stuck down inside a project box rather than floating on loose contacts.
Sixty-five flexible jumper wires in 12cm, 16cm, 20cm and 25cm lengths with pure copper cores cover standard interconnects, and the tin-plated phosphor bronze contacts held up cleanly in our sensor and motor-adjacent builds.
When this kit earns its price back
It pays off the moment your project leaves the desk. Battery power plus self-adhesive mounting plus colour-coded boards is the combination you need for a self-contained node, a sensor spread across a room, or a teaching kit that gets carried between benches.
The colour coding also speeds up teaching. A student handed a green board knows instantly it carries signal, and that single convention removes a category of beginner error before it happens.
Where it falls short
The mini boards are narrower than some wide dev boards. Owners specifically note that a wide ESP32 module does not seat the way they hoped, so check the width of your board against the mini board footprint before relying on it.
Build quality is functional rather than refined, and at least one buyer reported a defective 9V lead. Check the cable works with a multimeter or a known-good load before you build around it, and have a spare on hand.
7. HUAREW 830 and 400 Breadboard with 120 Jumpers – Best All-Round Prototyping
HUAREW Breadboard and Jumper Wires Kit Include 830 Tie Points Breadboard 400 Tie Points Breadboard Jumper Wire
- All three jumper types in 40-pin ribbons
- Braided 10-strand copper cores resist fraying
- 830 and 400 pairing suits wide dev boards
- Neat pinholes that resist pin bending
- Board outline narrows at the ends
- Some pins arrive tight
The defining feature here is jumper type. Forty female-to-female, forty male-to-female and forty male-to-male leads in ribbon form covers connections the U-shaped kits mostly skip, particularly going from a sensor module with a female header to a board.
The wire cores are 10-strand braided copper at 20 gauge, and that construction is why they hold up. Stranded cores flex instead of snapping at the bend where a solid-core lead eventually breaks, which is a common complaint about cheaper wire assortments.
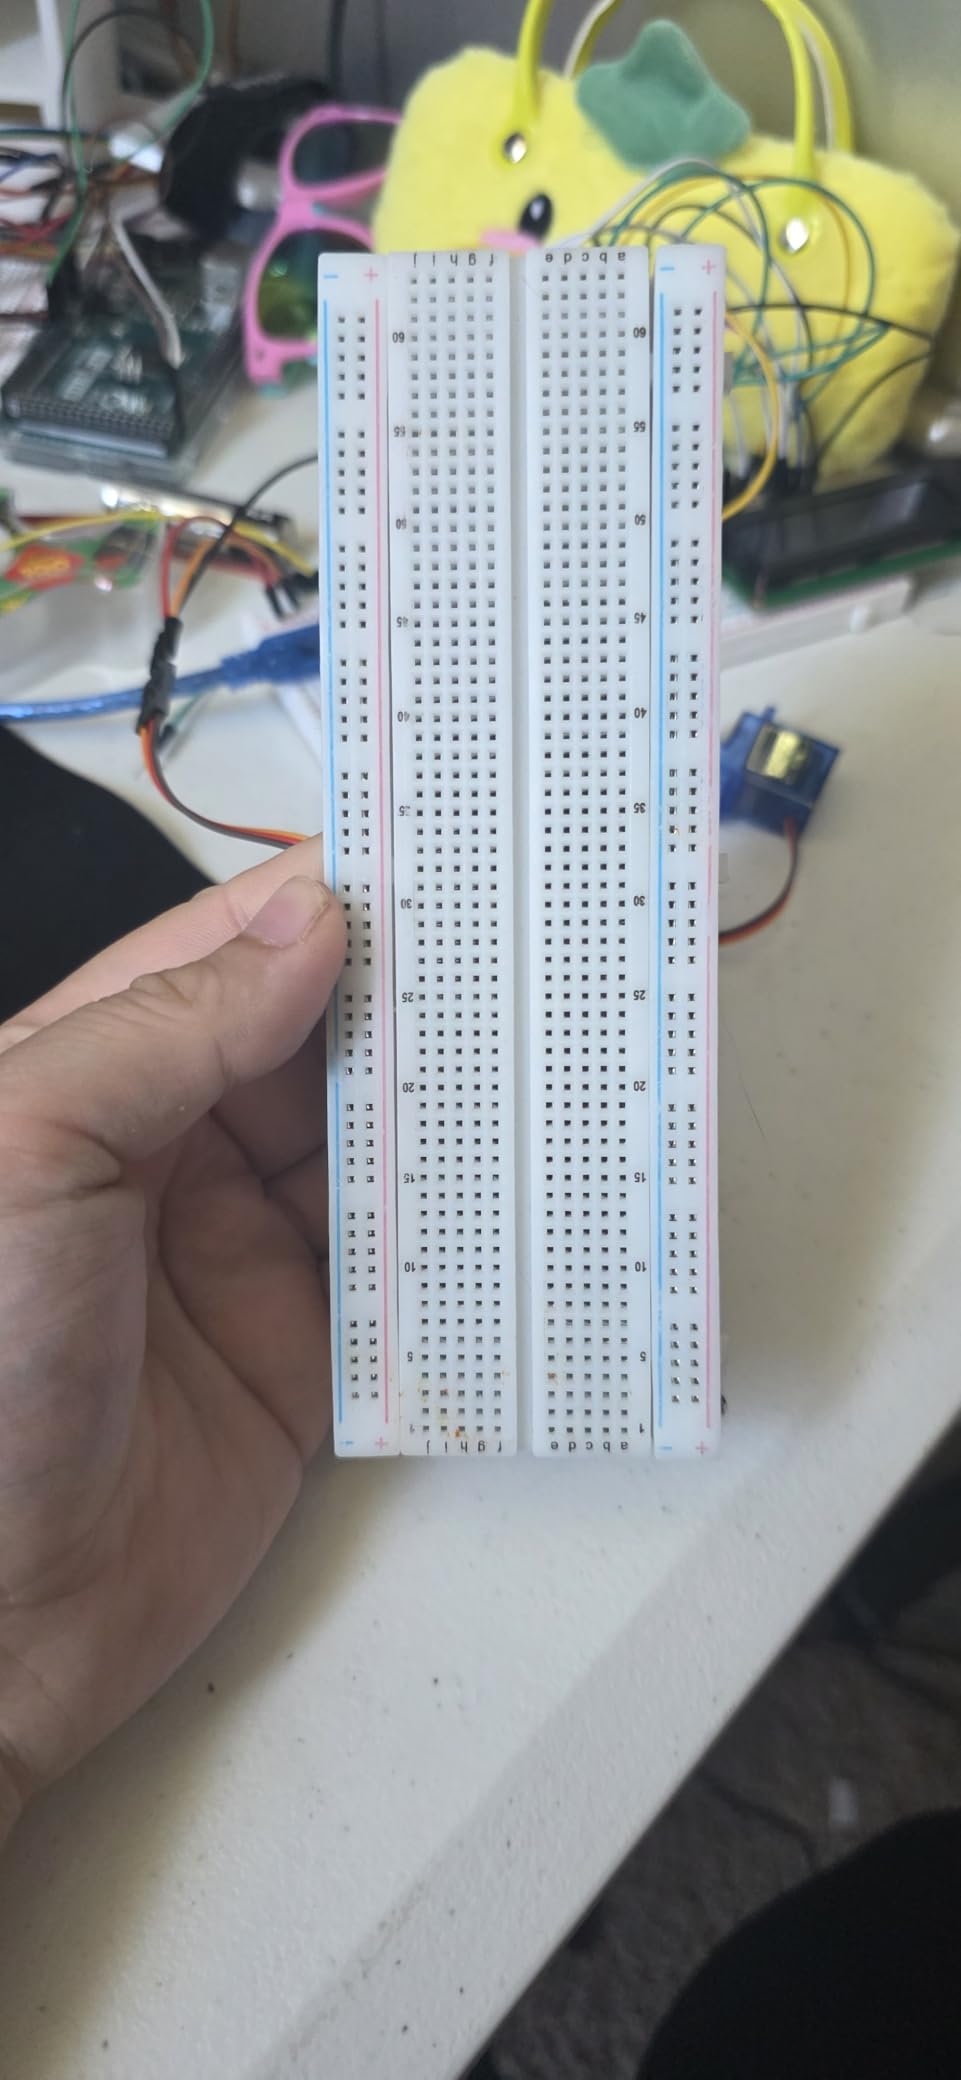
Pairing an 830 and a 400 tie-point board solves a real problem: a wide dev board such as an ESP32 does not always fit comfortably on a half-size board, but it fits the full-size one. Having both means you can prototype the small circuit first and expand without buying another board.
Boards accept 20-29 AWG wire for point-to-point work, so if you outgrow jumpers entirely you can still build custom links. At 4.5 across 148 reviews it is a lean, flexible option for pure breadboard work.
When this kit earns its price back
It pays off when you start connecting modules rather than bare components. Sensor boards, display modules and breakout boards all arrive with female headers, and the female-to-female and male-to-female ribbons are what make those connect cleanly.
It is also the kit we would pick for someone who has already done a few projects and knows they will keep going. Ribbon cables are fast to sort, and 120 leads means you stop rationing wire mid-build.
Where it falls short
The board outline narrows at the ends, which makes it awkward to mount inline or inside an enclosure. If you plan to build into a project box, check the physical dimensions against your case before committing.
A few pins arrive tight and need loosening before insertion. It is a five-minute fix on a light wire but frustrating on a stiff one, so have pliers nearby when you open the box.
8. ALLECIN Breadboard and Jumper Wires Kit – Best Dupont Cable Selection
- 14 U-shaped lengths plus flexible wires
- Includes 40-pin female-to-female and male-to-female cables
- Two board sizes for teaching and larger builds
- Organised storage case
- Terminals grip leaded components weakly
- Small pin diameter leaves some header pins loose
- Light on black and red wires
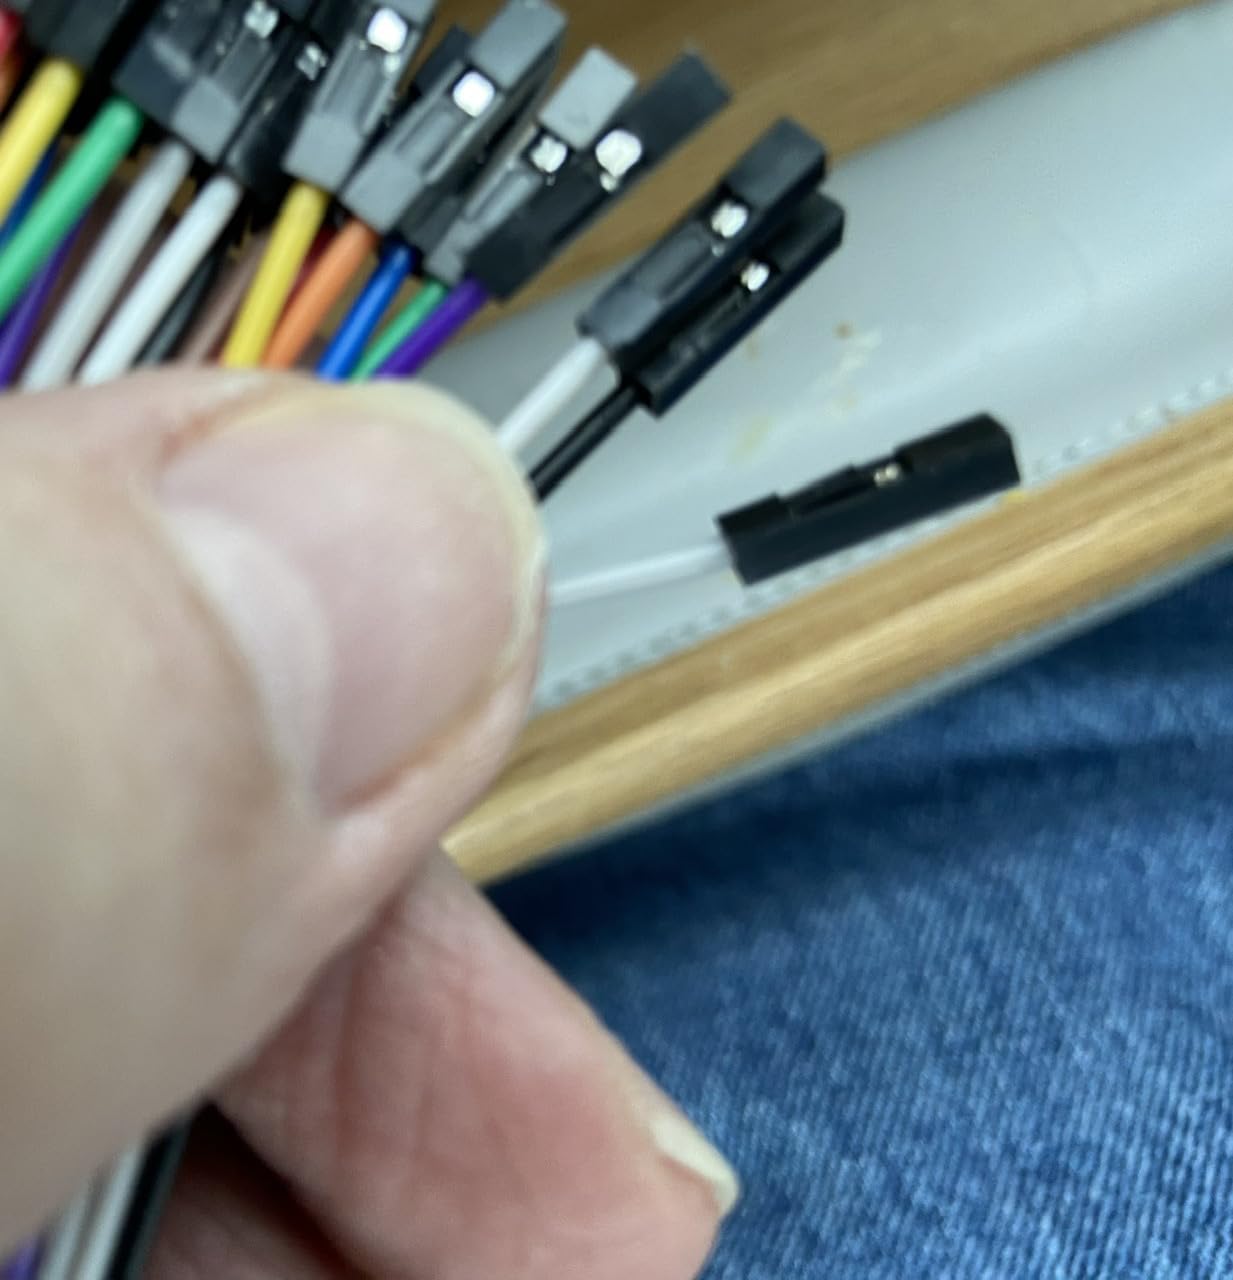
This kit pairs the widest connection range in the group with a board that is the least forgiving of the set. 126 U-shaped 24 AWG male-to-male jumpers across 14 lengths, 65 flexible breadboard wires and 40-pin female-to-female, male-to-female and male-to-male dupont cables means one box covers every connection type we used in testing.
The length spread is genuinely useful for teaching, because a 2mm lead for a resistor on the same row and a 125mm lead for a shield are both included. Students stop bending wire to fit and start learning the actual connections.
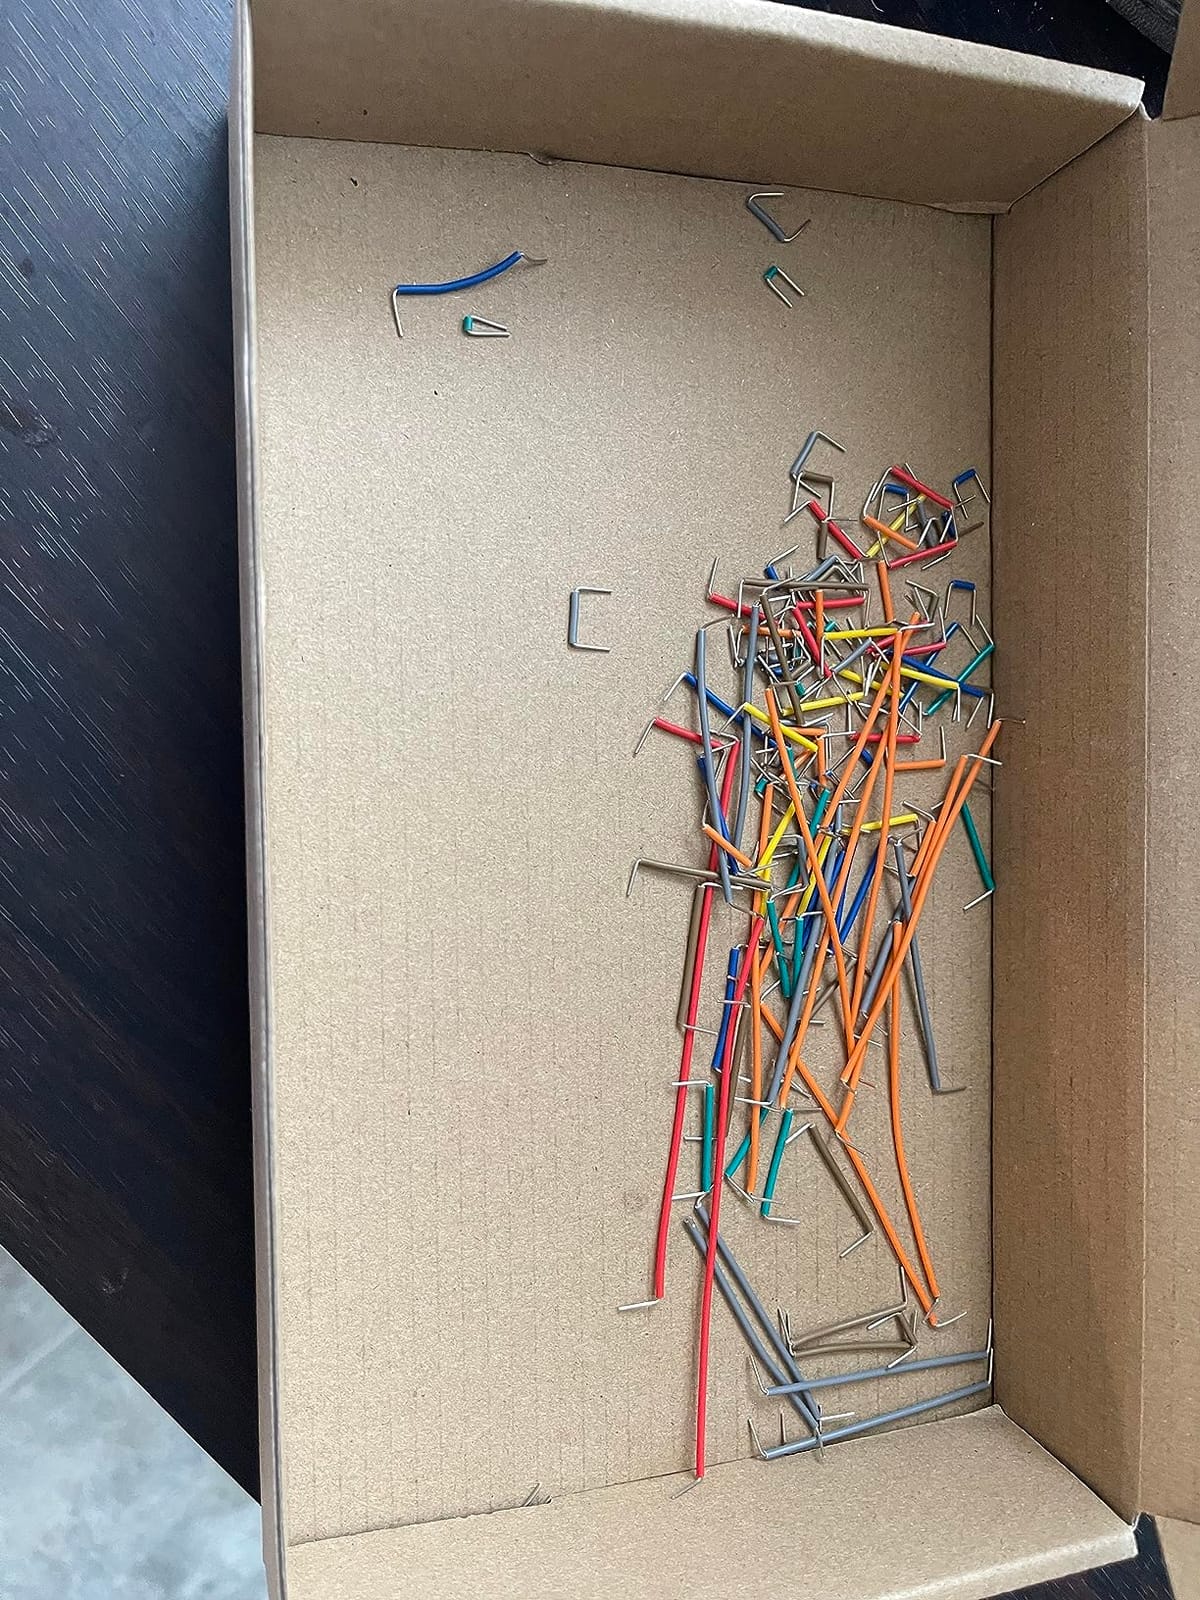
The 400 and 830 tie-point boards are ABS with tin-plated phosphor bronze contact sheets, so the material spec is right even where the feel is not. Solderless assembly means circuits can be dismantled and reused across a term of exercises, which is the whole point of a classroom breadboard.
When this kit earns its price back
It pays off when cable selection is the bottleneck, which usually means wiring modules with female headers or building several circuits in a row. It is the only kit here that pairs the 14-length U-shaped assortment with all three 40-pin dupont ribbon types.
For a classroom it is a one-box solution. Boards, every jumper style and an organised case, which removes the shuffling-through-drawers problem that eats lesson time.
Where it falls short
The terminals feel thin and do not grip leaded components strongly, so a resistor or a transistor pushed into a row can sit looser than you would like. Our stable test circuits were small; dense builds need checking that each leg is seated.
The pin diameter also runs on the small side, so some header pins fit loosely and the colour mix is light on black and red. Keeping power and ground visually distinct is worth doing deliberately here rather than assuming the colours will help you.
5 Breadboard Mistakes Every Beginner Makes
Almost every “my breadboard is broken” question traces back to one of these five. They are worth reading before your first build rather than after.
Putting both legs of a component in the same row. If an LED’s two legs share a numbered row, they are shorted together through the board and nothing happens. Bend one leg or move it to the adjacent row.
Inserting an LED backwards. The longer leg is the anode and goes to the row with 5V or a digital pin through a resistor. A dark LED is a polarity error, not a damaged part.
Forgetting the ground return. A sensor reading on a serial monitor but doing nothing else is almost always a missing ground path. Every circuit needs a return to GND.
Ignoring the power rail break. On a full-size board the red and blue rails are split down the middle. Power reaches one half only, which makes a circuit work in one place and not another. Bridge the gap with a jumper.
Ignoring the group-of-five break in the terminal strip. Holes 1-5 connect, hole 6 starts a new group. Two components that look adjacent across the break are not connected at all.
Loose connections sit just behind all five. A leg pushed halfway into a hole still works today and fails after the board is moved, so push until it seats and give it a tug to test.
How to Choose a Breadboard Kit for Arduino
Pick the board size by what you are driving, not by habit
Board size is the decision that matters most, and tie points are how the industry measures it. A tie point is one usable hole, and a board’s rating is the total.
170 tie points (mini) suits a Nano-class board, a small module or one IC. It is a single-component workspace, and experienced makers keep one on the bench for compact sub-circuits.
400 tie points (half-size) is the default beginner choice. It fits a Nano plus several components with room to spare, and it is the most portable of the three.
830 tie points (full-size) suits UNO-class work, multiple ICs or anything with a wide dev board on it. This is where shields and sensor networks live.
If you run a Nano or Pro Mini rather than an UNO, the half-size board is enough for most projects, and the mini board is genuinely useful for a node going into an enclosure. If you run an UNO or an ESP32, go straight to full-size.
Decide how you want to handle power
Power distribution blocks and power modules split one supply into many terminals, which sounds essential and usually is not. An UNO already has multiple GND pins and a 5V pin, so you can feed the rails with two jumpers and move straight to components.
Where a module earns its place is voltage flexibility. A switchable 3.3V and 5V supply saves you buying a second module the first time you move to an ESP32 or a 3.3V sensor. Micro-USB connectors, on the other hand, now need the right cable on hand.
Check the jumper wire supply, not the component count
A kit advertising 400 pieces may hold 20 usable leads for Arduino headers and 380 resistors. Judge the wire bundle, not the total piece count. U-shaped male-to-male jumpers in a spread of lengths are what you use most.
Female-to-female and male-to-female ribbon cables matter the moment you connect a sensor module or display, because those arrive with female headers. Ten-strand braided copper cores last longer than single-strand wire that frays at the bend.
Match the kit to your buyer type
First-ever buyer: start with a component kit such as the REXQualis or BOJACK 37-value set. Breadth of parts beats board count on day one.
Classroom teacher: buy a set with multiple boards and a storage case. Six or eight boards per purchase is the practical unit, and colour-coded minis help students read a circuit faster.
Tinkerer upgrading a starter kit: buy the multi-board sets. The single mini board in most starter kits stops being useful around your third project, and a spare full-size board changes how you test changes.
Working engineer prototyping: buy wire range and board count. Multiple 830 boards let you keep a working circuit intact while prototyping the next revision beside it.
If you are buying for a young maker or a classroom, our guide to paint sprayers for kids DIY projects covers a similar question about tools that need to be safe as much as capable.
Know when a breadboard has had its life
Metal clips loosen with repeated insertion. The symptom is a connection that works until the board is nudged, then a mystery “defective” board. If you see intermittent behaviour that follows movement, the board is tired, not the code.
Replacement is worth it at around the point where you start two projects at once. Before that, a fresh full-size board usually fixes more problems than any amount of rewiring.
Know when to move past the breadboard
A breadboard is the right tool for roughly the first six to twelve months of Arduino work, because being able to change a circuit for free is what teaches you to debug. When your project stops changing, move it to stripboard, perfboard or a custom PCB and the connection stops being provisional.
Buyers often ask about metalworking kits in the same breath as electronics, and if your projects have drifted towards physical builds our brazing kit roundup covers the tool side of that.
Frequently Asked Questions
What are common breadboard mistakes?
The five most common are putting both legs of a component in the same row, inserting an LED backwards, forgetting the ground return path, ignoring the power rail break in the middle of a full-size board, and ignoring the group-of-five break between holes 5 and 6 in the terminal strip. Add to that list loose legs pushed only halfway into a hole, which cause intermittent failures that look like a defective board.
What are the basic steps for a beginner to use a breadboard?
Run power from the Arduino 5V and GND pins to the red and blue rails first. Place the resistor and LED so each leg occupies a different numbered row, with the LED anode row fed through the resistor. Add a jumper from the LED cathode row to the GND rail. Connect the other end of the resistor row to the digital pin, then upload the sketch.
How to check if a breadboard is working?
Set a multimeter to continuity and touch two holes in the same group of five; you should get a beep. Repeat across two holes in a power rail, and again across the two halves of a full-size rail to confirm whether the centre break is bridged. Then build a known-good LED circuit with a resistor as the functional test.
What size breadboard do I need for Arduino?
A 170 tie-point mini board suits a Nano or a single compact module. A 400 tie-point half-size board is the default beginner choice and fits a Nano plus several components. An 830 tie-point full-size board suits UNO-class work, multiple ICs and wide dev boards such as the ESP32.
Do breadboard kits include jumper wires and an Arduino board?
Almost never an Arduino board, and the controller is always sold separately. Most kits do include some jumper wires, but often in the wrong types or lengths for Arduino headers, so check the box contents for U-shaped male-to-male leads and any female-to-female ribbon cables before you buy.
The Bottom Line on Breadboard Kits for Arduino Projects
The REXQualis Component Fun Kit is our pick as the best breadboard kit for Arduino projects in 2026 because it is one of only two kits here that pair a full-size 830 tie-point board with a deep stock of components, so a complete beginner can finish a full sequence of circuits without a second purchase. 400-plus labelled parts and a working power module cover LED, sensor, buzzer and transistor builds on day one.
Buy the Aypzuke multi-board set if you want four boards and 410 jumper wires, the HUAREW 830 and 400 pair if you work with modules that have female headers, or the Dixseplu kit if your project needs battery power and colour-coded boards. Whichever you choose, buy the Arduino board separately.
Our complete kits roundup covers other tools we recommend for family projects, including our family emergency kit picks if you want one more piece of kit that pays for itself the first time you need it.