
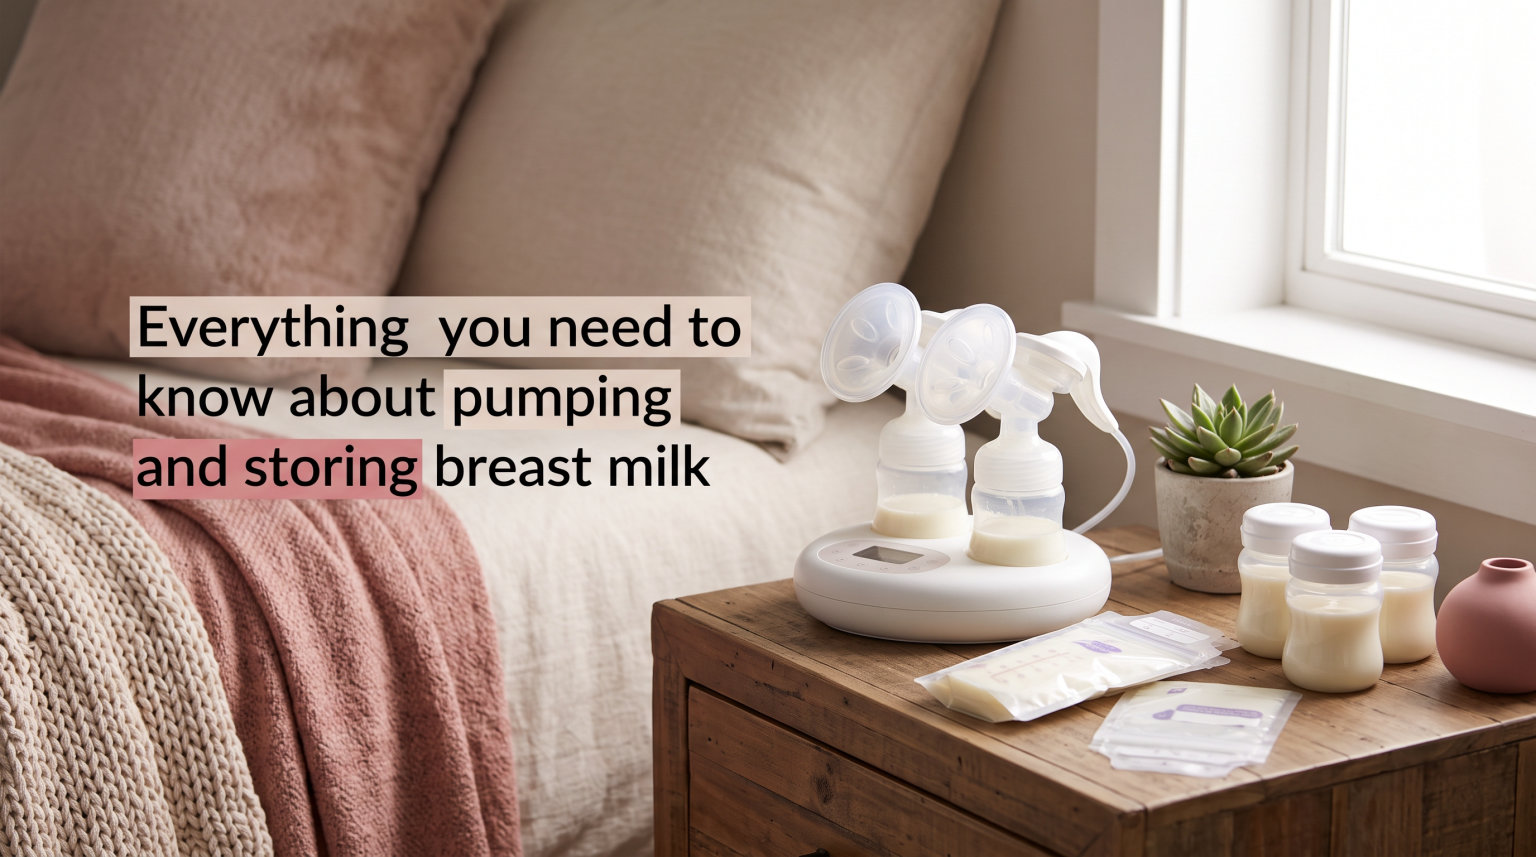
Pumping and storing breast milk gives you the freedom to nourish your baby even when you cannot breastfeed directly. Whether you are heading back to work, building a milk stash for emergencies, or exclusively pumping, understanding the proper techniques ensures your baby receives safe, nutritious milk every time.
I have compiled everything you need to know about pumping and storing breast milk based on CDC guidelines, medical research, and real experiences from thousands of moms. This guide covers storage timeframes, container choices, thawing methods, and practical tips that make the entire process easier.
By the end of this article, you will have a complete understanding of how to safely pump, store, and prepare breast milk for your little one. You will also discover time-saving tricks that experienced moms use every day.
Table of Contents
What Is Breast Milk Pumping and Why Do It
Breast milk pumping, also called expressing milk, is the process of extracting milk from your breasts using a manual or electric breast pump. This expressed breast milk can then be stored and fed to your baby later using a bottle or alternative feeding method.
Many mothers choose to pump for various practical reasons. Working moms need to maintain their milk supply while away from their babies. Some mothers pump to share feeding responsibilities with partners, allowing others to bond with baby during nighttime feeds or daytime care. Others rely on pumping to build a freezer stash for emergencies, daycare, or date nights.
Pumping also serves medical purposes. Mothers of premature babies often pump to provide milk while their babies develop the ability to nurse directly. Some mothers exclusively pump due to latch issues, low milk supply concerns, or personal choice. Whatever your reason, proper pumping and storage techniques ensure your baby receives all the antibodies, nutrients, and benefits of breast milk.
When to Start Pumping
The ideal time to start pumping depends on your individual situation and breastfeeding goals. For most mothers who plan to breastfeed directly, waiting until breastfeeding is well-established proves wisest. This typically occurs around four to six weeks postpartum when your milk supply has regulated and your baby has developed a consistent nursing pattern.
Starting too early can create challenges. Early pumping may lead to oversupply issues, causing engorgement and discomfort. It may also contribute to nipple confusion if bottles are introduced before breastfeeding is firmly established. Your baby needs time to master nursing before introducing artificial nipples.
However, certain situations require early pumping. If your baby was born prematurely or has medical complications that prevent direct breastfeeding, you should begin pumping within the first few hours after birth. Hospital-grade pumps help establish your supply while your baby receives care. Mothers returning to work within six to eight weeks should start pumping two to three weeks before their return date to build a small stash and help baby adjust to bottle feeding.
Step-by-Step Pumping Guide
Learning the proper pumping technique maximizes your milk output and keeps everything hygienic. Follow these steps for successful pumping sessions every time.
Step 1: Wash Your Hands Thoroughly
Before touching any pump parts or storage containers, wash your hands with soap and warm water for at least 20 seconds. This simple step prevents bacteria from contaminating your milk and protects your baby from potential illness.
Step 2: Assemble Your Pump Parts
Assemble your breast pump according to the manufacturer’s instructions. Ensure all connections are secure and the tubing is properly attached. Check that your breast shields (flanges) are clean and dry from your previous session.
Step 3: Check Your Flange Fit
Proper flange fit makes a tremendous difference in comfort and milk output. Your nipple should move freely within the tunnel without rubbing against the sides. If your areola is being pulled into the tunnel or your nipple rubs the sides, you need a different size. Most pumps come with standard 24mm flanges, but sizes range from 17mm to 36mm.
Step 4: Start with Stimulation Mode
Most electric pumps have a stimulation or let-down mode that uses rapid, shallow suction to trigger your milk ejection reflex. This mimics a baby’s initial fast sucking pattern. Use this mode for one to two minutes until you feel the tingling sensation of let-down or see milk flowing more steadily.
Step 5: Switch to Expression Mode
Once let-down occurs, switch to expression mode. This setting uses slower, deeper suction that mimics how a baby nurses after milk begins flowing. Adjust the suction level to your comfort, starting low and gradually increasing. Pumping should never hurt. If you experience pain, lower the suction level immediately.
Step 6: Pump for 15 to 20 Minutes
Aim to pump for 15 to 20 minutes per session, though some mothers need up to 30 minutes to fully empty their breasts. You can pump both breasts simultaneously to save time, or pump one side while nursing on the other to take advantage of the natural let-down reflex. Stop when milk flow slows to drops rather than streams.
Step 7: Store Milk Immediately
Transfer your expressed milk to a clean storage container right away. Do not leave milk sitting in the pump bottles at room temperature for extended periods. Label the container with the date and time before placing it in the refrigerator, freezer, or cooler bag.
Storage Containers: What to Use
Choosing the right storage containers protects your milk quality and makes storage more efficient. The CDC recommends using breast milk storage bags or clean, food-grade containers specifically designed for breast milk storage.
Breast Milk Storage Bags
Storage bags are the most popular option for freezing breast milk. They are pre-sterilized, space-efficient, and designed to lay flat for quick freezing and organized storage. Quality bags feature double zipper seals, reinforced seams to prevent leaks, and areas for labeling. Most bags hold between 5 and 8 ounces. The main drawback is that bags are single-use only and create more waste than reusable options.
Glass Containers
Glass containers offer an eco-friendly, reusable option for breast milk storage. They do not absorb odors or stains, and they can go from freezer to refrigerator without concerns about chemical leaching. Look for tempered glass containers with tight-fitting lids. The downside is that glass takes up more freezer space, can break if dropped, and requires careful handling during thawing to prevent thermal shock.
BPA-Free Plastic Containers
Hard plastic containers made from BPA-free materials provide a lightweight, durable storage option. Choose food-grade containers specifically marketed for breast milk or baby food. These containers stack neatly, resist breaking, and work well for refrigerator storage. Avoid regular food storage containers that may not seal properly or could contain harmful chemicals.
Containers to Avoid
Never use regular disposable bottle liners or sandwich bags for breast milk storage. These thin plastic bags can break, leak, or contain chemicals that may leach into your milk. Avoid containers without tight-fitting lids, as exposure to air and bacteria compromises milk safety. Skip any containers made with bisphenol A (BPA), as this chemical can disrupt hormones.
Portion Size Recommendations
Store milk in small portions of 2 to 4 ounces to match typical feeding amounts. This minimizes waste, as you cannot refreeze thawed milk. Some mothers also freeze 1-ounce portions in ice cube trays for topping off feedings or mixing with cereal when starting solids.
Breast Milk Storage Guidelines by Temperature
Understanding how long breast milk remains safe at different temperatures helps you plan your storage strategy. These guidelines follow CDC recommendations for keeping expressed milk safe and nutritious.
Room Temperature Storage (Up to 77F)
Freshly expressed breast milk can remain at room temperature for up to four hours. This applies to temperatures up to 77 degrees Fahrenheit (25 degrees Celsius). Keep the container away from heat sources, direct sunlight, and warm appliances. If the room is warmer than 77F, reduce this timeframe to two hours to ensure safety.
Room temperature storage works well for night feedings when you pump before bed and use the milk within a few hours, or for daytime use when you know the next feeding will happen soon.
Refrigerator Storage
Breast milk stays fresh in the refrigerator for up to four days at 39 degrees Fahrenheit (4 degrees Celsius) or lower. Store milk in the back of the refrigerator where temperatures remain most consistent. Avoid the door compartments, which experience temperature fluctuations each time the door opens.
If your refrigerator maintains a lower temperature around 32F, milk may last slightly longer, though four days remains the safe maximum. When storing multiple containers, place newer milk behind older milk to naturally use the oldest milk first.
Freezer Storage
In the freezer, breast milk remains optimal for up to six months but is acceptable for up to twelve months. Deep freezers that maintain 0 degrees Fahrenheit (-18 degrees Celsius) preserve milk quality better than refrigerator-freezer combinations with frequent door opening.
Store milk in the back of the freezer away from the door. Use a first-in, first-out system by placing newly frozen milk behind older bags. Leave some space in containers when freezing, as milk expands as it freezes.
Insulated Cooler with Ice Packs
For working mothers and travelers, an insulated cooler bag with frozen ice packs keeps breast milk safe for up to 24 hours. This guideline applies when ice packs remain in contact with the milk containers and have not fully melted. Once you reach your destination, transfer the milk to a refrigerator or freezer immediately.
This storage method serves as the primary solution for commuting mothers who pump at work and need to transport milk home safely.
Labeling and Dating Your Milk
Proper labeling prevents confusion and ensures your baby receives fresh, safe milk. Label every container with the date and time you expressed the milk before storing it.
If your baby attends daycare or has multiple caregivers, add your baby’s name to each container. Many childcare facilities require clear identification for safety and organization.
Follow the first-in, first-out (FIFO) method for using stored milk. Arrange your freezer or refrigerator so that older milk is easily accessible in front, while newer milk goes in the back. This rotation system ensures no milk sits unused past its safe storage timeframe.
Some mothers use color-coded stickers or different container types to distinguish between milk expressed at different times of day. Morning milk often contains more cortisol and is more energizing, while evening milk has more melatonin to help baby sleep.
Combining Milk from Different Sessions
Many mothers want to combine milk from multiple pumping sessions for easier storage and feeding. This practice is safe when done correctly, but temperature matching is essential.
Only combine milk that is the same temperature. You can add freshly pumped, cooled milk to other cooled milk in the refrigerator. You can add freshly pumped milk to room temperature milk that was expressed within the same four-hour window. Never add warm, freshly expressed milk directly to cold or frozen milk, as this can partially thaw the frozen milk and create temperature inconsistencies that encourage bacterial growth.
The Breast Milk Pitcher Method
A technique popular among exclusive pumpers involves using a dedicated pitcher or large mason jar for daily milk collection. Throughout the day, you add cooled milk from each pumping session to the pitcher. At the end of the day, you portion the combined milk into storage containers or bags for freezing.
This method simplifies storage and creates consistent-fat milk since the fat redistributes when swirled. The key rule is to use or freeze the pitcher contents within 24 hours of the first milk added. Never keep adding milk to a pitcher beyond the 24-hour mark.
The Fridge Hack for Pump Parts
One of the most discussed time-saving techniques in pumping communities is the refrigerator hack for pump parts. This method, shared by thousands of working mothers, can significantly reduce the burden of washing pump components multiple times daily.
The technique works like this. After pumping, instead of washing your pump parts immediately, you place them in a clean ziplock bag or sealed container in the refrigerator. The cool temperature inhibits bacterial growth between pumping sessions. You can reuse the same parts for subsequent pumping sessions throughout the day without washing.
At the end of the day, or after 24 hours, you thoroughly wash and sanitize all pump parts. This method is particularly helpful for mothers pumping at work with limited access to private sinks or time for washing.
While not explicitly endorsed by all medical authorities, the CDC acknowledges that refrigerating pump parts between uses is acceptable when washing immediately after each use is not feasible. Always wash parts immediately if they come into contact with milk residue that has dried or if the parts appear soiled.
Thawing Frozen Breast Milk
Thawing breast milk properly preserves its nutritional value and ensures safety for your baby. Never use a microwave or stovetop to thaw or warm breast milk, as these methods create hot spots that can burn your baby’s mouth and destroy beneficial nutrients and antibodies.
Refrigerator Thawing Method
The safest way to thaw frozen breast milk is overnight in the refrigerator. Place the frozen container in the refrigerator 12 to 24 hours before you need it. This slow thawing maintains the most nutrients and ensures even temperature distribution.
Quick Thawing Method
For faster thawing, place the sealed container of frozen milk in a bowl of warm or lukewarm water. Change the water every 30 minutes until the milk thaws. Do not use hot water, as this can damage the milk’s beneficial properties.
Thawed Milk Guidelines
Use thawed breast milk within 24 hours. Count this timeframe from when the milk is completely thawed, not from when you started thawing it. Once thawed, never refreeze breast milk. If your baby does not finish a bottle of thawed milk, you can safely offer it again within two hours, then discard any remainder.
Warming Breast Milk Properly
Many babies prefer milk at body temperature, similar to milk directly from the breast. However, some babies accept cool or room temperature milk, which can save time and preserve more nutrients. If your baby prefers warmed milk, follow these safe methods.
Warm Water Bath Technique
Place the bottle or bag of milk in a bowl of warm water for a few minutes. Swirl the container gently to distribute heat evenly. Test the temperature by placing a few drops on your wrist. The milk should feel warm, not hot.
Bottle Warmer Guidelines
If using a bottle warmer, follow the manufacturer’s instructions carefully. Use the setting designed for breast milk, as other settings may get too hot. Never leave milk warming unattended.
Important Swirling Technique
Always swirl the milk gently rather than shaking it vigorously. Shaking can break down the delicate proteins in breast milk. Swirling reincorporates the cream layer that naturally rises to the top without damaging the milk structure.
Time Limit for Warmed Milk
Once you warm breast milk, use it within two hours. If your baby does not finish the bottle, discard the remaining milk. Do not reheat or refrigerate milk that has been warmed, as this creates opportunities for bacterial growth.
Pumping Schedules That Work
Creating a pumping schedule that fits your lifestyle helps maintain your milk supply and reduces stress. The right schedule depends on your baby’s age, your work situation, and your breastfeeding goals.
Back to Work Pumping Schedule
When returning to work, aim to pump every three to four hours to match your baby’s typical feeding pattern. For an eight-hour workday, pump mid-morning, at lunch, and mid-afternoon. Each session should last 15 to 20 minutes. Store your milk in an insulated cooler bag with ice packs for the commute home.
If your workplace provides a dedicated lactation room, use it consistently. If not, find a private, clean space where you can relax. Bring photos or videos of your baby to help trigger your let-down reflex.
Building a Milk Stash
To build a freezer stash, pump once daily after your first morning feeding when milk supply is typically highest. Store 1 to 2 ounces extra each day. Within a month, you will have a substantial emergency supply. Freeze milk flat in storage bags to maximize freezer space and speed thawing time.
Power Pumping to Increase Supply
Power pumping mimics cluster feeding and signals your body to increase milk production. Choose an hour when you can relax at home, ideally in the evening when prolactin levels naturally rise. Pump for 20 minutes, rest for 10 minutes, pump for 10 minutes, rest for 10 minutes, then pump for 10 final minutes.
Do power pumping once daily for three to seven days. Many mothers see increased supply within 48 to 72 hours. Stay hydrated and nourished during this process.
Traveling with Breast Milk
Traveling while pumping requires planning, but modern guidelines make it manageable. The Transportation Security Administration (TSA) allows breast milk in quantities greater than 3.4 ounces in carry-on bags. You do not need to travel with your baby to carry breast milk.
Inform the TSA officer that you are carrying breast milk. It may be screened using X-ray, and you may be asked to open containers for additional screening. Ice packs, freezer packs, and gel packs are also permitted to keep milk cold.
For road trips, use an insulated cooler with plenty of ice packs. For extended travel, consider shipping frozen milk home using overnight delivery with dry ice, or freezing milk in your hotel room’s mini-fridge freezer section.
Common Mistakes to Avoid
Even experienced pumpers make mistakes occasionally. Knowing these common errors helps you avoid them and keeps your milk safe for your baby.
Never microwave breast milk. Microwaves create dangerous hot spots that can scald your baby’s mouth and destroy nutrients. Microwaving also heats unevenly, leaving some milk too cold while other portions get too hot.
Do not add warm, freshly pumped milk to cold or frozen milk. The temperature difference can partially thaw frozen milk and promote bacterial growth in the cold milk. Always cool fresh milk first.
Avoid storing milk in the refrigerator or freezer door. The frequent opening causes temperature fluctuations that degrade milk quality. Store milk in the back where temperatures remain most stable.
Never overfill containers when freezing. Breast milk expands as it freezes, and overfilled bags can burst. Leave at least an inch of space at the top of containers.
Do not refreeze thawed milk under any circumstances. Once thawed, use the milk within 24 hours or discard it. Never use milk that smells sour or looks abnormal, even if it is within storage timeframes.
Signs Your Milk Has Spoiled
Recognizing spoiled milk protects your baby from potential illness. While breast milk naturally changes appearance and smell, certain characteristics indicate it has gone bad.
Fresh breast milk often has a sweet, mild smell. Some mothers notice a soapy or metallic smell caused by lipase activity, which is normal and safe though some babies reject the taste. Sour, rancid, or vomit-like smells indicate spoilage.
Visual separation is normal. Cream rises to the top, leaving bluish watery milk below. Swirling reincorporates the layers. However, clumps that do not dissolve when swirled, or milk that appears curdled, suggest spoilage.
When in doubt, discard the milk. It is better to waste a few ounces than risk your baby’s health. If you consistently have milk spoil before the storage timeframes, check your refrigerator and freezer temperatures with a thermometer.
Frequently Asked Questions
How do I pump and store breast milk properly?
Wash your hands before pumping. Use a clean breast pump with properly fitting flanges. Pump for 15-20 minutes, then transfer milk immediately to food-grade containers with tight-fitting lids. Label with the date and store at room temperature for up to 4 hours, in the refrigerator for up to 4 days, or in the freezer for 6-12 months.
How long can breast milk sit out at room temperature?
Freshly expressed breast milk can sit out at room temperature up to 77F for up to 4 hours. If the room is warmer than 77F, limit storage to 2 hours. Keep milk away from heat sources and direct sunlight.
How long is breast milk good for in the refrigerator?
Breast milk stays fresh in the refrigerator at 39F or lower for up to 4 days. Store milk in the back of the refrigerator, not the door, to maintain consistent temperature. Use the oldest milk first following the FIFO method.
Can you combine fresh breast milk with frozen breast milk?
You cannot add fresh, warm breast milk directly to frozen milk. However, you can cool freshly expressed milk in the refrigerator first, then add it to already-cooled or refrigerated milk. Only combine milk that is the same temperature to prevent bacterial growth.
How do you warm up breast milk?
Place the sealed container in a bowl of warm water for a few minutes. Swirl gently to distribute heat and test temperature on your wrist. Never use a microwave. Use warmed milk within 2 hours.
What are the guidelines for storing breast milk in the freezer?
Breast milk is optimal for up to 6 months in the freezer but acceptable for up to 12 months. Store at 0F or lower in the back of the freezer. Use breast milk storage bags or glass/plastic containers with tight lids. Leave space for expansion when freezing.
What type of containers should be used for storing breast milk?
Use breast milk storage bags, glass containers, or BPA-free plastic containers with tight-fitting lids. Choose food-grade containers specifically designed for breast milk. Avoid regular plastic bags, disposable bottle liners, or containers without secure seals.
How often should I pump to maintain supply?
Pump every 3-4 hours, matching your baby’s feeding schedule. Most working mothers pump 3 times during an 8-hour workday. Each session should last 15-20 minutes. Consistency matters more than exact timing.
Can I reuse breast milk storage bags?
No, breast milk storage bags are designed for single use only. Reusing bags risks contamination and leaks. Glass and hard plastic containers can be washed and reused after proper cleaning and sterilization.
What happens if I accidentally left breast milk out overnight?
Milk left at room temperature longer than 4 hours should be discarded. If the room was warm or the milk smells sour, do not use it. When in doubt, throw it out. Your baby’s safety is more important than saving milk.
Final Thoughts
Mastering pumping and storing breast milk takes time, but the freedom and peace of mind it provides are worth the effort. Following the CDC guidelines ensures your baby receives safe, nutritious milk whether you are at work, traveling, or simply taking a much-needed break.
Remember the essential storage timeframes: 4 hours at room temperature, 4 days in the refrigerator, and 6 to 12 months in the freezer. Use food-grade containers, label everything clearly, and never microwave your milk. With these fundamentals in place, you can confidently build a milk stash, return to work, or simply enjoy the flexibility that pumping provides.
If you encounter challenges with supply, pumping discomfort, or storage questions, reach out to a lactation consultant or your healthcare provider. Every mother’s journey is unique, and professional support can make a significant difference. You are doing an amazing job providing for your baby, and every ounce of milk represents your love and dedication.